
HOW TO: nisei licp install
 Feb 12, 2009, 10:59 PM
#1
Evolving Member
Thread Starter
iTrader: (14)

Join Date: Oct 2008
Location: michigan
Posts: 390
Likes: 0
Received 0 Likes
on
0 Posts
HOW TO: nisei licp install
things you will need
10mm socket
11mm socket
12mm socket
flathead and phillips screwdriver
phillips drive bit
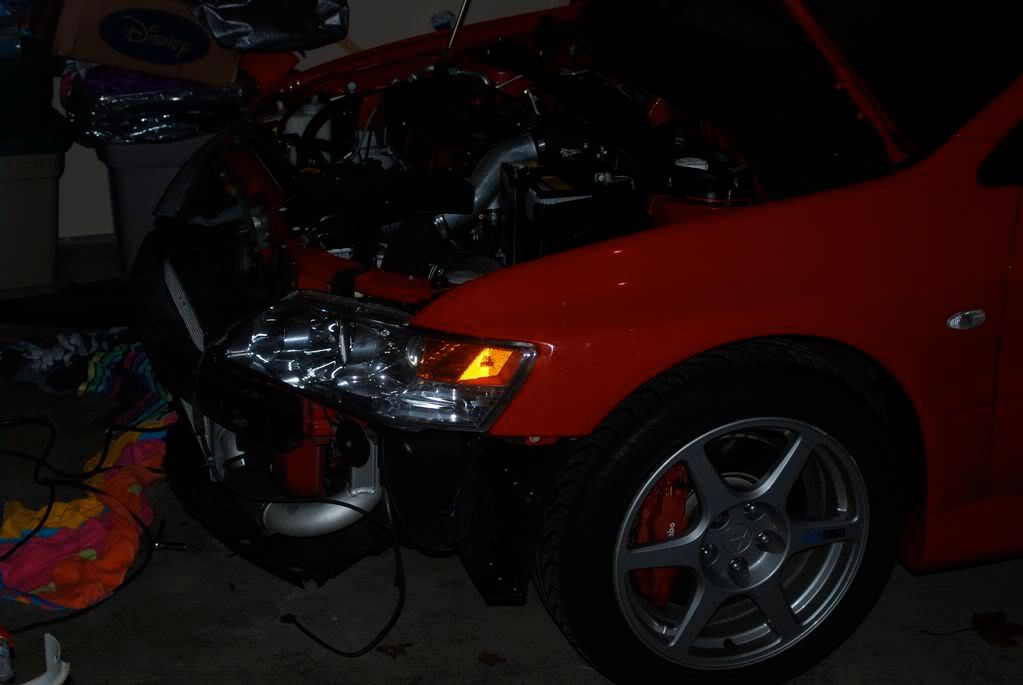
to start off you have to remove the front bumper, i did not document this but if you go to this link it will tell you how
https://www.evolutionm.net/forums/ev...hid-bulbs.html
after you have removed the front bumper we can start working on the licp
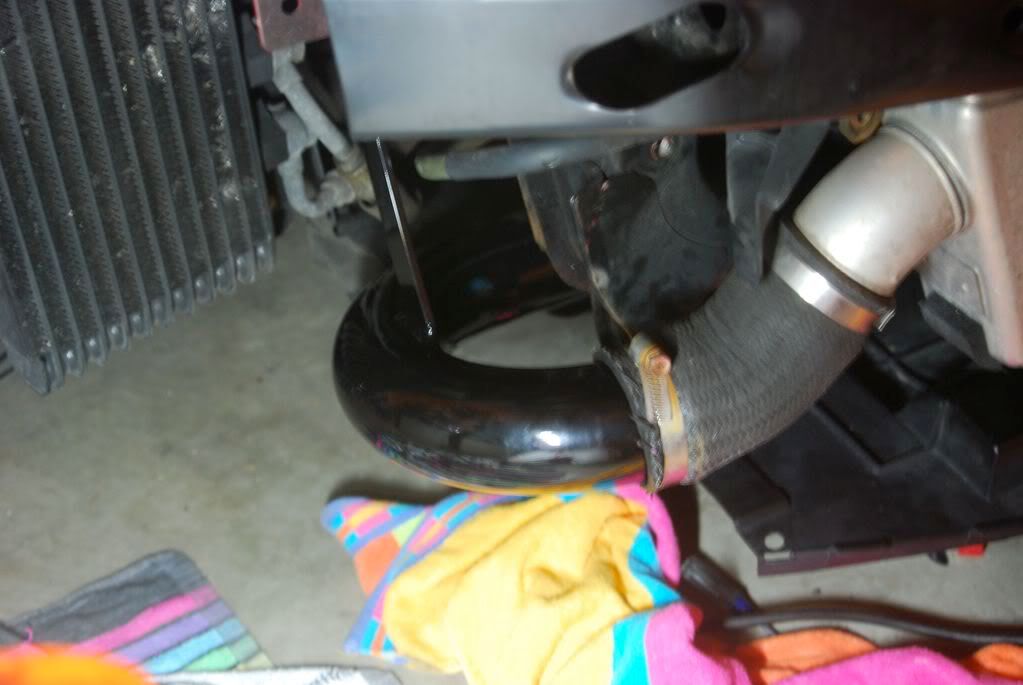
1. you want to remove the two bolts that are holding the hangers on the stock licp
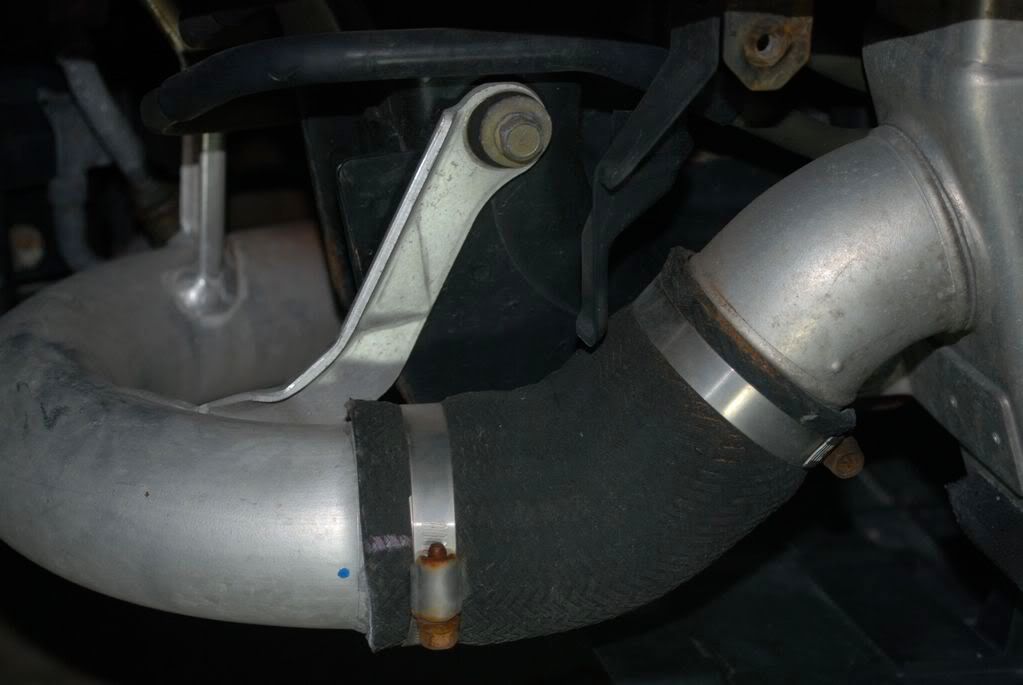

2. after you have those bolts removed take pull the licp from the mesh hose that connects to the intercooler, keep this mesh hose as you will need it on there
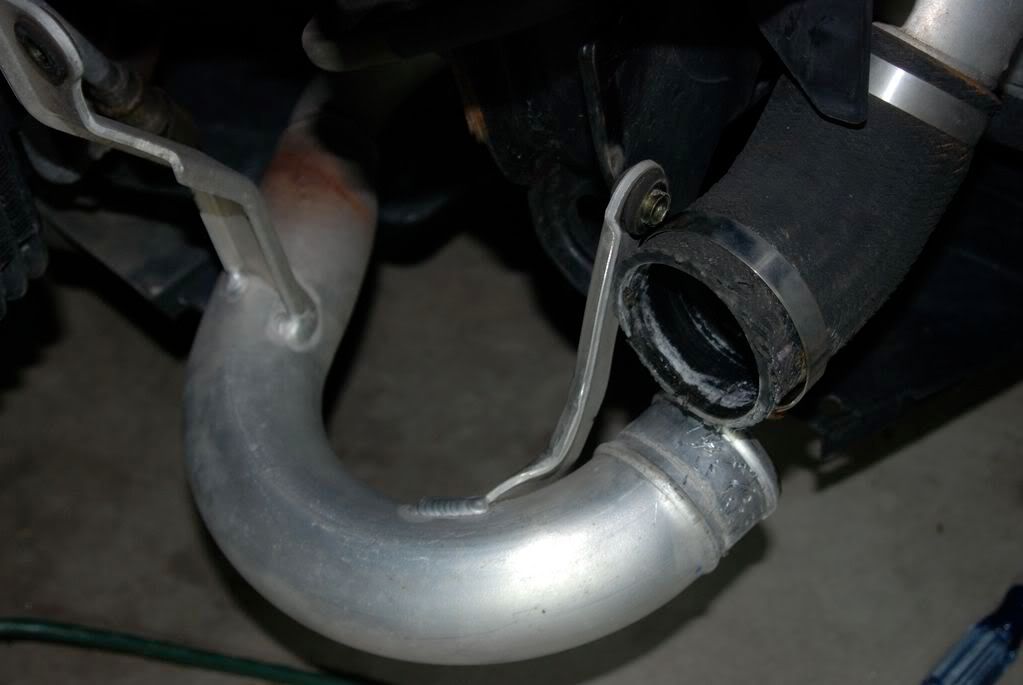
3. do the same with the back of licp, pull it from the mesh hose that connects to the turbo outlet and take out the mesh hosing also you will not need this
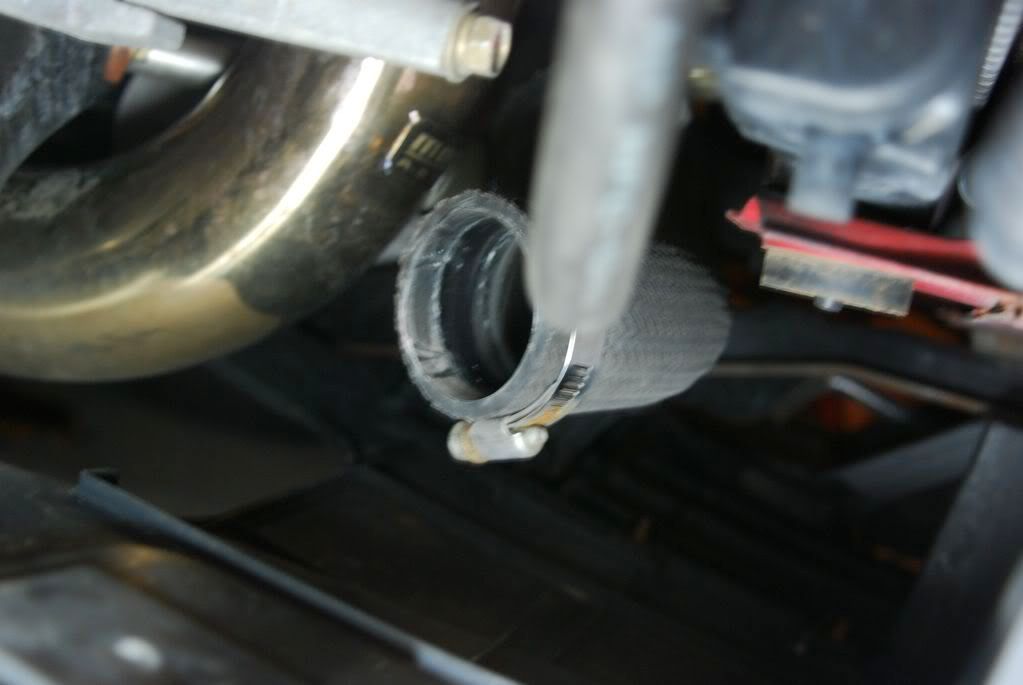
4. now that the stock licp is completely off we can start to put the nisei on. first put the hose techniques extension on and this end will be hooking up the turbo outlet. clamp it down to the nisei nice and tight with a 11mm socket to secure that it will not come off when running high boost.
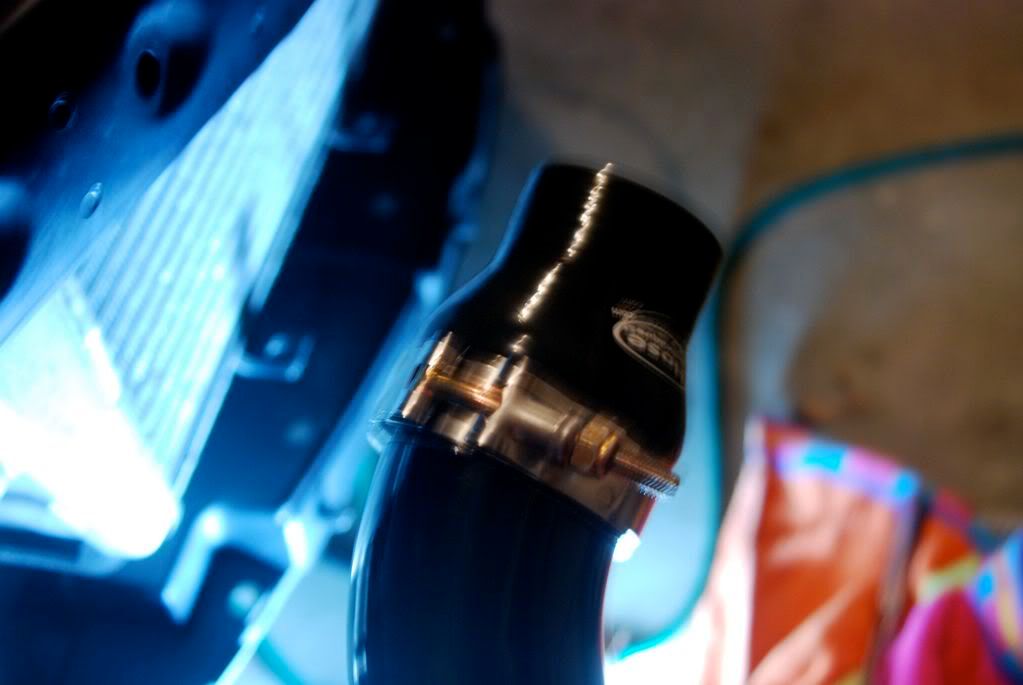
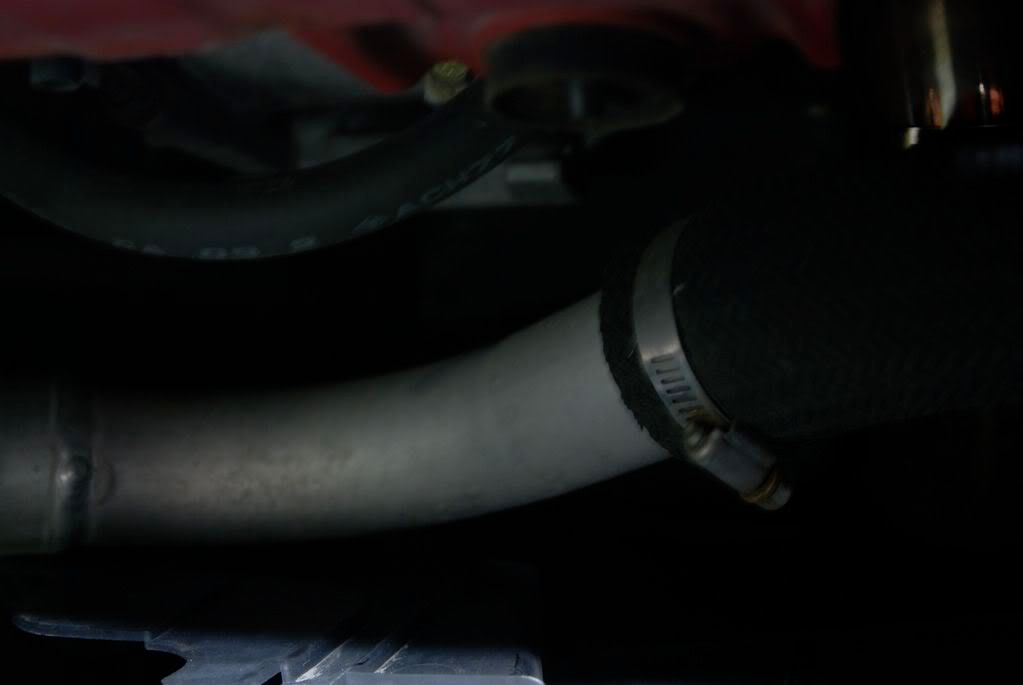
5. find the turbo outlet and now hook up the licp with the hose techniques extension too it. make sure to have good fitment and tighten the clamp to the turbo outlet very tight with an 11mm socket to make sure no popping off during high boost.
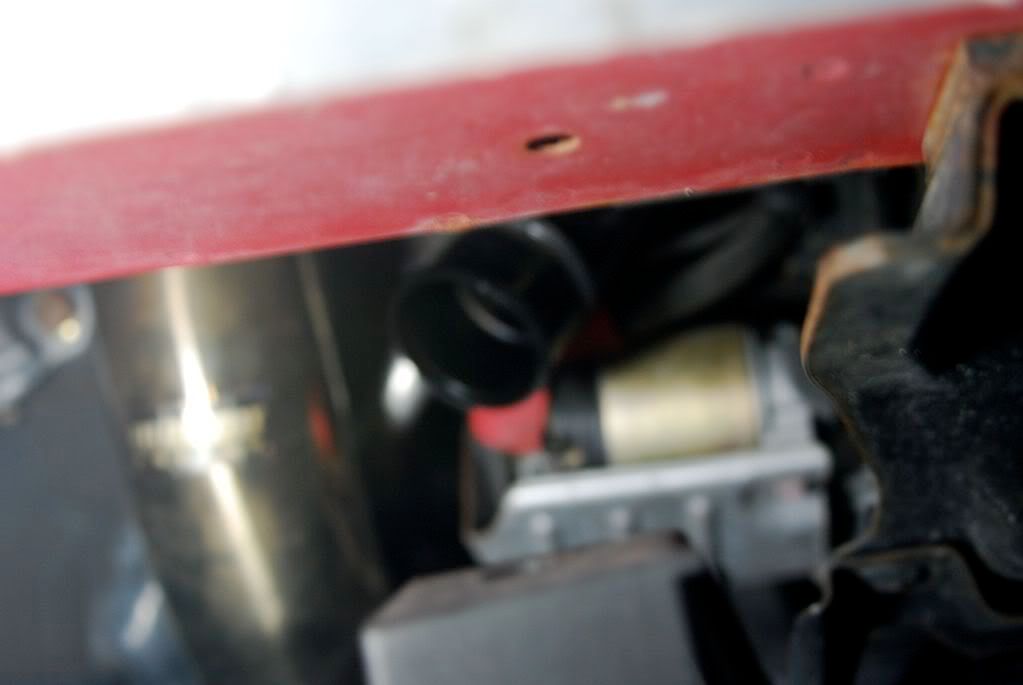
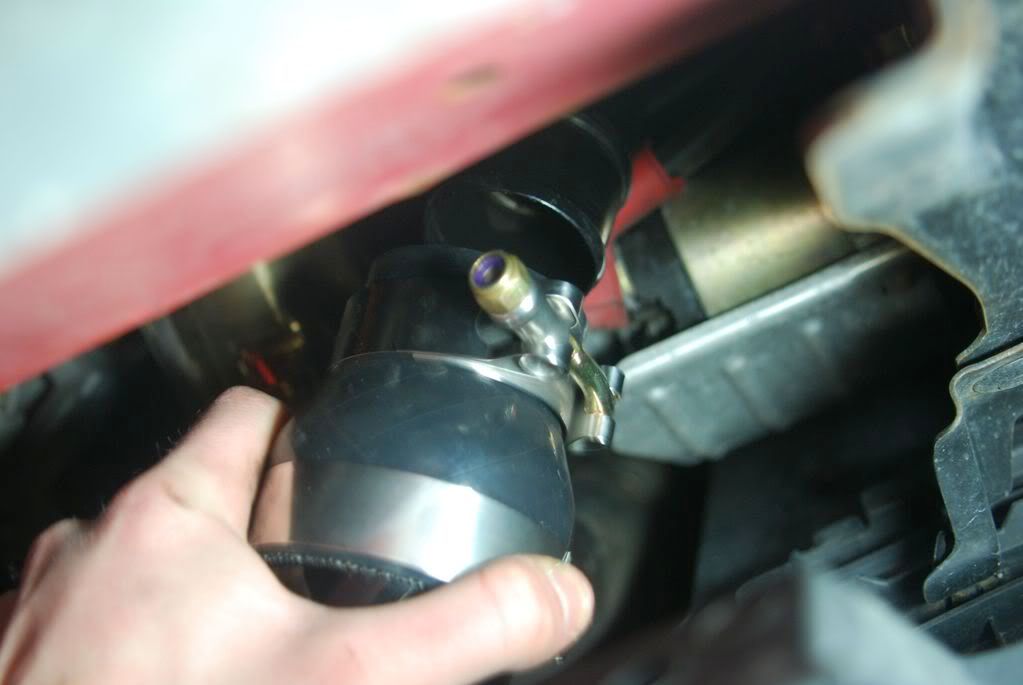
6. now that the turbo outlet end is nice and secured in we can go to the intercooler outlet. push the piping into the mesh pipe and also make sure it is in far enough and that the clamp is tight enough so it will not pop off during high boost.
7. there is only one hanger on the nisei as the stock one has two so find the second mounting for the hanger and bolt it up. I reused the stock bolt.
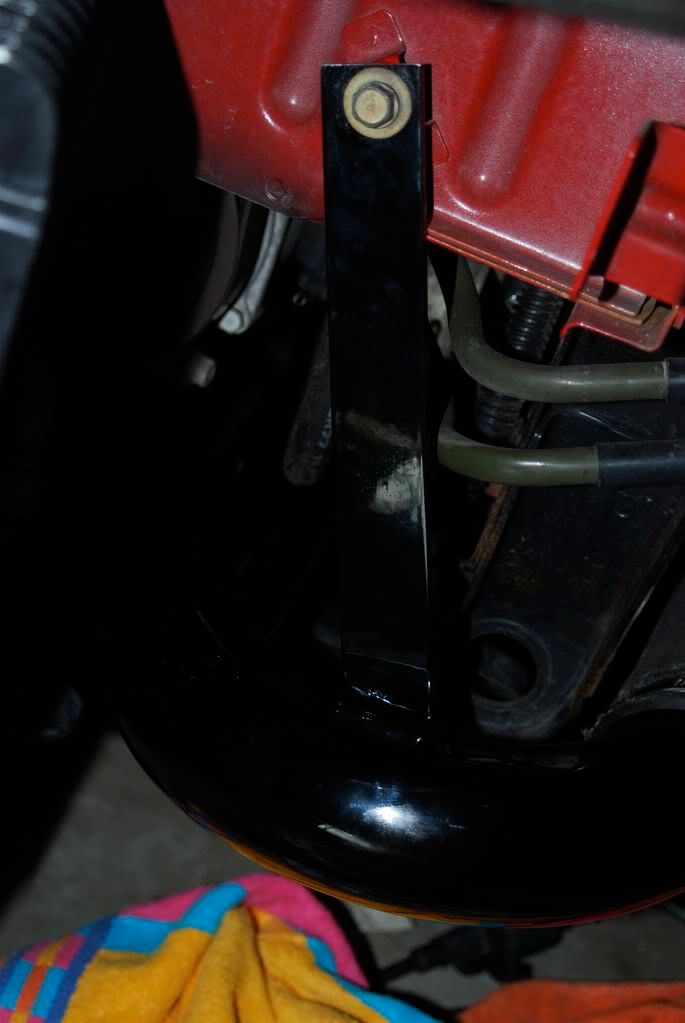
you can now reverse the steps as you did when you took off the front bumper and your all set to go.
in comparison you can see that the nisei licp has very minimal bends compared to the stock licp so you will spool faster and be boosting more so make sure to do some testing if you have a mbc because you may have to turn it down to be at what you were before.
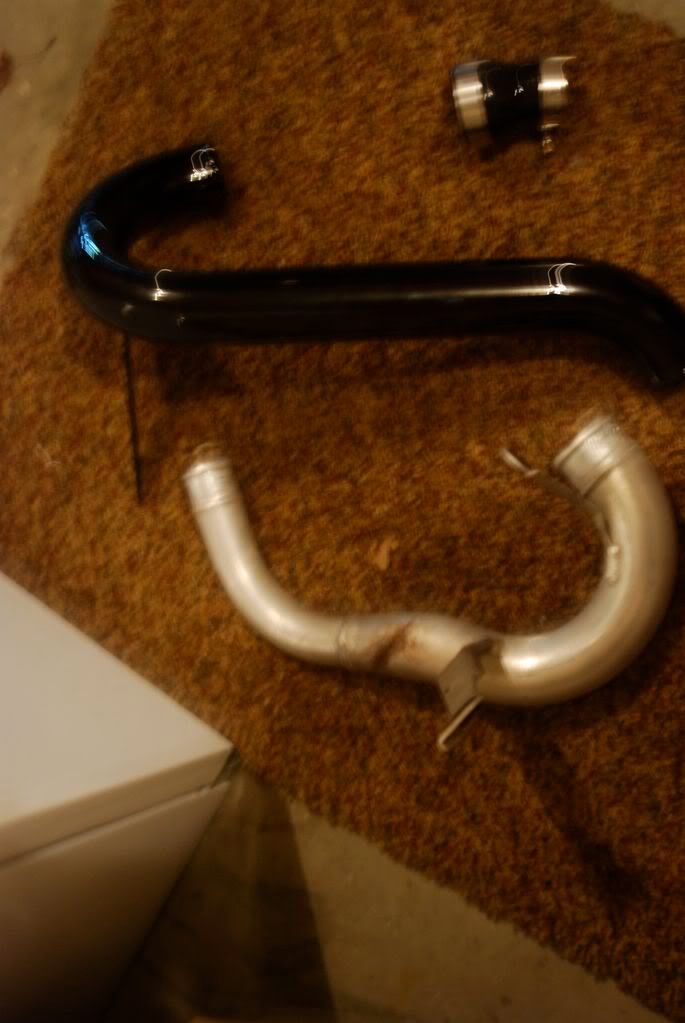
I hope this helps out anyone installing this licp
Neil
10mm socket
11mm socket
12mm socket
flathead and phillips screwdriver
phillips drive bit
to start off you have to remove the front bumper, i did not document this but if you go to this link it will tell you how
https://www.evolutionm.net/forums/ev...hid-bulbs.html
after you have removed the front bumper we can start working on the licp
1. you want to remove the two bolts that are holding the hangers on the stock licp
2. after you have those bolts removed take pull the licp from the mesh hose that connects to the intercooler, keep this mesh hose as you will need it on there
3. do the same with the back of licp, pull it from the mesh hose that connects to the turbo outlet and take out the mesh hosing also you will not need this
4. now that the stock licp is completely off we can start to put the nisei on. first put the hose techniques extension on and this end will be hooking up the turbo outlet. clamp it down to the nisei nice and tight with a 11mm socket to secure that it will not come off when running high boost.
5. find the turbo outlet and now hook up the licp with the hose techniques extension too it. make sure to have good fitment and tighten the clamp to the turbo outlet very tight with an 11mm socket to make sure no popping off during high boost.
6. now that the turbo outlet end is nice and secured in we can go to the intercooler outlet. push the piping into the mesh pipe and also make sure it is in far enough and that the clamp is tight enough so it will not pop off during high boost.
7. there is only one hanger on the nisei as the stock one has two so find the second mounting for the hanger and bolt it up. I reused the stock bolt.
you can now reverse the steps as you did when you took off the front bumper and your all set to go.
in comparison you can see that the nisei licp has very minimal bends compared to the stock licp so you will spool faster and be boosting more so make sure to do some testing if you have a mbc because you may have to turn it down to be at what you were before.
I hope this helps out anyone installing this licp
Neil
Last edited by N3VO; Mar 24, 2009 at 08:31 AM.
 Feb 18, 2009, 07:34 AM
#4
Evolved Member
iTrader: (3)
Join Date: Sep 2007
Location: Trinidad
Posts: 567
Likes: 0
Received 0 Likes
on
0 Posts
my car is down now doing some cosmetic changes and then the LICP with your instructions printed for reference would be performed after
Also would be installing and wiring wideband so makes for an enjoyable weekend.
Thanks again for the step by step guide bro
Also would be installing and wiring wideband so makes for an enjoyable weekend.
Thanks again for the step by step guide bro
Feb 18, 2009, 07:42 AM
#6
Evolved Member
iTrader: (3)
Join Date: Sep 2007
Location: Trinidad
Posts: 567
Likes: 0
Received 0 Likes
on
0 Posts
i am sure it will help alot
would also use the instructions on bumper removal for changing of park light bulbs so it serves a double purpose and will also take the time to polish end tanks on IC
your post is of great use to me.
would also use the instructions on bumper removal for changing of park light bulbs so it serves a double purpose and will also take the time to polish end tanks on IC
your post is of great use to me.
Trending Topics
Feb 18, 2009, 12:51 PM
#10
Evolving Member
Thread Starter
iTrader: (14)
Join Date: Oct 2008
Location: michigan
Posts: 390
Likes: 0
Received 0 Likes
on
0 Posts
thank you 4G63K!
rcheung lol i give you props for doing it with out taking the bumper off, i thought that would be nearly impossible, but on the side note yeah its not bad just a some clips and a few bolts, takes like 20 mins to get it off.
rcheung lol i give you props for doing it with out taking the bumper off, i thought that would be nearly impossible, but on the side note yeah its not bad just a some clips and a few bolts, takes like 20 mins to get it off.
Feb 25, 2009, 09:29 AM
#13
Evolved Member
iTrader: (3)
Join Date: Sep 2007
Location: Trinidad
Posts: 567
Likes: 0
Received 0 Likes
on
0 Posts
could not have gone any better.
only refit i had to do was the angle coupler for the turbo outlet but no biggie either.
Again bro, good write up with precise info to work with.
Kudos!
One thing which I also encountered, some of the plastic screws had their heads rubbed away and I didn't forsee needing my micro screwdrivers for prying but I got through and replaced all those nasty buggers.
Feb 25, 2009, 11:34 AM
#14

could not have gone any better.
only refit i had to do was the angle coupler for the turbo outlet but no biggie either.
Again bro, good write up with precise info to work with.
Kudos!
One thing which I also encountered, some of the plastic screws had their heads rubbed away and I didn't forsee needing my micro screwdrivers for prying but I got through and replaced all those nasty buggers.
only refit i had to do was the angle coupler for the turbo outlet but no biggie either.
Again bro, good write up with precise info to work with.
Kudos!
One thing which I also encountered, some of the plastic screws had their heads rubbed away and I didn't forsee needing my micro screwdrivers for prying but I got through and replaced all those nasty buggers.
Davo -
You have to love the plastic screws
 Whoever thought of that should be.... haha
Thanks!
Michael
Feb 25, 2009, 12:02 PM
#15
Evolved Member
iTrader: (3)
Join Date: Sep 2007
Location: Trinidad
Posts: 567
Likes: 0
Received 0 Likes
on
0 Posts
^^ This evening I will be waking the E8 up and if that LP2 doesn't work, its you and me Michael lol
Did I say ETS FTW!
according to Ace Ventura, "Like ah Glove"
Thanks again guys.
Did I say ETS FTW!
according to Ace Ventura, "Like ah Glove"
Thanks again guys.

Thread
Thread Starter
Forum
Replies
Last Post