
How to Delete the C-Port on your Synchronic valve
 Jul 29, 2011, 08:15 PM
#1
How to Delete the C-Port on your Synchronic valve
Ok here goes my first How to.
First off I do not know if synapse has a warranty on your valve but im sure this will void it, you can send the valve to them and get this done for 35 dollars. But if you're impatient like me you can just drill the hole yourself. Its really easy if you have the tools and time and a steady hand and enough patience (LOL irony) to not mess it up. Also don't complain to me if you screw up your valve, aluminium is a very weak material and can crack easily. SO PROCEED AT YOUR OWN RISK.
Why because the synchronic flutters and resonates a LOT.
What you need
BRAND NEW even if you have them already just get new ones cause if yours are worn out you can make your life crazy difficult if you strip a bolt head or w/e.
First
a 1/8 drill bit FOR METAL AND aluminum
and 3/16 drill bit Also for metal and aluminum
a 2mm allen
a 2.5mm allen
and a 3mm allen
You need those things brand new first time you use them is on your valve ok.
next you need a drill or drill press
a vice would be helpful but not required (Optional)
a punch the kind you just press down on but the hammer type will work nicely too or a nail if you wanna be cheap but believe me use a punch. This is to make a nice little hole to start the drill bit and not let it slip around.
rags or paper towels and Petroleum Jelly
I think thats it
First Remove your valve, if you installed it you should know how to take it off if not theres probably a thread you can find to help you out with that part but it straight forward so until you can remove you valve you do not have enough skill to do this mod.
Next up
You can see there are bolts on all sides of your valve turn it so silver side is up like this
remove the 5 bolts you see there. First clean all the bolt heads and make sure there is no dirt to obstruct the allen key. Then carefully push the allen all the way into the bolt head, make sure it seated well and turn counter clockwise. Ok i won't repeat this for evey allen removal so you have to to do this every time you remove an allen headed bolt FOR EVER UNTIL THE END OF TIME.
Remove this
Ok so now your valve looks like this
Flip it over so you see this
Loosen that allen, its a 2mm. you don't have to remove it but if you want to you can
Rotate your valve 180 degrees (flip it over)
You now see this
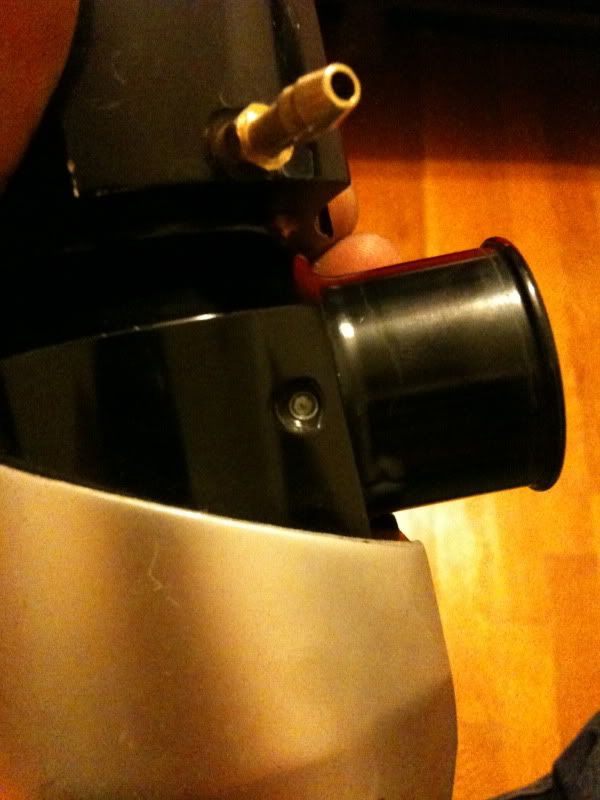
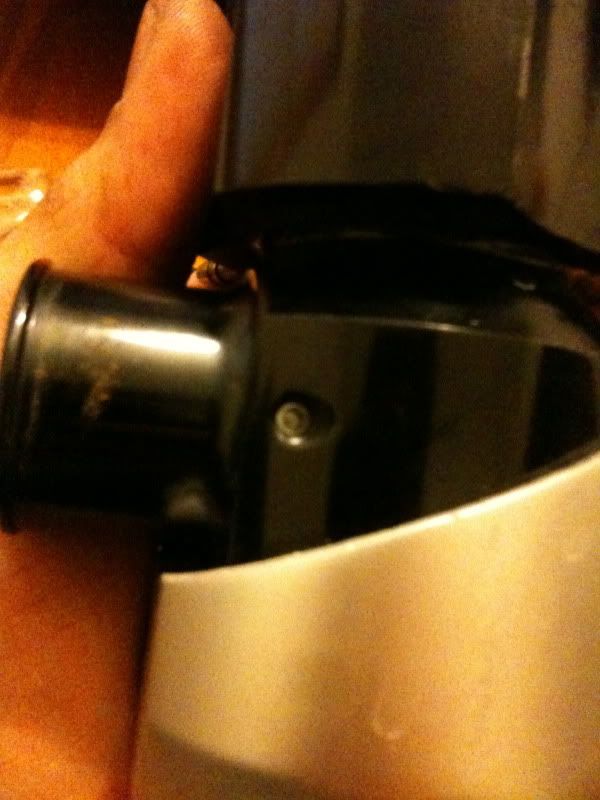
Also loosen or remove that allen its 2mm
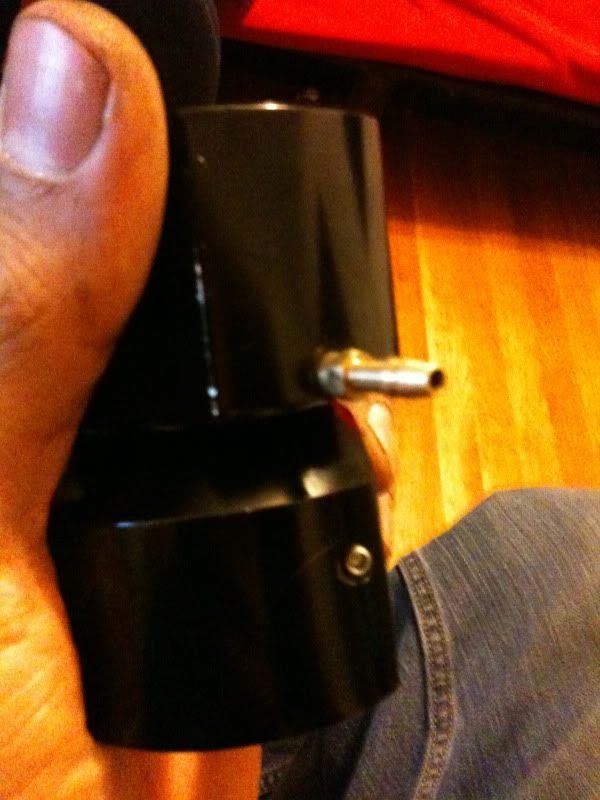
Then pull on the Black thing that sticks out, its the pipe that was connect to your upper IC pipe. Just wiggle it and remove it carefully. until you see this

And now your valve looks like this
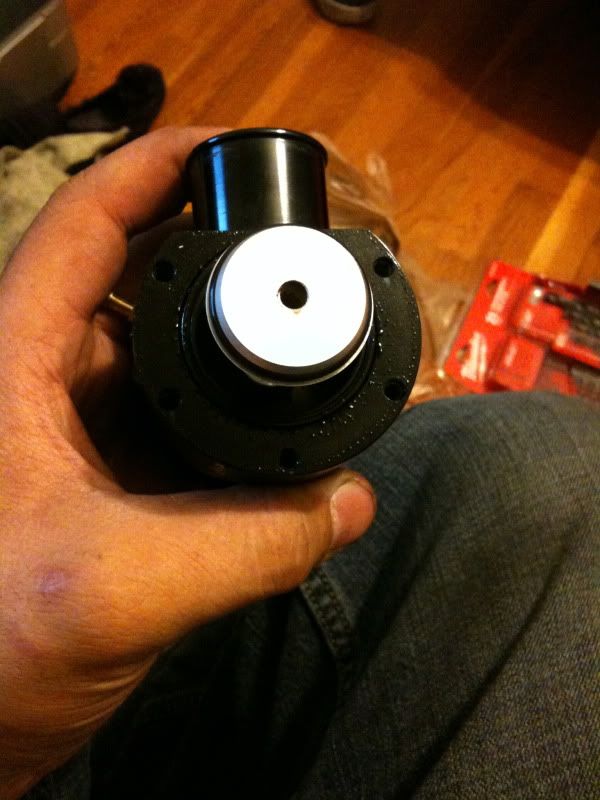
rotate the valve so you see this side now
Remove the bolts they are 3mm allens
WAIT DON'T Remove all the bolts leave one or two in and place your fingers on top of the valve to holt it together theres springs pushing that black top part up away from the valve body. Now carefully remove those last bolts.
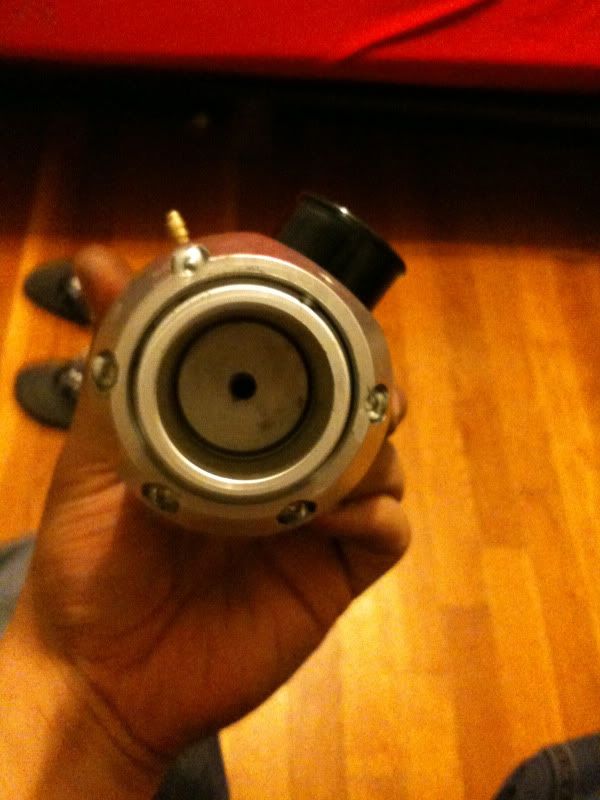
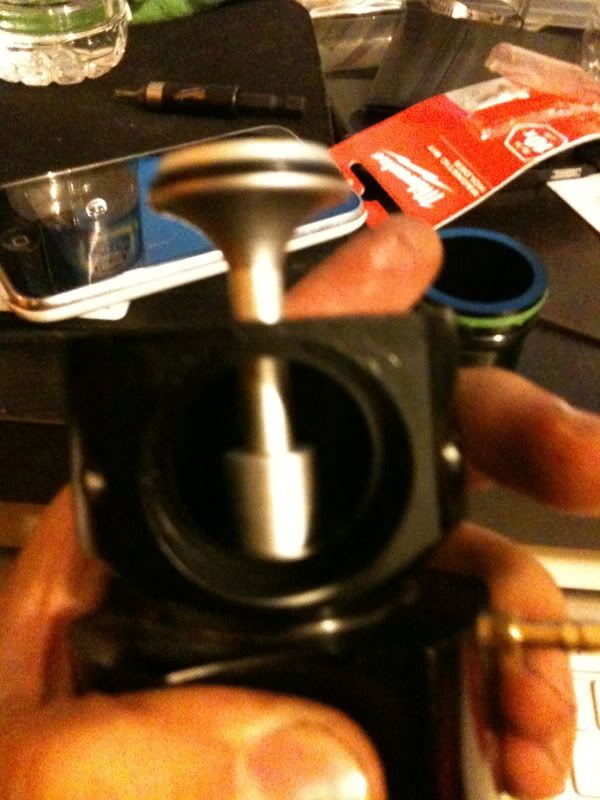
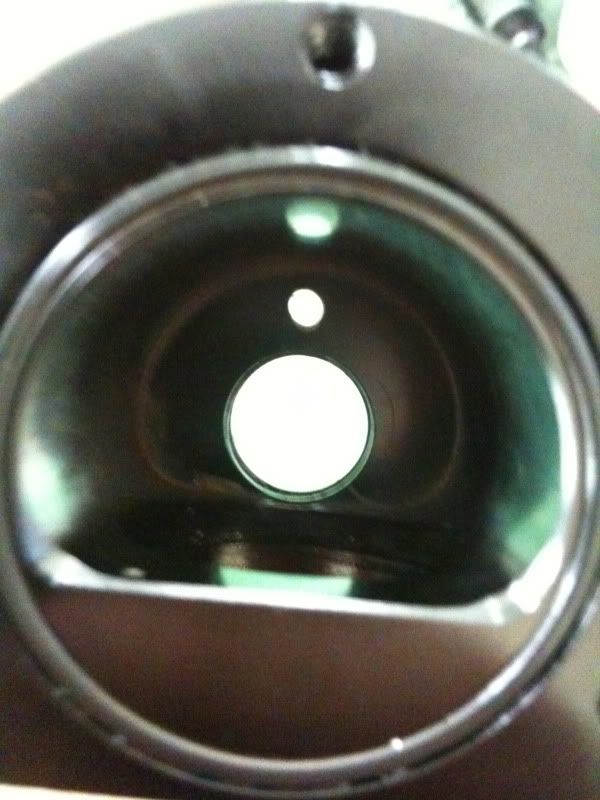
OK now take all those pieces and put them some where safe (like your desk) and look into the top of the valve so you see this
See the little bolt inside the center, well its a 2.5mm allen and guess what... Remove it what a surprise. Oh you probably will notice that the entire piston rotates. DO this
Hold the bottom like so
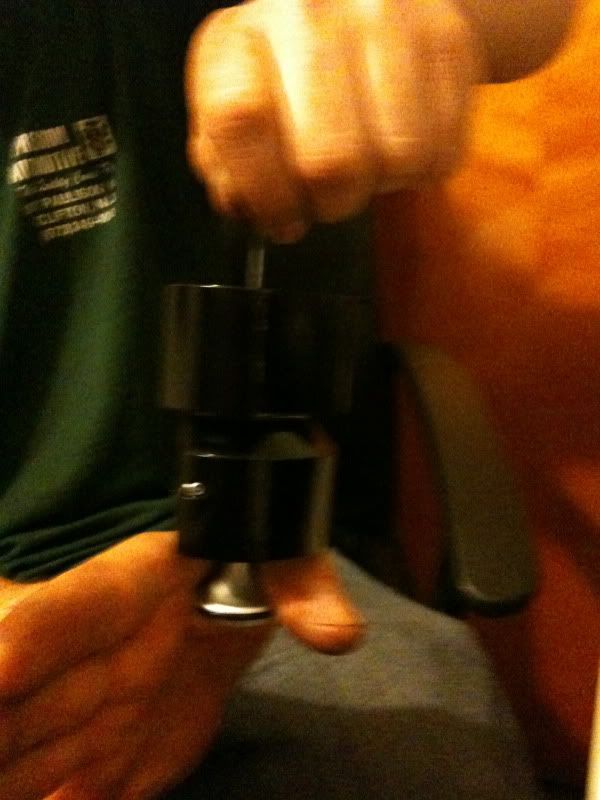
And grip it like so
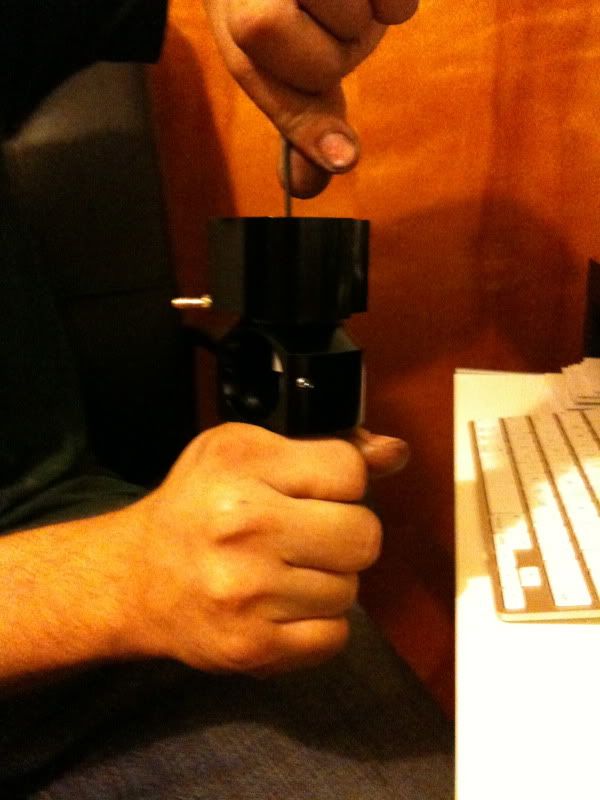
now try to loosen the bolt
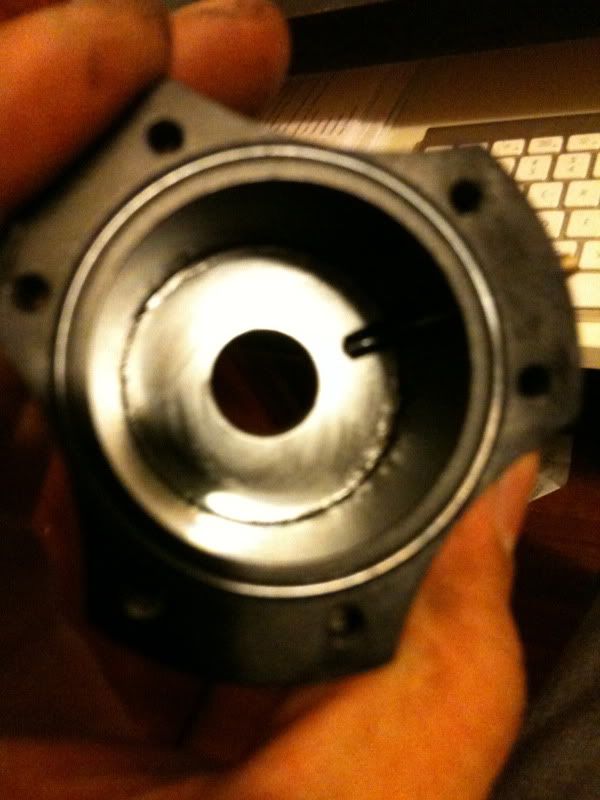
Remove the piston and valve from the body
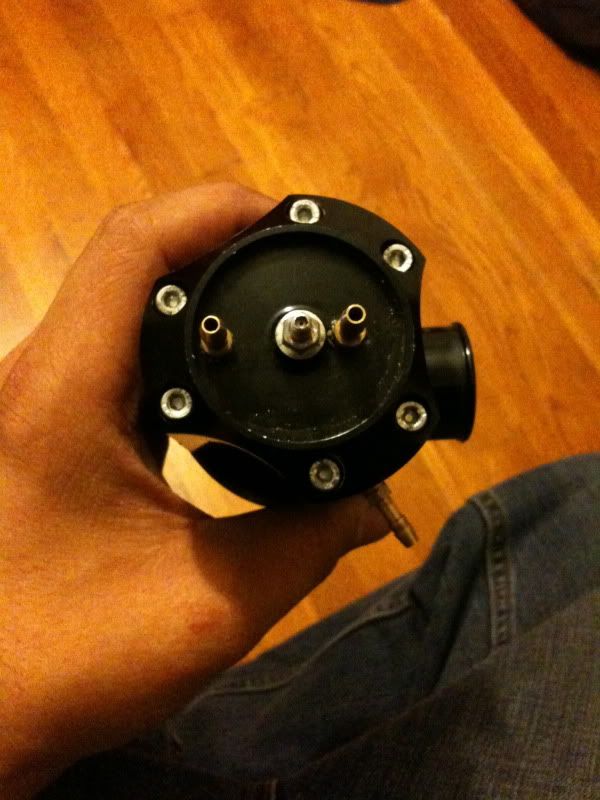
you now should have this
and the other side
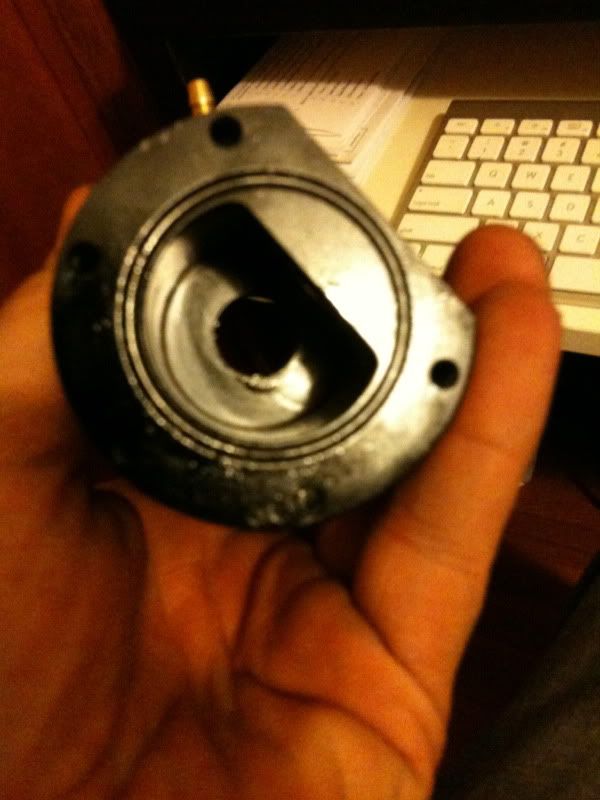
and one more picuture
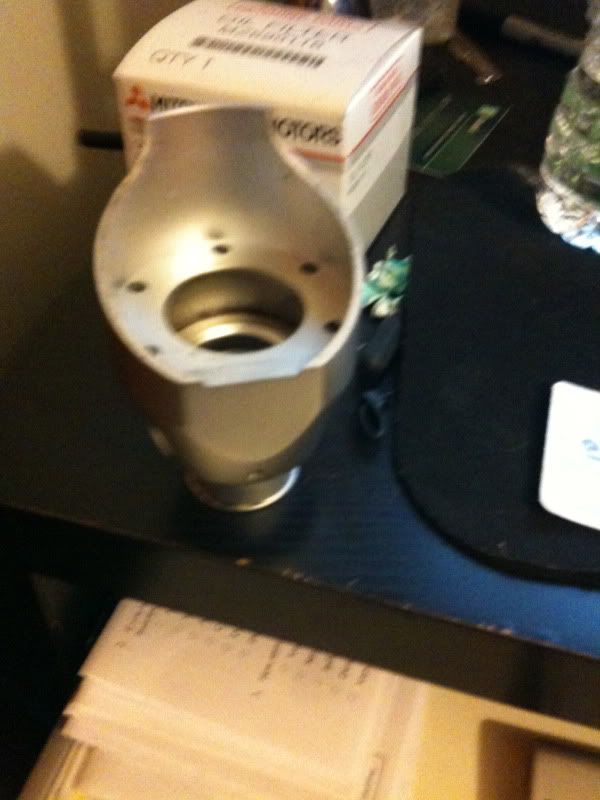
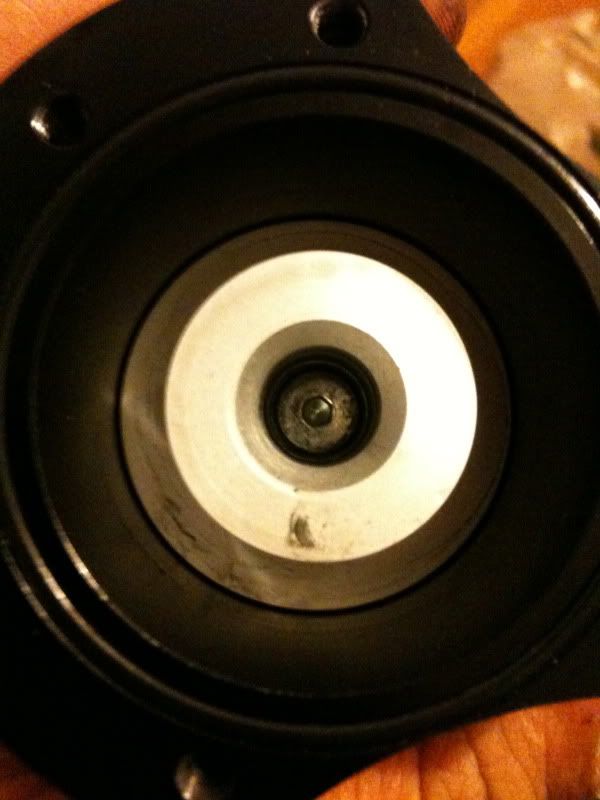
Ok now the HARD part your gonna make your valve look like this
drill from the side the valve came out of not the Piston. The smaller side the side in the picture above. Before you drill though your going to place the hole directly across from the Boost inlet thing. So center the punch carefully between the wall of the valve and the piston hole in the center of the valve. No make a little dent to center your drill bit.
Set your drille to the lowest speed setting, and attach the 1/8 bit. Slowly carefully drill a hole if the bit gets stuck you need to back it out and not add so much pressure. DO NOT ADD MUCH PRESSURE the drill bit will cut aluminum.
Next if you want to you can step it up to a 3/16 hole but I didn't do so. the 1/8 works fine on my car.
your valve now looks like this

Last but not least plug the C-port with a M6x1mm bolt that is only 5mm in length or shorter. MAKE sure your bolt clears the piston and seals with a little teeny o-ring. I reconnected my C-port to the boost source so you can leave it. I get very little flutter and almost no surge. I would say over all this valve witht he c-port and a 1/8 hole works better than the stock valve.
reverse order to put it back together. Use a little Petroleum Jelly on the orings. A little bit not much.
I hope you like this How-to
First off I do not know if synapse has a warranty on your valve but im sure this will void it, you can send the valve to them and get this done for 35 dollars. But if you're impatient like me you can just drill the hole yourself. Its really easy if you have the tools and time and a steady hand and enough patience (LOL irony) to not mess it up. Also don't complain to me if you screw up your valve, aluminium is a very weak material and can crack easily. SO PROCEED AT YOUR OWN RISK.
Why because the synchronic flutters and resonates a LOT.
What you need
BRAND NEW even if you have them already just get new ones cause if yours are worn out you can make your life crazy difficult if you strip a bolt head or w/e.
First
a 1/8 drill bit FOR METAL AND aluminum
and 3/16 drill bit Also for metal and aluminum
a 2mm allen
a 2.5mm allen
and a 3mm allen
You need those things brand new first time you use them is on your valve ok.
next you need a drill or drill press
a vice would be helpful but not required (Optional)
a punch the kind you just press down on but the hammer type will work nicely too or a nail if you wanna be cheap but believe me use a punch. This is to make a nice little hole to start the drill bit and not let it slip around.
rags or paper towels and Petroleum Jelly
I think thats it
First Remove your valve, if you installed it you should know how to take it off if not theres probably a thread you can find to help you out with that part but it straight forward so until you can remove you valve you do not have enough skill to do this mod.
Next up
You can see there are bolts on all sides of your valve turn it so silver side is up like this
remove the 5 bolts you see there. First clean all the bolt heads and make sure there is no dirt to obstruct the allen key. Then carefully push the allen all the way into the bolt head, make sure it seated well and turn counter clockwise. Ok i won't repeat this for evey allen removal so you have to to do this every time you remove an allen headed bolt FOR EVER UNTIL THE END OF TIME.
Remove this
Ok so now your valve looks like this
Flip it over so you see this
Loosen that allen, its a 2mm. you don't have to remove it but if you want to you can
Rotate your valve 180 degrees (flip it over)
You now see this
Also loosen or remove that allen its 2mm
Then pull on the Black thing that sticks out, its the pipe that was connect to your upper IC pipe. Just wiggle it and remove it carefully. until you see this
And now your valve looks like this
rotate the valve so you see this side now
Remove the bolts they are 3mm allens
WAIT DON'T Remove all the bolts
leave one or two in and place your fingers on top of the valve to holt it together theres springs pushing that black top part up away from the valve body. Now carefully remove those last bolts. OK now take all those pieces and put them some where safe (like your desk) and look into the top of the valve so you see this
See the little bolt inside the center, well its a 2.5mm allen and guess what... Remove it what a surprise. Oh you probably will notice that the entire piston rotates. DO this
Hold the bottom like so
And grip it like so
now try to loosen the bolt
Remove the piston and valve from the body
you now should have this
and the other side
and one more picuture
Ok now the HARD part your gonna make your valve look like this
drill from the side the valve came out of not the Piston. The smaller side the side in the picture above. Before you drill though your going to place the hole directly across from the Boost inlet thing. So center the punch carefully between the wall of the valve and the piston hole in the center of the valve. No make a little dent to center your drill bit.
Set your drille to the lowest speed setting, and attach the 1/8 bit. Slowly carefully drill a hole if the bit gets stuck you need to back it out and not add so much pressure. DO NOT ADD MUCH PRESSURE the drill bit will cut aluminum.
Next if you want to you can step it up to a 3/16 hole but I didn't do so. the 1/8 works fine on my car.
your valve now looks like this
Last but not least plug the C-port with a M6x1mm bolt that is only 5mm in length or shorter. MAKE sure your bolt clears the piston and seals with a little teeny o-ring. I reconnected my C-port to the boost source so you can leave it. I get very little flutter and almost no surge. I would say over all this valve witht he c-port and a 1/8 hole works better than the stock valve.
reverse order to put it back together. Use a little Petroleum Jelly on the orings. A little bit not much.
I hope you like this How-to
 Jul 29, 2011, 08:30 PM
#2
I did this to mine also while my motor was out. Pretty easy to do and will save you money if you do it right. I'm still breaking in my new motor but I do hit about 5 psi at times and have noticed no flutter whatsoever. Ill know for sure once the motor is broken in an I'm on the highway hitting about 10psi and lightly letting off the throttle. This is when I really noticed it before. Good write up. Couldn't have done it better myself.
Trending Topics
 Dec 27, 2011, 03:31 PM
#10
Did you have your port C connected or were you having issues because it wasn't? I am debating doing this but my valve is connected properly with the port c running off my lipc with very minor instances of flutter. Synapse claims they only did this because 98% of customers couldn't hook up port c. This seems very easy to do but will I really notice a change is my question.

Thread
Thread Starter
Forum
Replies
Last Post
STiHAVOK
For Sale/WTB - Engine / Drivetrain / Power
8
Nov 4, 2008 08:59 AM
RED DEMON
Evo Show / Shine
80
Jul 1, 2007 05:29 PM