
Why I am THE carbon fiber whore, and evap canister repair
 Nov 11, 2007, 11:56 AM
#1
Account Disabled
Thread Starter
iTrader: (9)

Join Date: Apr 2007
Location: AZ, currently in Space Coast, FL
Posts: 460
Likes: 0
Received 0 Likes
on
0 Posts
Why I am THE carbon fiber *****, and evap canister repair
Not "a" carbon fiber *****
Not "one of the" carbon fiber ******
I am THE, and all others should be compared to me....
Not only did I spend 2-3X the cost of a Seibon trunk for a finished in and out trunk
Not only did I give enough money to Rexpeed to put his child through a semester of college
Not only did I purchase a carbon fiber ashtray.... and I don't smoke.
Not only did I fabricate carbon fiber pannels for my car.
Carbon fiber helmet, carbon fiber battery, carbon fiber stereo surround, blah be de blah blah...
Oh, and I purchased a Graphite Grey car for the SOLE FACT that it would go well with the carbon fiber I planned on putting on. I was going to go black, but I've owned way too many black cars in the past.
BUT I just repaired a part of my car with carbon fiber THAT NO ONE WILL EVER SEE for no other reason than "Just because"
So here's the story:
2 weeks ago when mounting my speaker boxes, I was an idiot, drilled through the trunk floor and into my evaporative canister. (Homer Simpson "DOH" inserted here)
I've been driving around with my check engine light on ever since for a gross leak of the evaporative system.
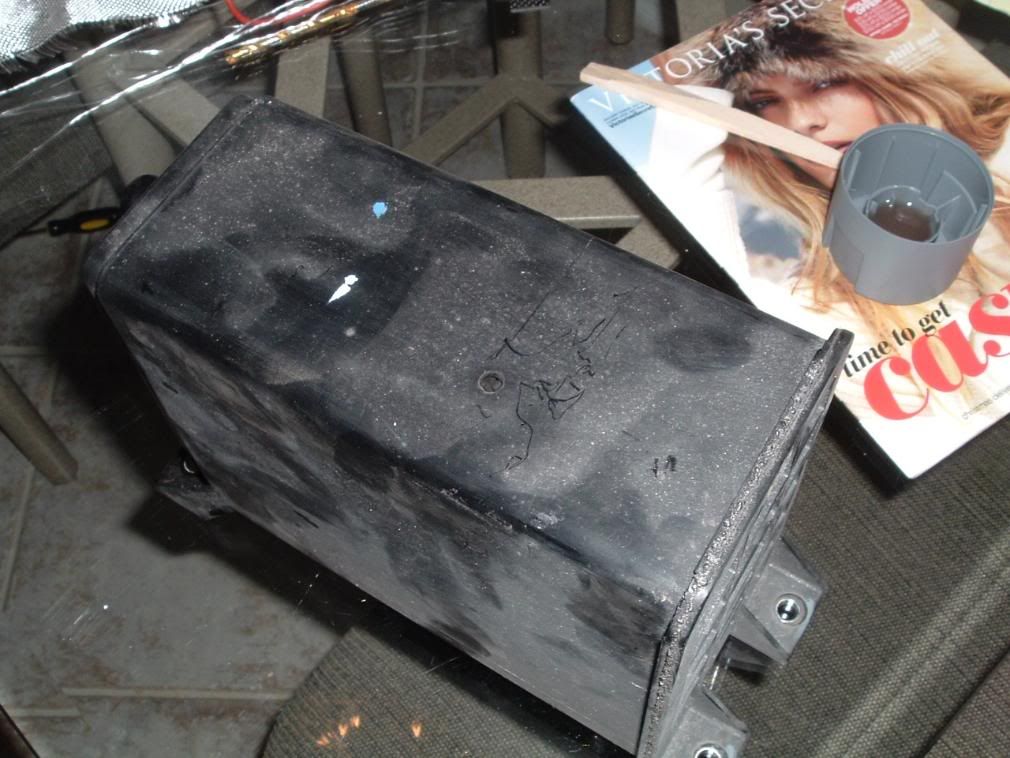
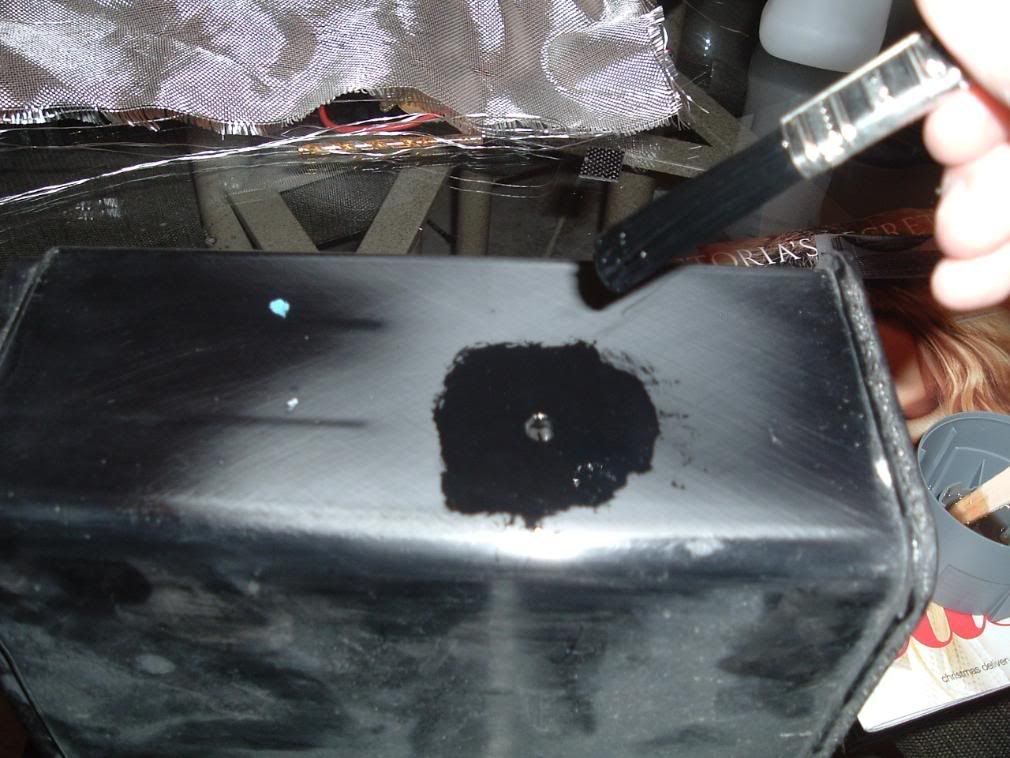
So, today I pulled the canister out, and here it is:
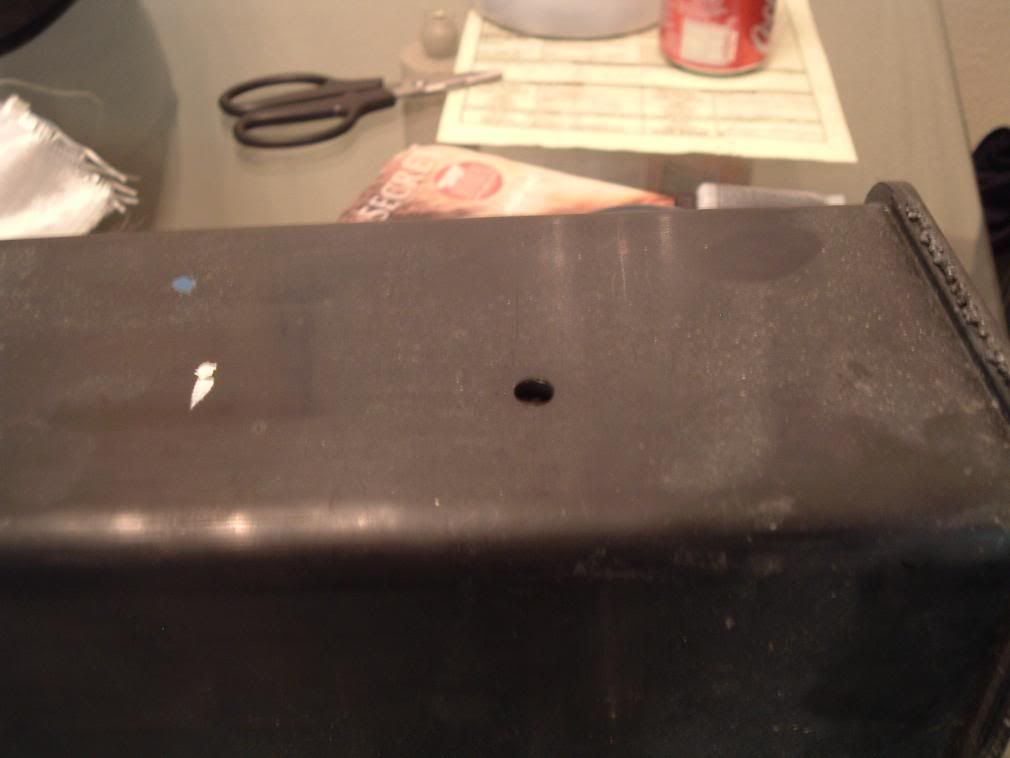
Here's the close up of the hole:
Now, I could just JB weld over the top, I could simply use duct tape, but I wanted to go the extra distance and do a perminant and totally overdone repair (as is my style). So, I decided to use a piece of cured carbon fiber (6 layers thick), and glue it over the hole with resin, then secure the entire thing together with 2 layers of fiberglass.
So, I cross sanded over the hole to remove dirt, and give the resin a texture to stick to. I then cleaned it with strong rubbing alchohol
I then mixed some fiberglass resin, and brushed it around the hole, and on the back of my piece of carbon fiber
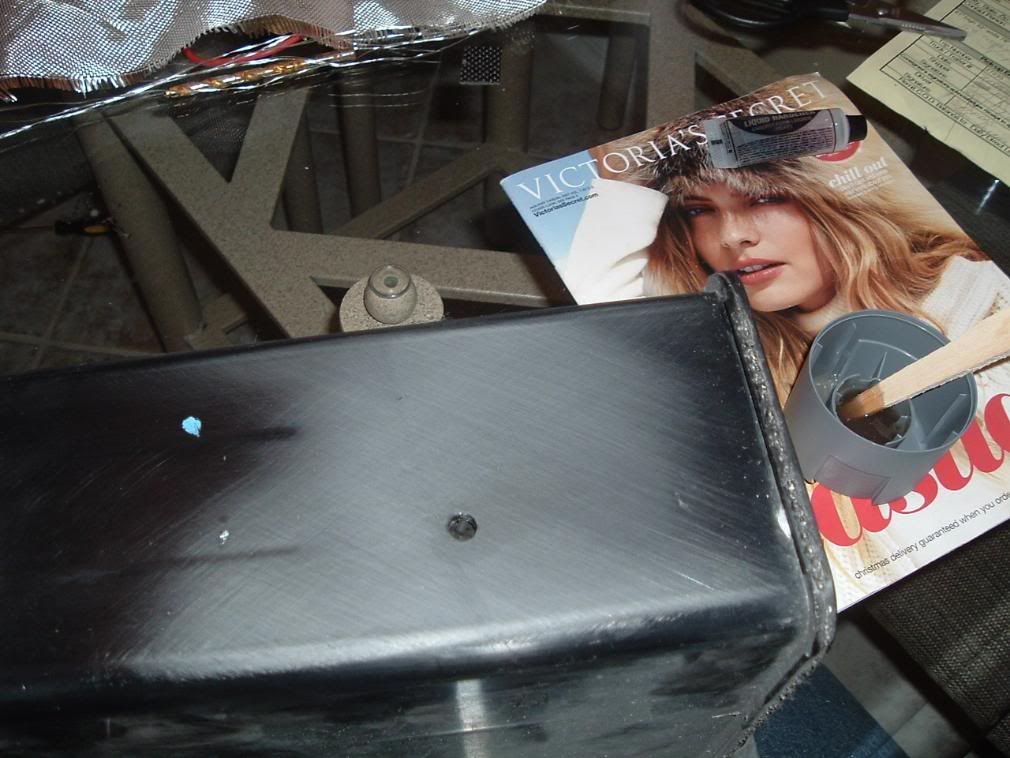
Placed the piece of carbon fiber over the hole:
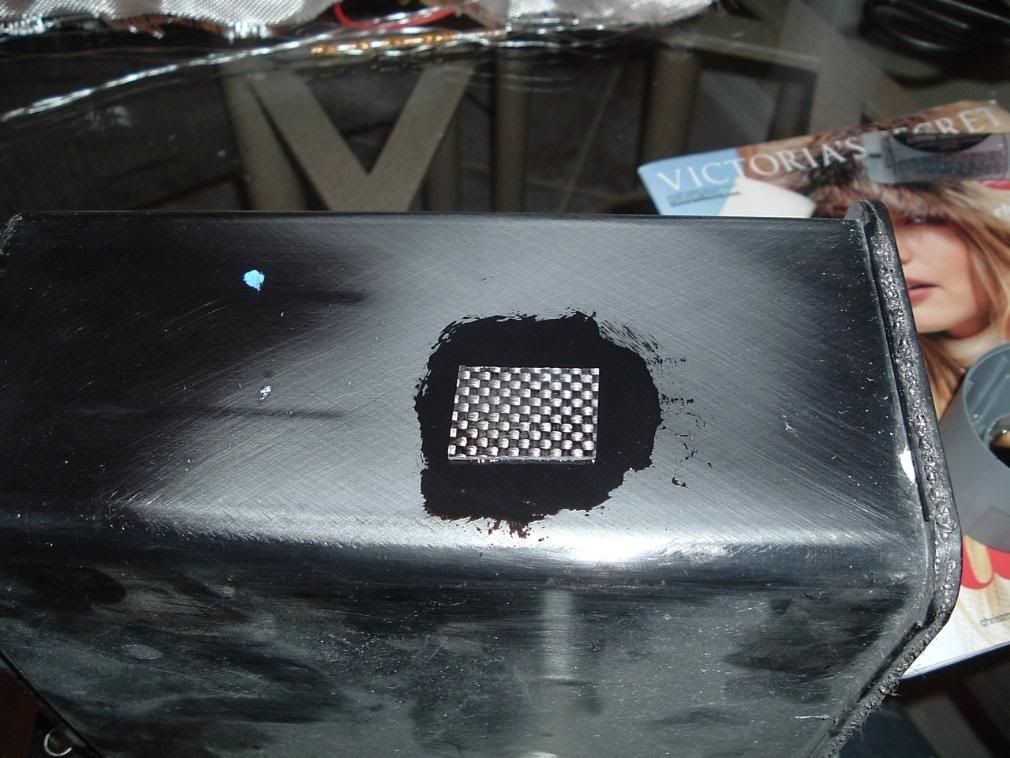
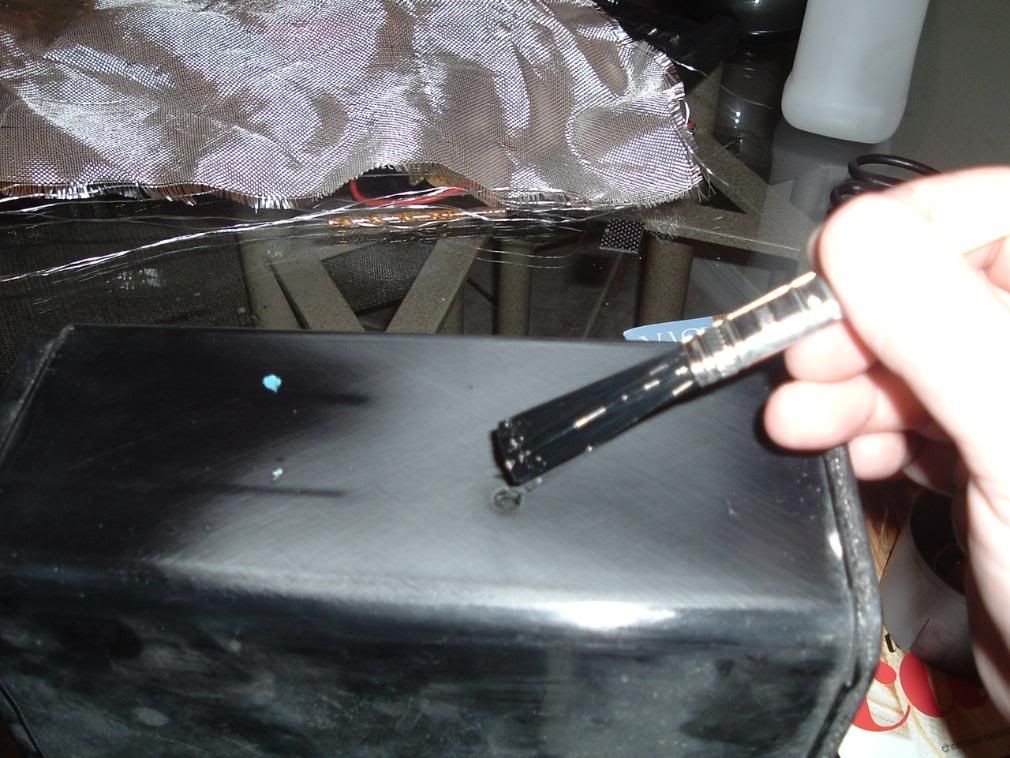
Then added some more resin, layed a small piece of fiberglass cloth over the carbon fiber, and brushed on some resin removing air bubbles with the bristles of the brush.
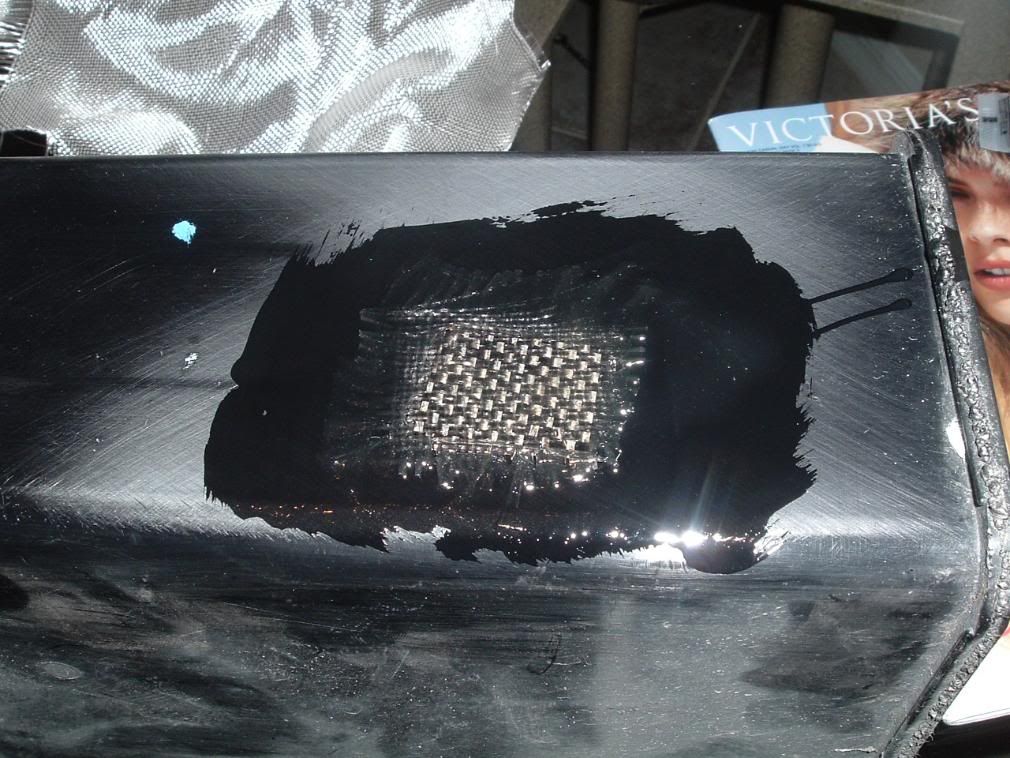
added some more resin, and layed a larger piece of fiberglass cloth over the smaller piece, and again brushed on resin and removed air bubbles
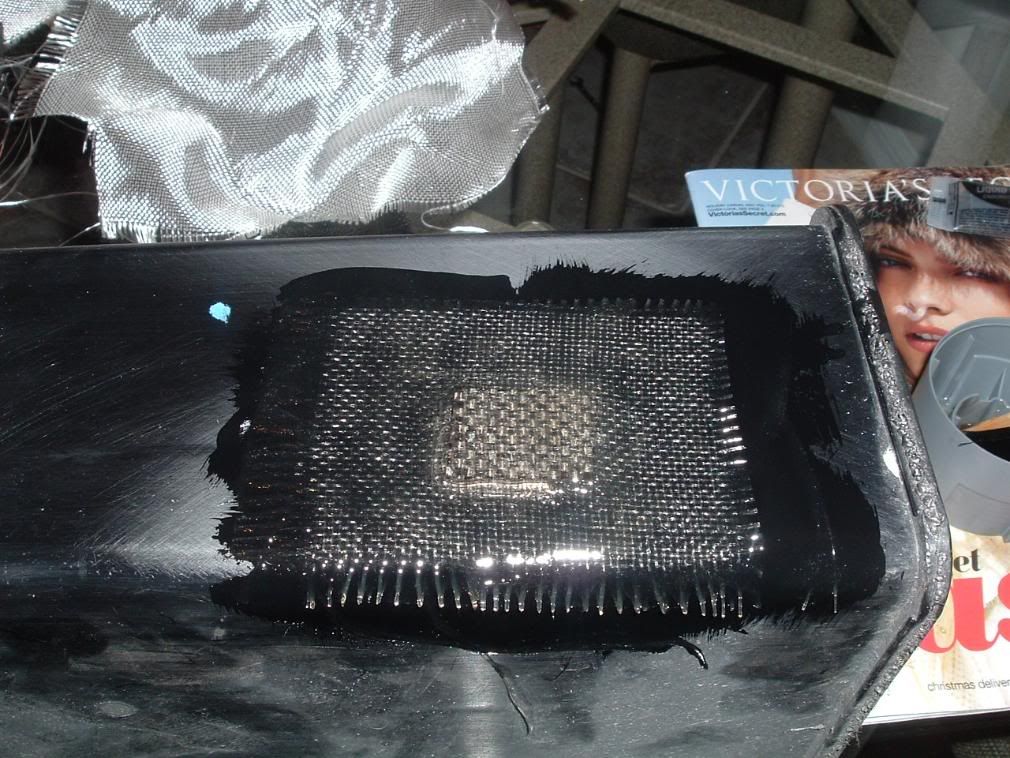
and voila! Complete. Sealed hole, perminant fix, no more leak and no more check engine light!
Not "one of the" carbon fiber ******
I am THE, and all others should be compared to me....
Not only did I spend 2-3X the cost of a Seibon trunk for a finished in and out trunk
Not only did I give enough money to Rexpeed to put his child through a semester of college
Not only did I purchase a carbon fiber ashtray.... and I don't smoke.
Not only did I fabricate carbon fiber pannels for my car.
Carbon fiber helmet, carbon fiber battery, carbon fiber stereo surround, blah be de blah blah...
Oh, and I purchased a Graphite Grey car for the SOLE FACT that it would go well with the carbon fiber I planned on putting on. I was going to go black, but I've owned way too many black cars in the past.
BUT I just repaired a part of my car with carbon fiber THAT NO ONE WILL EVER SEE for no other reason than "Just because"
So here's the story:
2 weeks ago when mounting my speaker boxes, I was an idiot, drilled through the trunk floor and into my evaporative canister. (Homer Simpson "DOH" inserted here)
I've been driving around with my check engine light on ever since for a gross leak of the evaporative system.
So, today I pulled the canister out, and here it is:
Here's the close up of the hole:
Now, I could just JB weld over the top, I could simply use duct tape, but I wanted to go the extra distance and do a perminant and totally overdone repair (as is my style). So, I decided to use a piece of cured carbon fiber (6 layers thick), and glue it over the hole with resin, then secure the entire thing together with 2 layers of fiberglass.
So, I cross sanded over the hole to remove dirt, and give the resin a texture to stick to. I then cleaned it with strong rubbing alchohol
I then mixed some fiberglass resin, and brushed it around the hole, and on the back of my piece of carbon fiber
Placed the piece of carbon fiber over the hole:
Then added some more resin, layed a small piece of fiberglass cloth over the carbon fiber, and brushed on some resin removing air bubbles with the bristles of the brush.
added some more resin, and layed a larger piece of fiberglass cloth over the smaller piece, and again brushed on resin and removed air bubbles
and voila! Complete. Sealed hole, perminant fix, no more leak and no more check engine light!
Last edited by TempeRacerGuy; Nov 11, 2007 at 12:31 PM.

 Nov 11, 2007, 12:07 PM
#5
Account Disabled
Thread Starter
iTrader: (9)
Join Date: Apr 2007
Location: AZ, currently in Space Coast, FL
Posts: 460
Likes: 0
Received 0 Likes
on
0 Posts
Well, right now I only have pictures from the licence plate pannel that I made. I took these last night to answer a question about my JDM bumper.
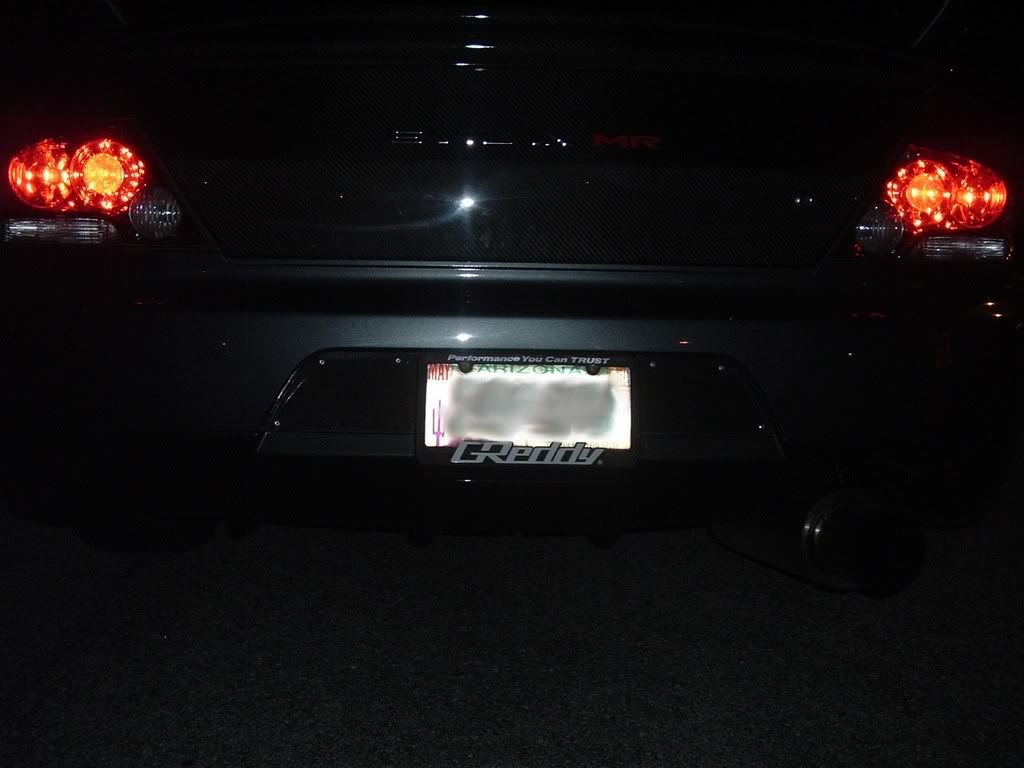
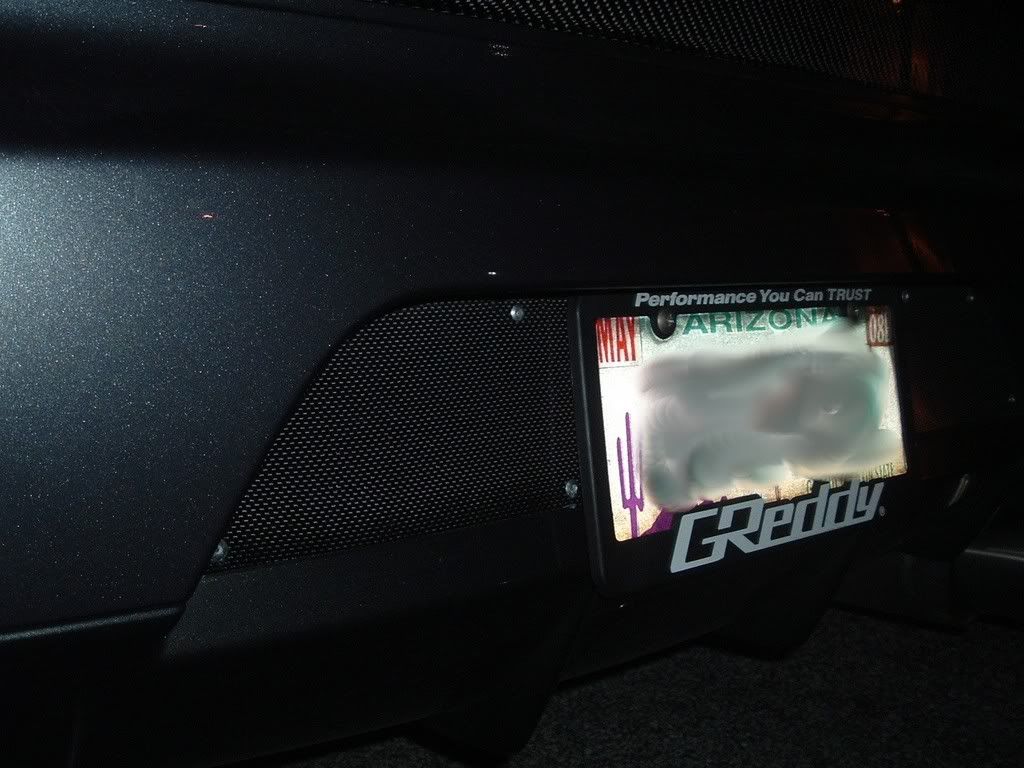
The LED pannel for my licence plate is also carbon fiber, but you can't see it with the lighting
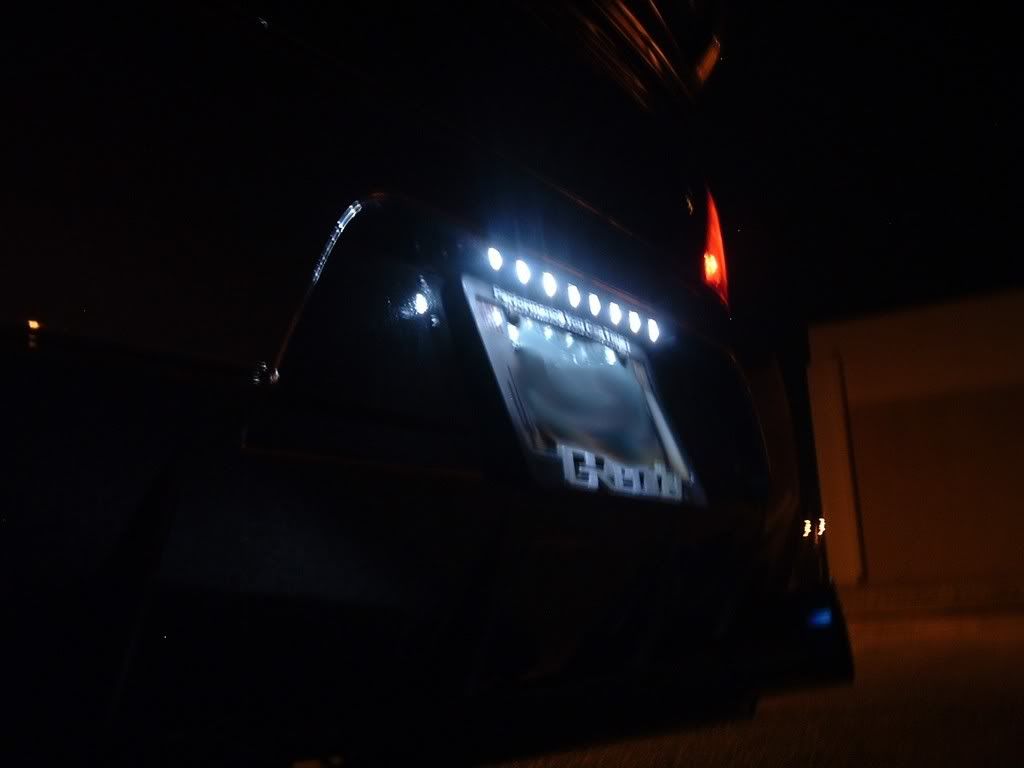
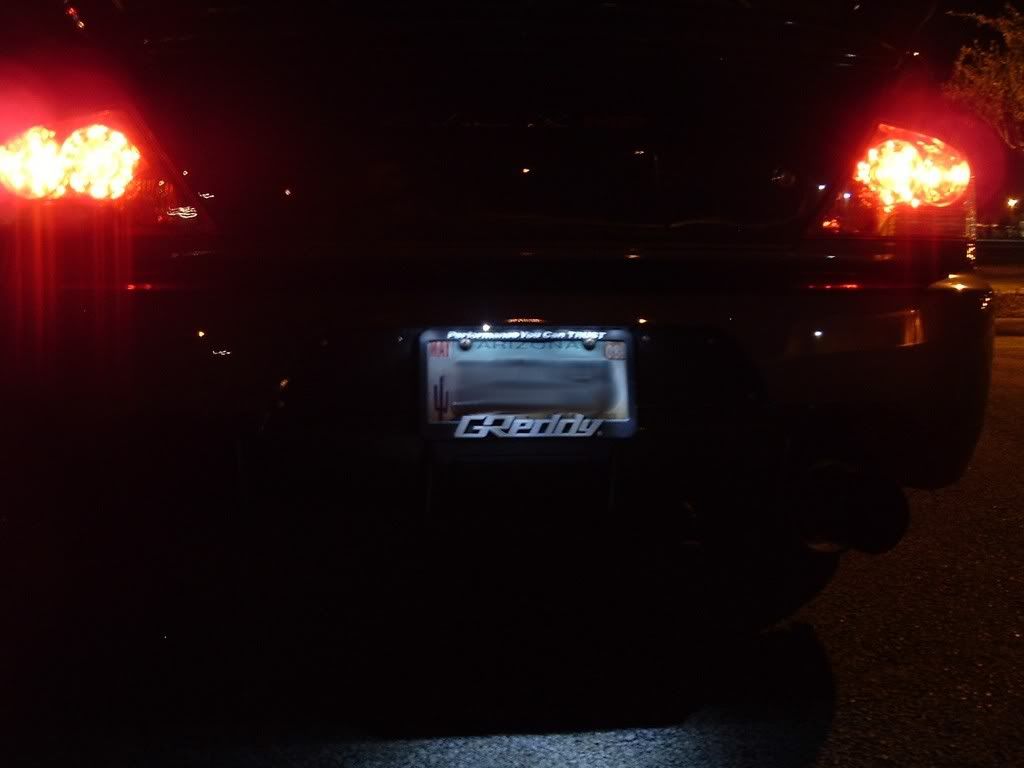
and here's how it lights the plate: The LED that's visable is only because I took the picture from knee level. if I were 1" higher the LED wouldn't be visable:
The LED pannel for my licence plate is also carbon fiber, but you can't see it with the lighting
and here's how it lights the plate: The LED that's visable is only because I took the picture from knee level. if I were 1" higher the LED wouldn't be visable:
Trending Topics

 Nov 11, 2007, 01:40 PM
#12
Evolving Member
iTrader: (2)
Join Date: Nov 2006
Location: Chicagoland
Posts: 417
Likes: 0
Received 0 Likes
on
0 Posts
Nice, but I bet your fix on that hole made you gain weight.
You can make EVERYTHING out of CF, huh? can you make me a CF condom or something? that would be sweet
You can make EVERYTHING out of CF, huh? can you make me a CF condom or something? that would be sweet
Nov 11, 2007, 02:02 PM
#14
Account Disabled
Thread Starter
iTrader: (9)
Join Date: Apr 2007
Location: AZ, currently in Space Coast, FL
Posts: 460
Likes: 0
Received 0 Likes
on
0 Posts
Condom, no... sex toys... yes... but that's a whole different forum. Lets just say a simple mold and carbon fiber sleeve can make some interesting things....
I'd show full pics of the car, but I am not done quite yet. Everything purchased and sitting on my spare bed, just don't have the time to do the work.
Here's my "To-do" list:
-Install my HID fog lights (next weekend)
-I still need to finish my orbital dash kit (color matched to the car, with carbon fiber stereo surround.... of course) ETA 3 weeks
-Install my suspension (swift springs, whiteline sway bars, whiteline bump steer correction kit, whiteline steering precision kit, whiteline roll center adjusters, and whiteline end links, Cusco Braces Galore) ETA 2-3 Weeks
-Install the false wall to hide my amp wiring ETA 3 weeks
-Wrap the dash pad with alcantara ETA 3 weeks
-Install my DEFI blue BF gauges in Rexpeed pod ETA 3 weeks
-Jestr tune (waiting on an E-mail back about dyno time and availability)
Once I am finished with the full car, I will post the whole show off pics
Last edited by TempeRacerGuy; Nov 11, 2007 at 02:07 PM.

