
Boring sunday turns into an engine swap
 Sep 11, 2009 | 05:41 AM
#1
Boring sunday turns into an engine swap
So I was bored this past weekend, sitting on the couch, with a long honey-do list. Firgured I would scam out of my chores and work on the car....
ITS ALIVE with IDLE VIDEO UPDATES ON PAGE 7
lets begin
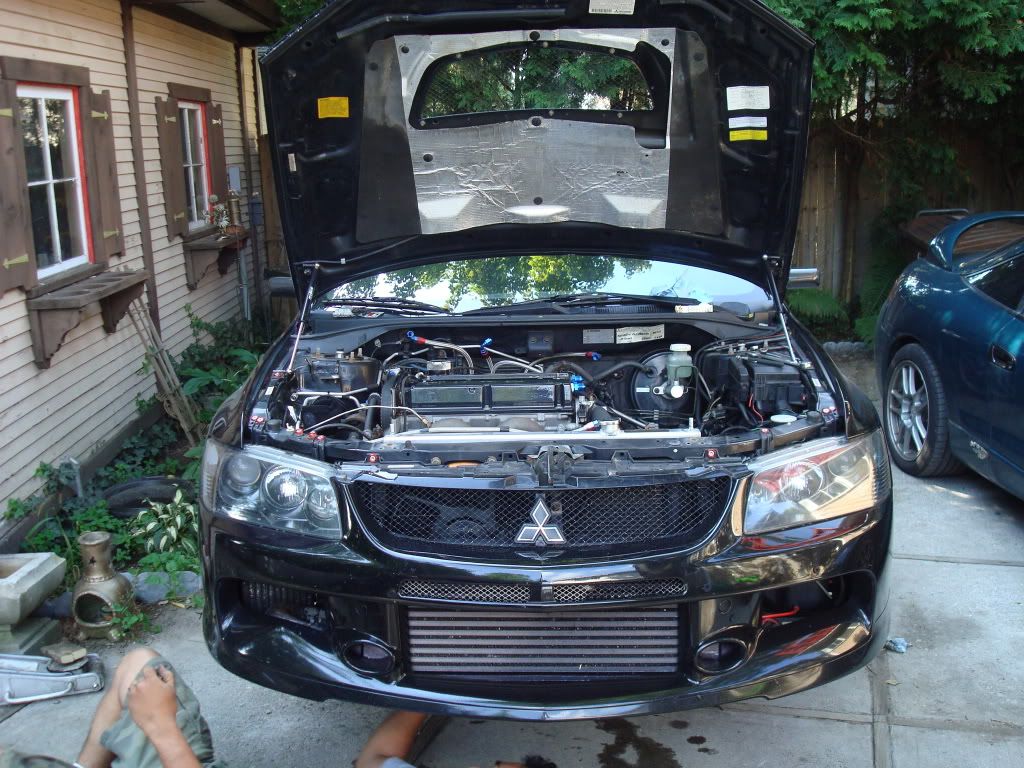
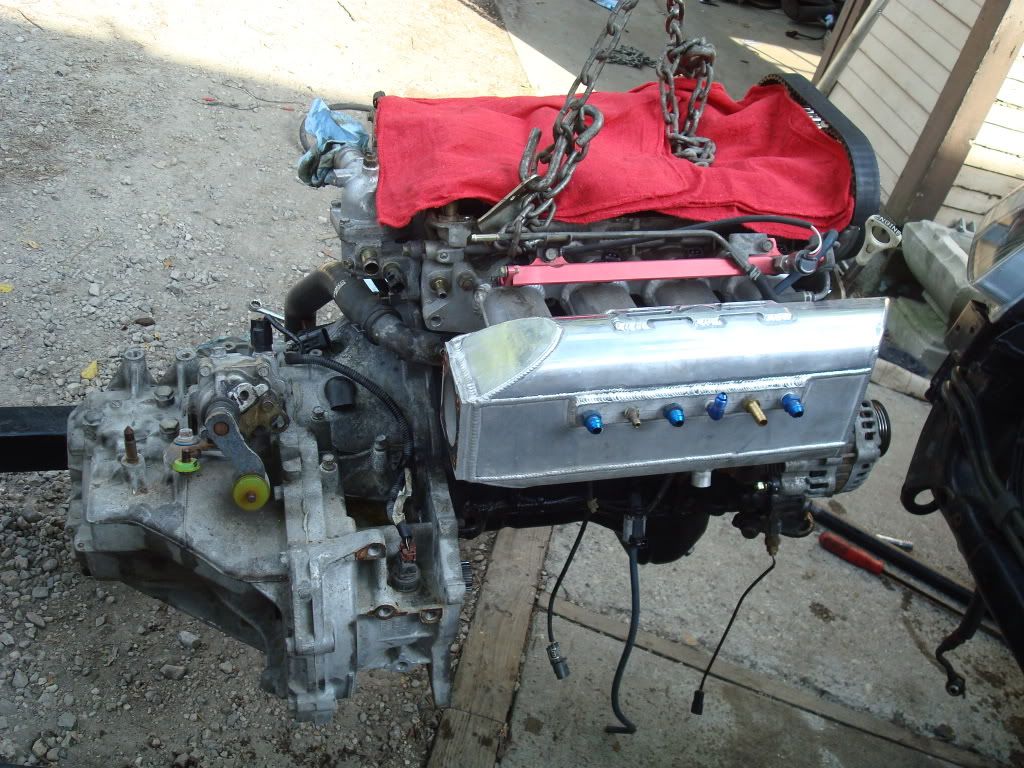
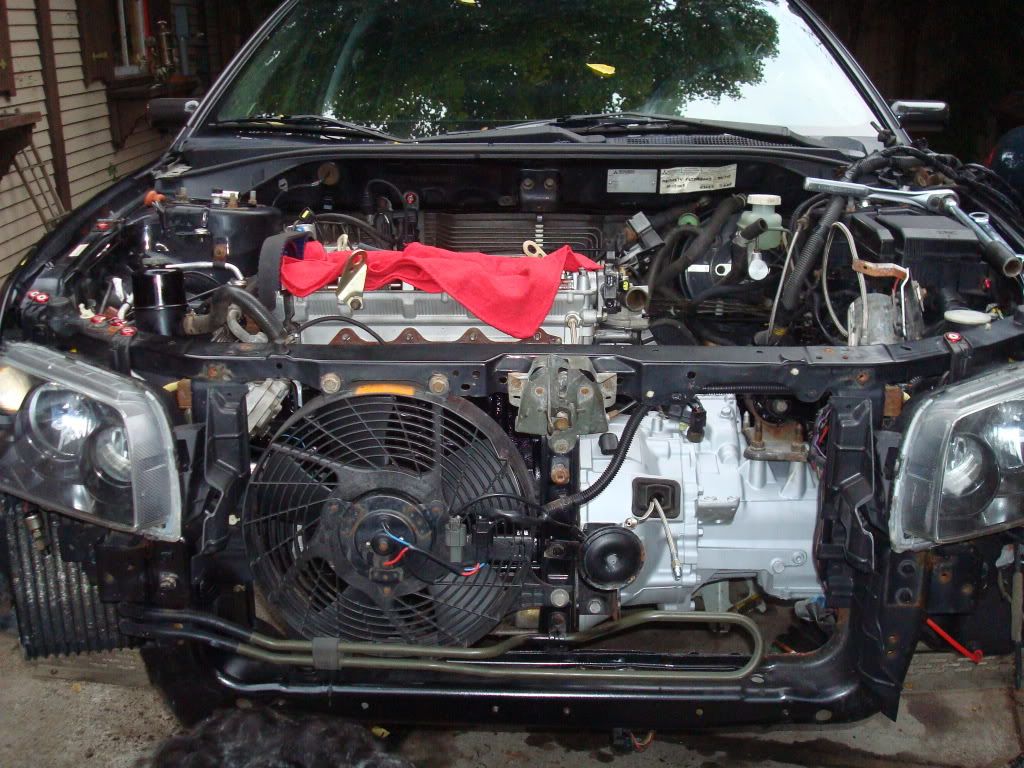
engine with some accessories removed
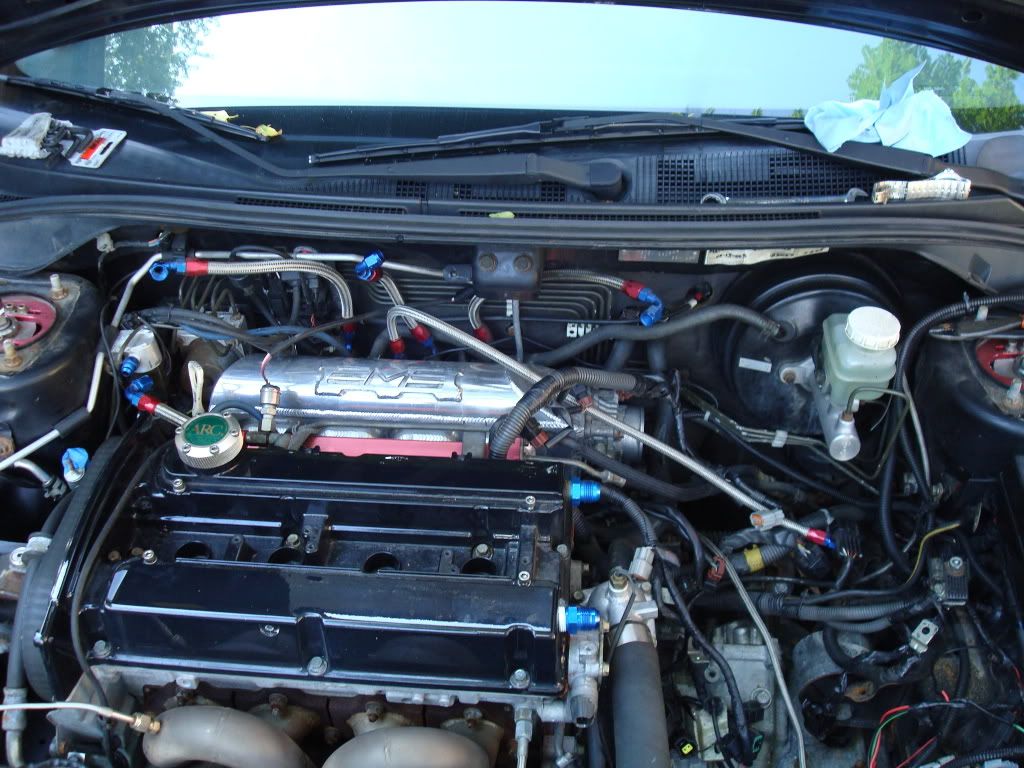
an interesting mod that I might do
the start of the removal
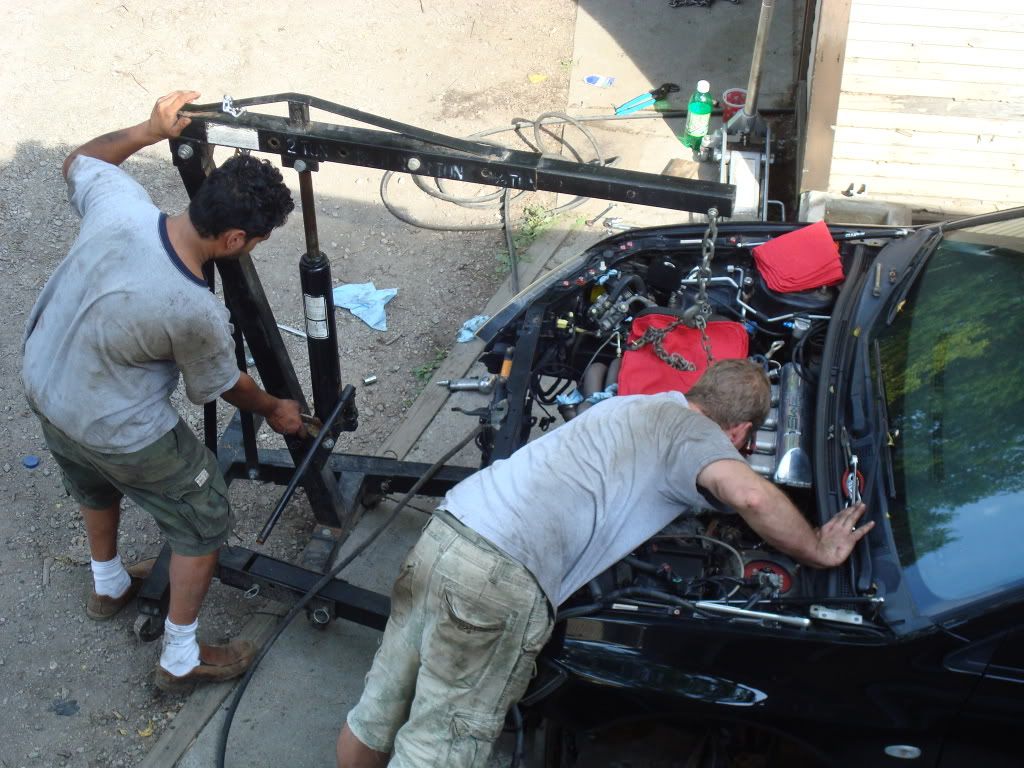
damn grease monkeys
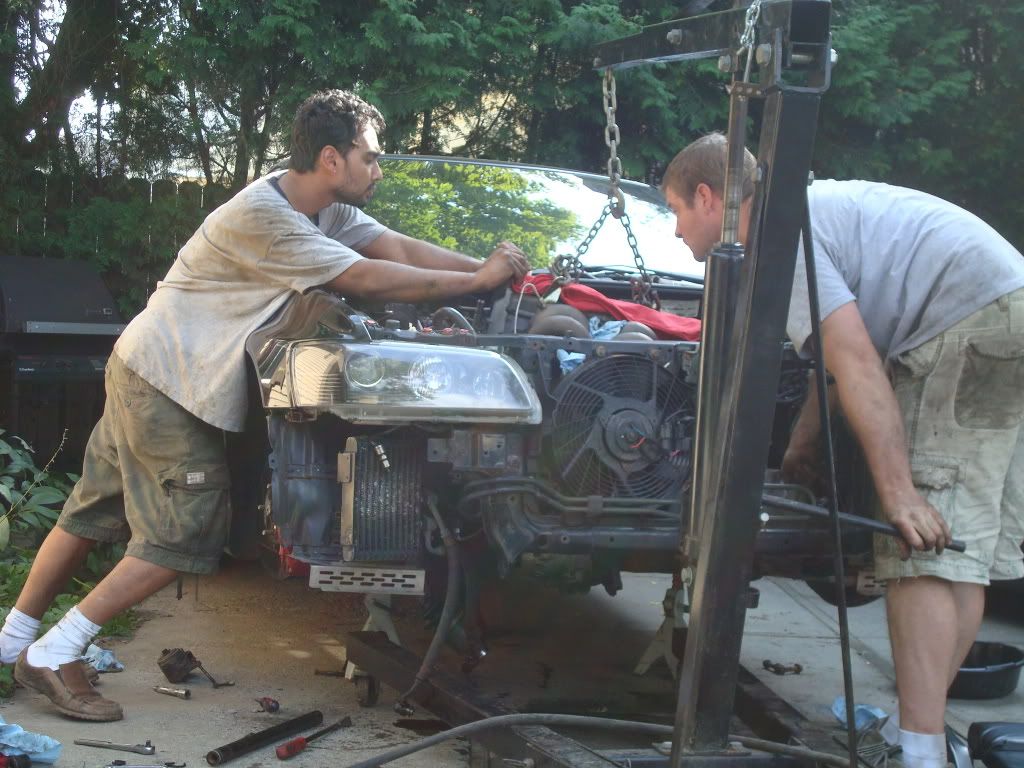
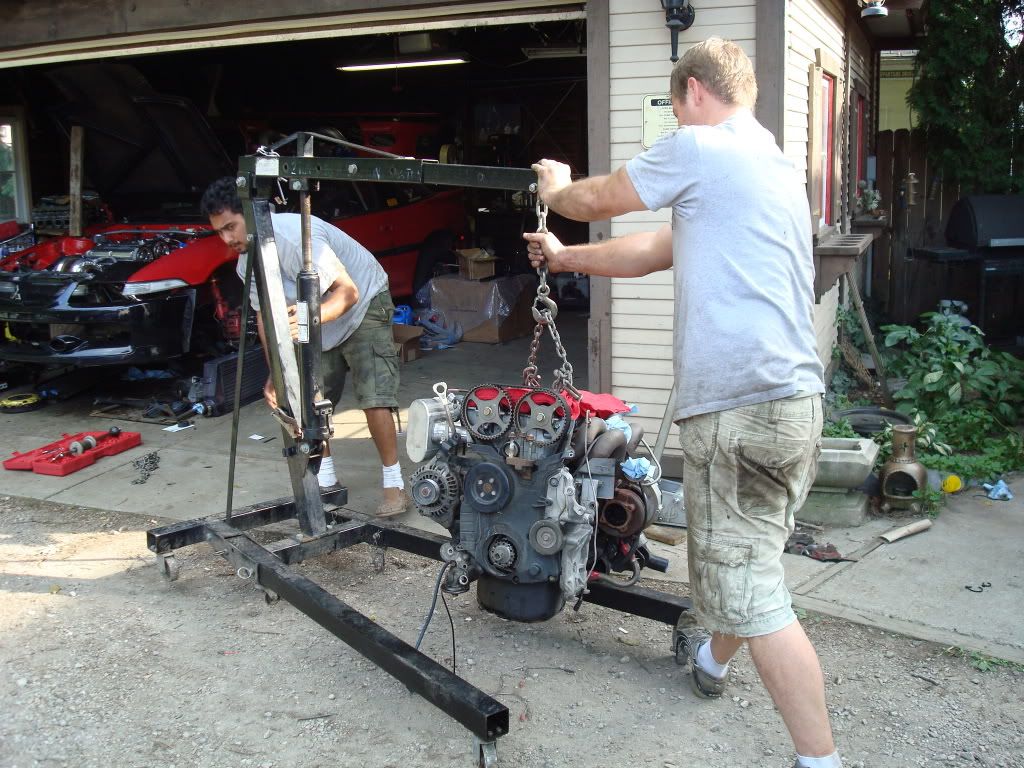
out she comes
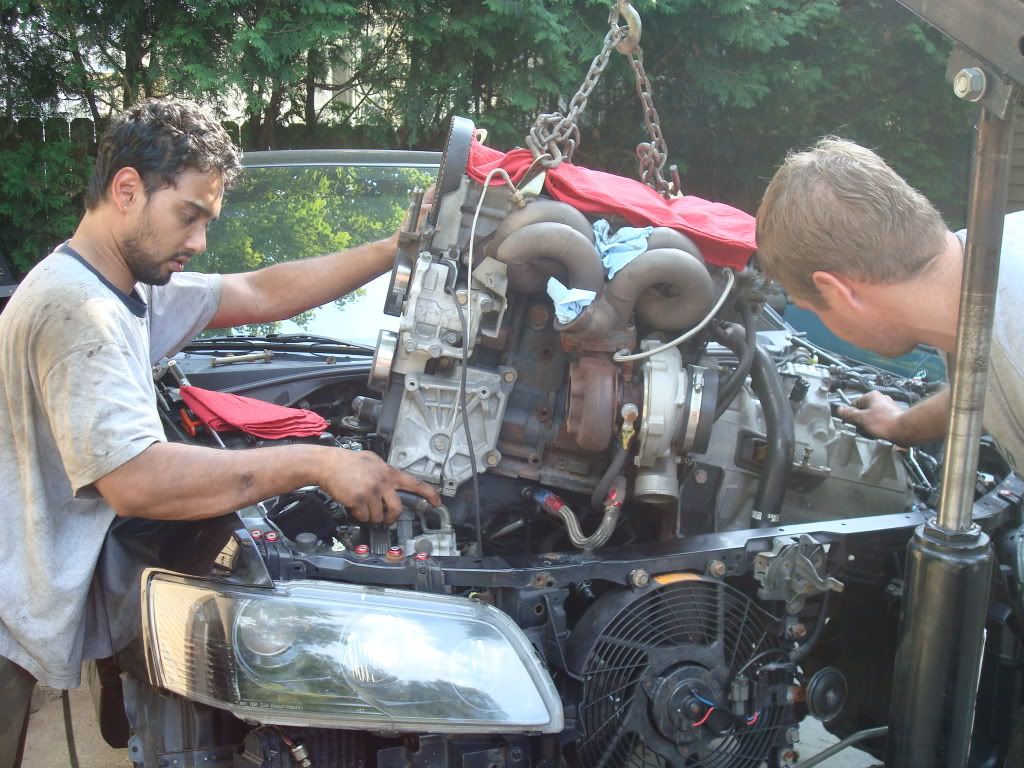
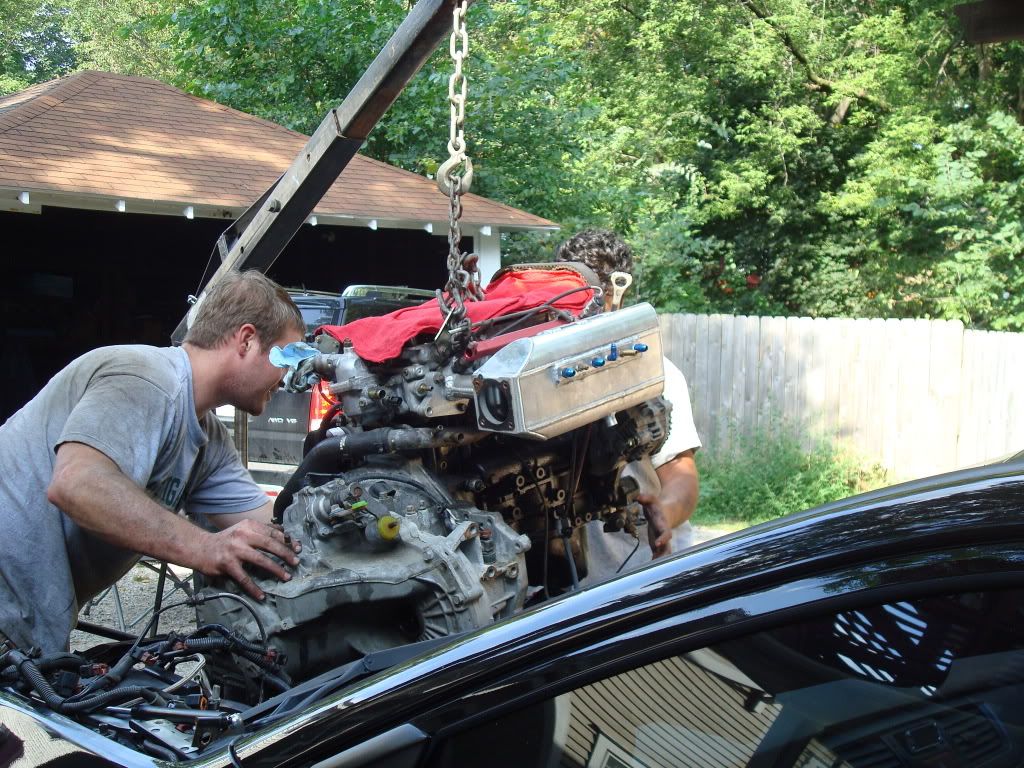
useless hunk of junk

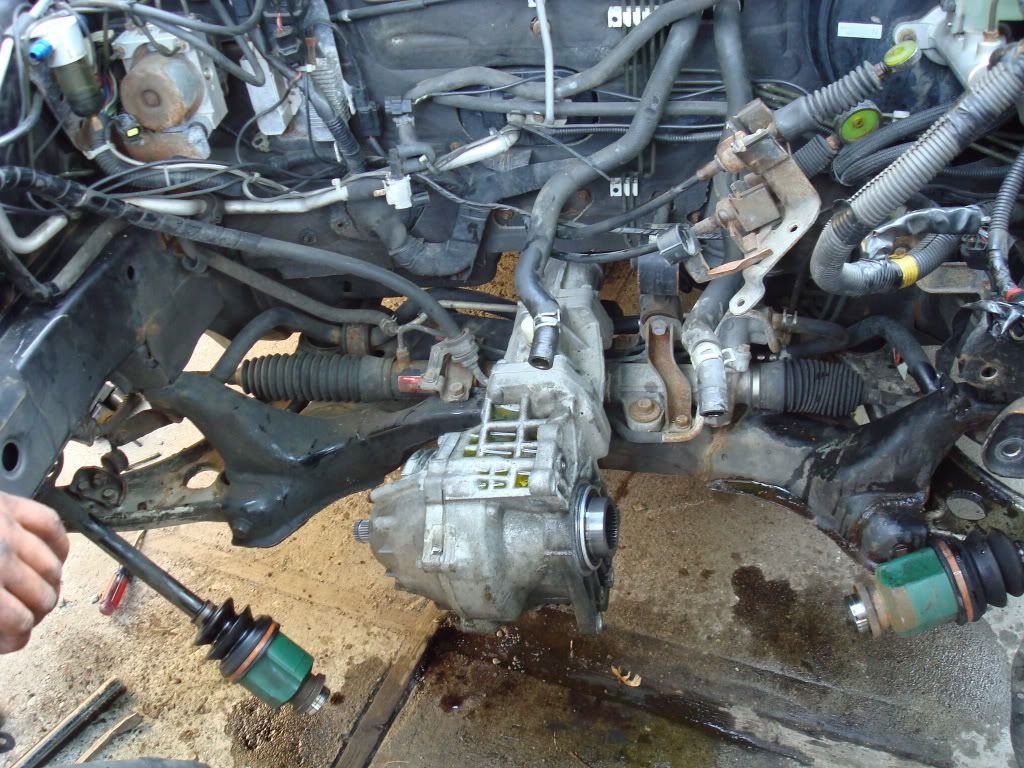
look at this nasty engine bay... time to degrease it ...
It is a real pain in the *** to drag a picker with a motor and trans attached to it, over gravel
Out of curiosity we decided to take a look at the clutch... keep in mind that this clutch has about 70k on it .
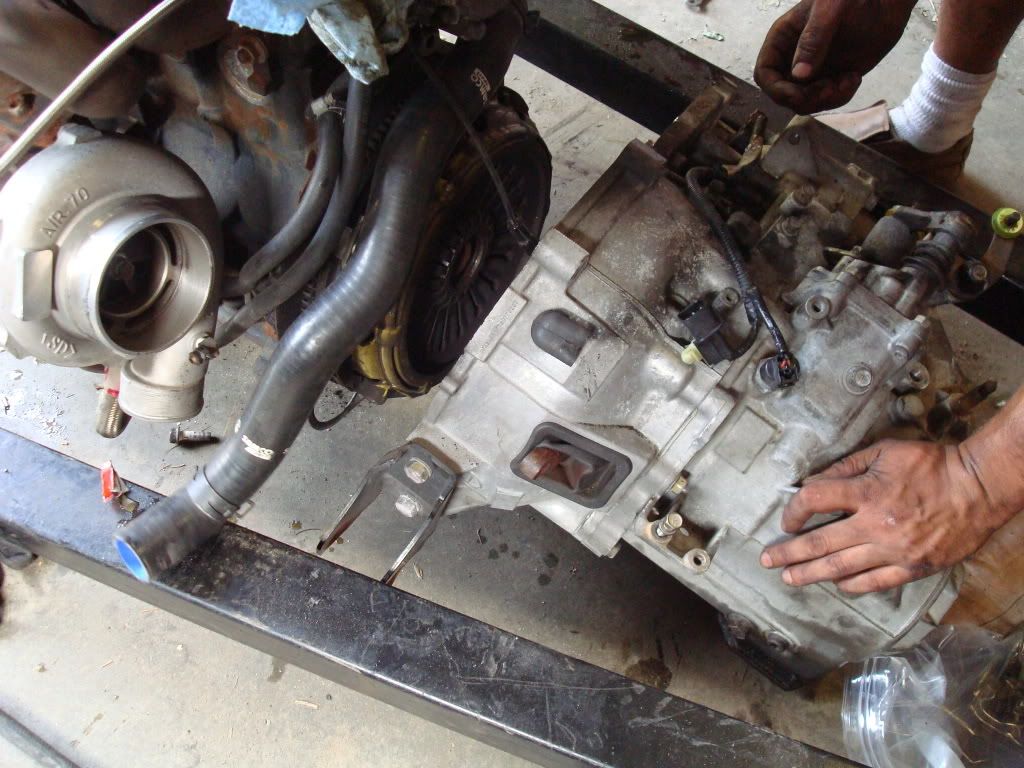
yuck
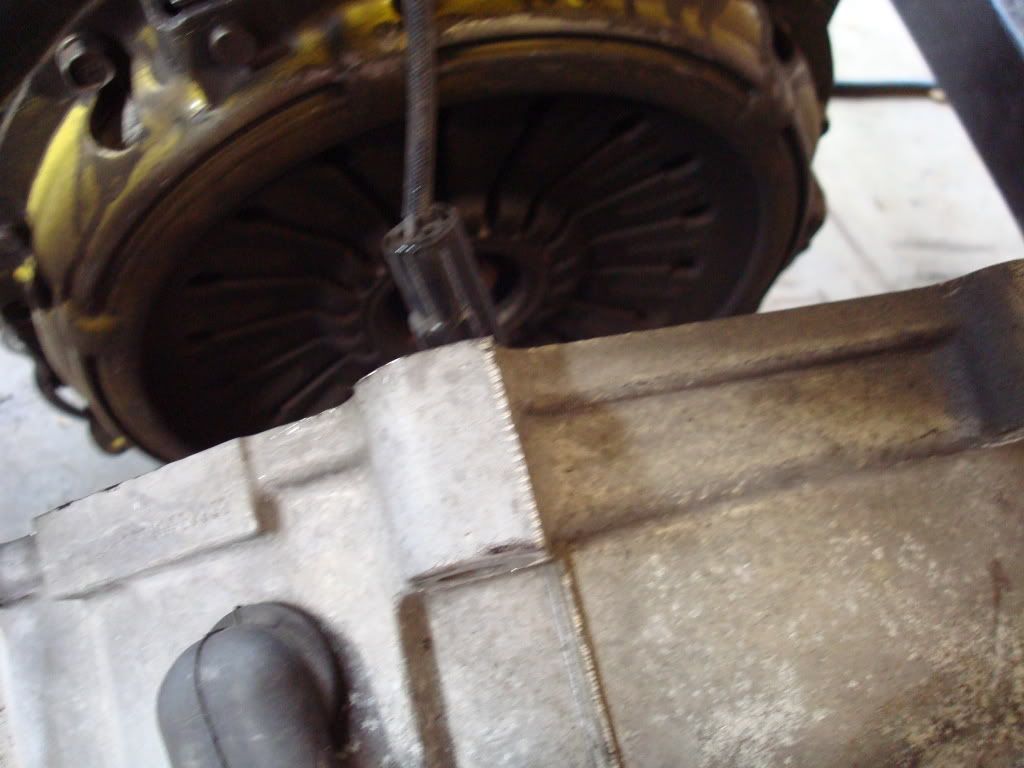
look how thin the disc is
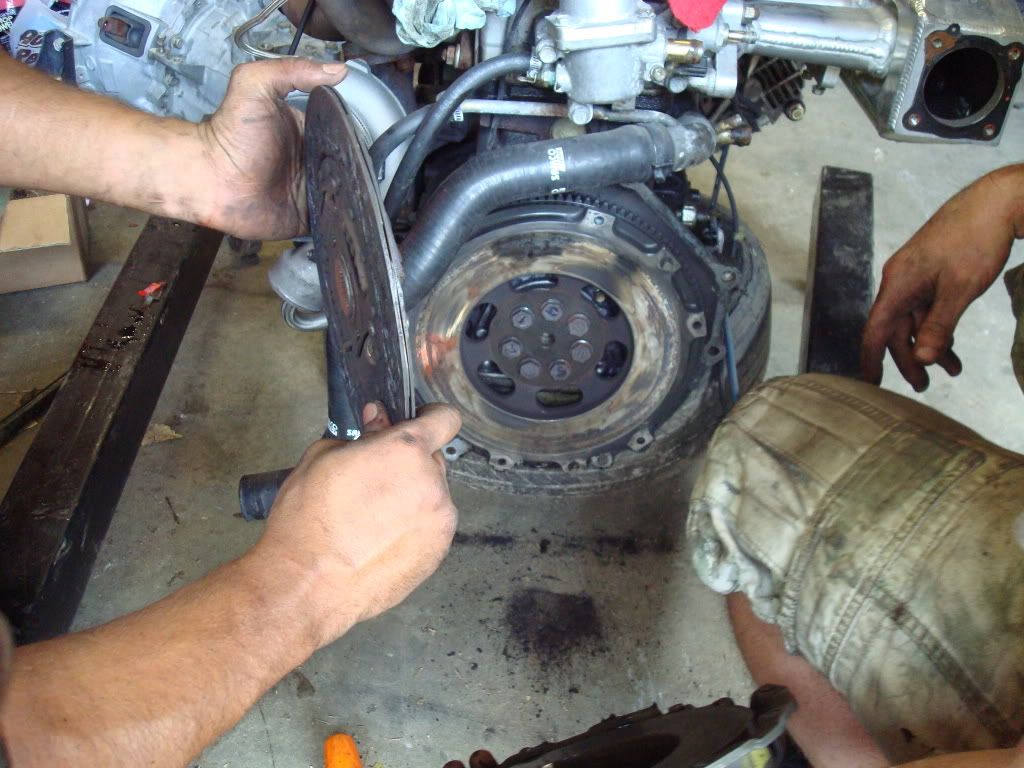
but even more critical, the acutal disc was starting to break, this could have been a major problem, had it actually broken completely

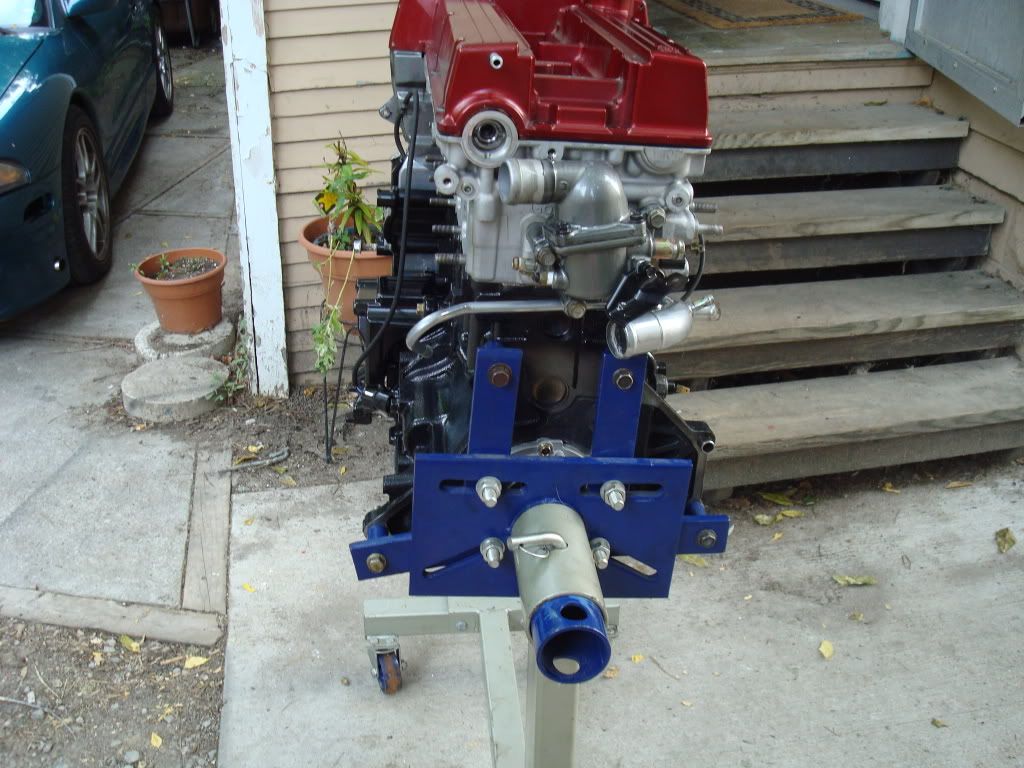
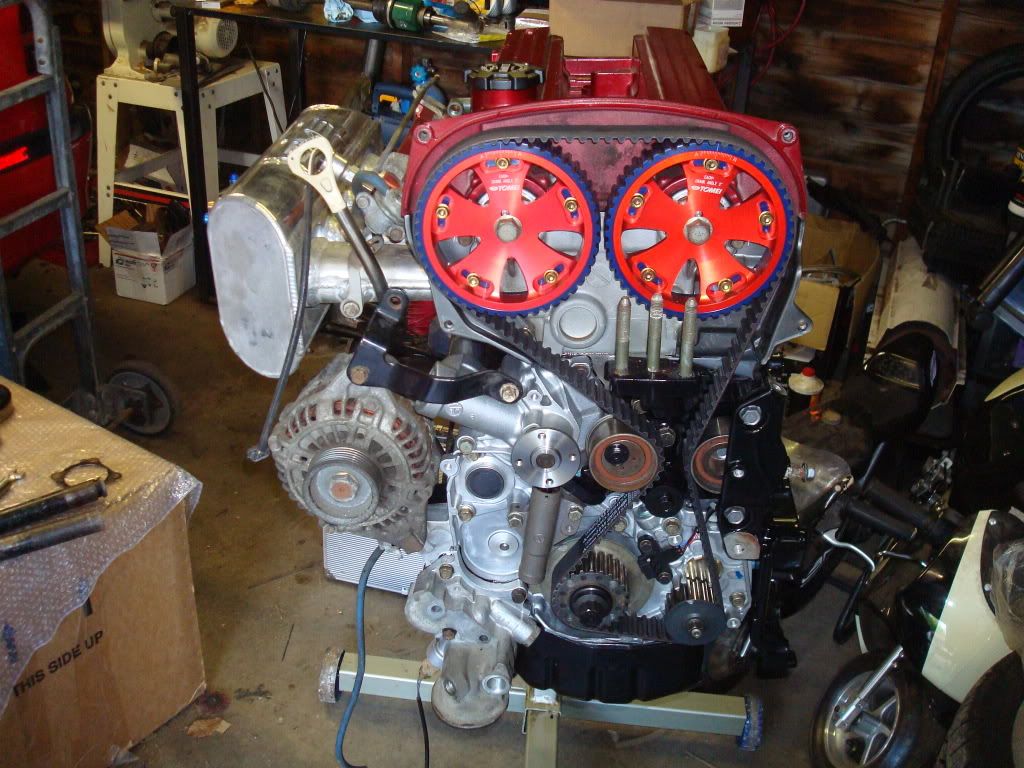
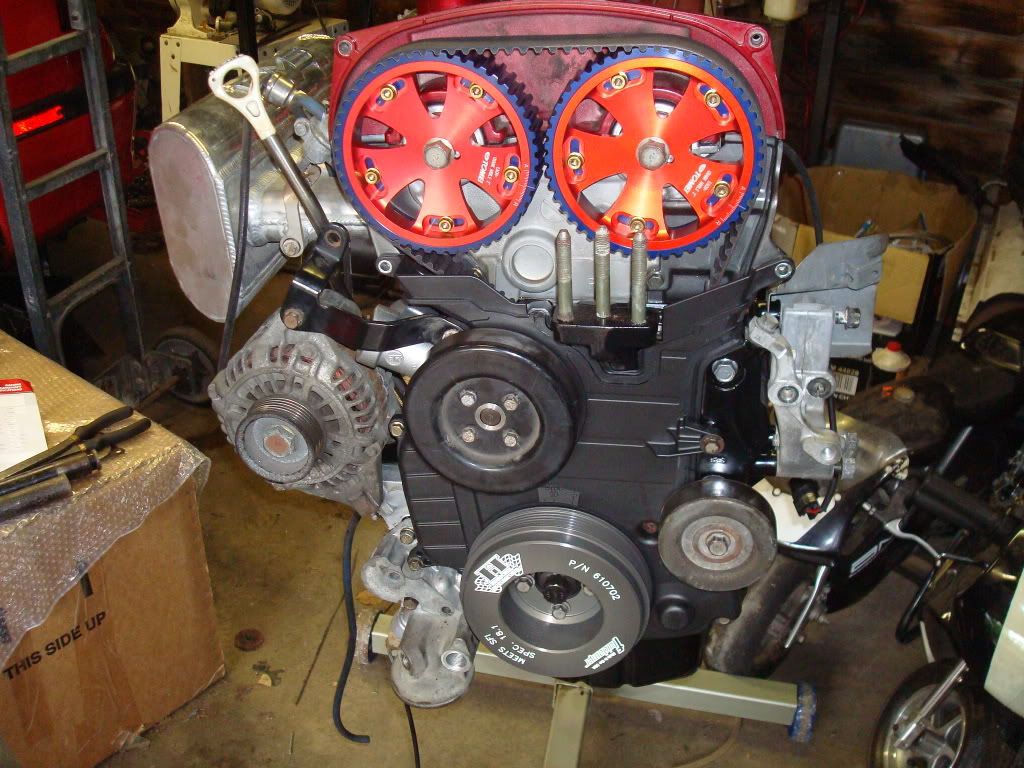
Time to grab the built motor out of the basement...woo hooo

look at all that powdercoated goodness
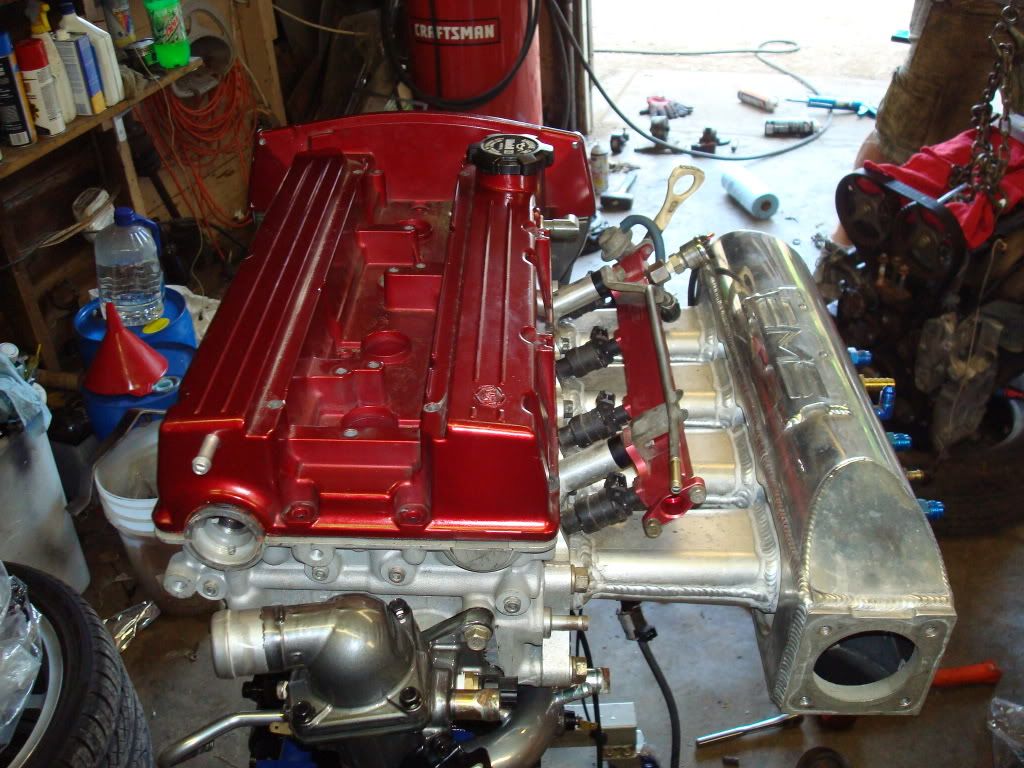
Next we started transferring some of the older accessories on to the new engine, like the intake manifold, alternator etc
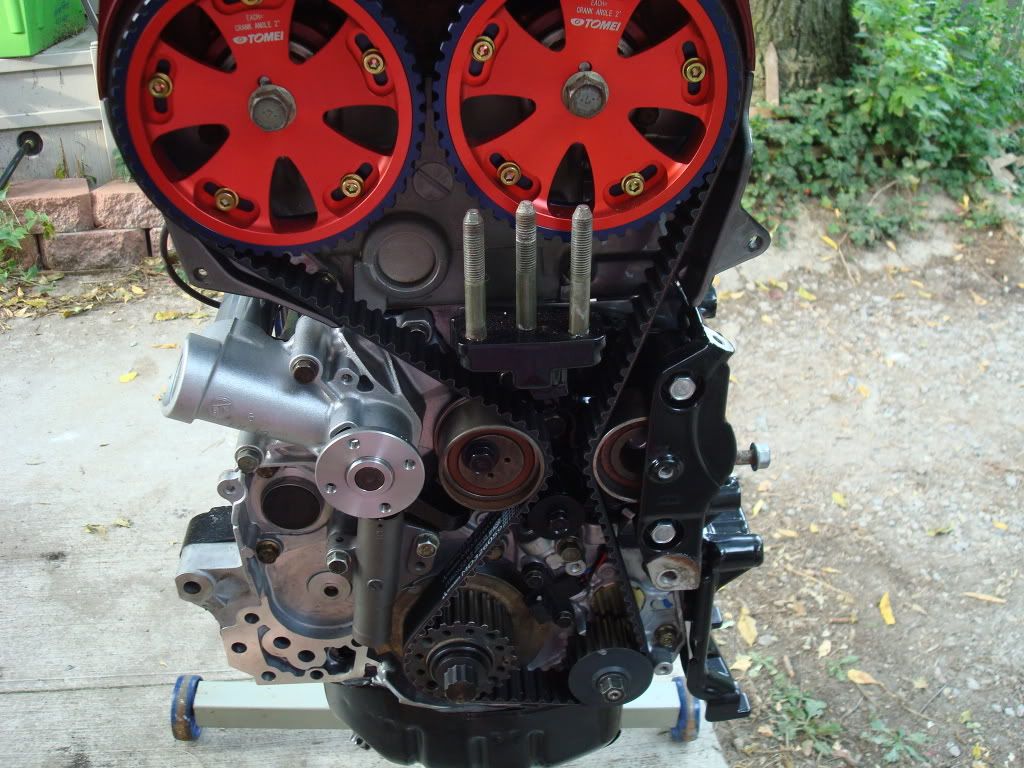
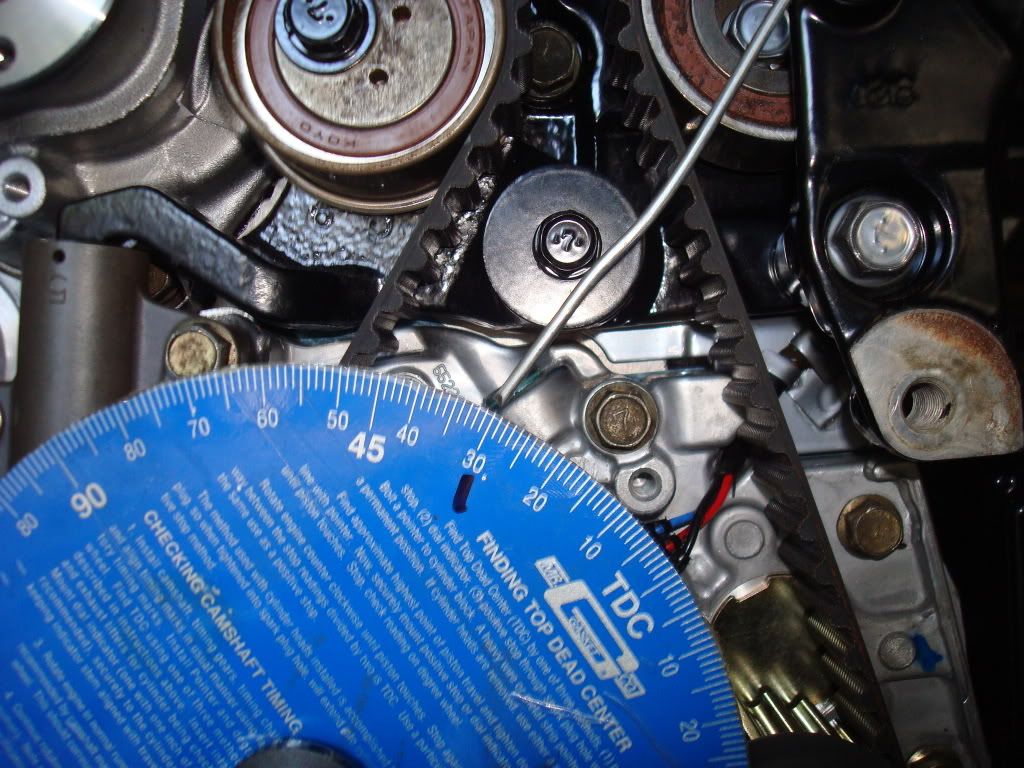
then the fun part started we decided that it was time to degree the cams...
finding TDC
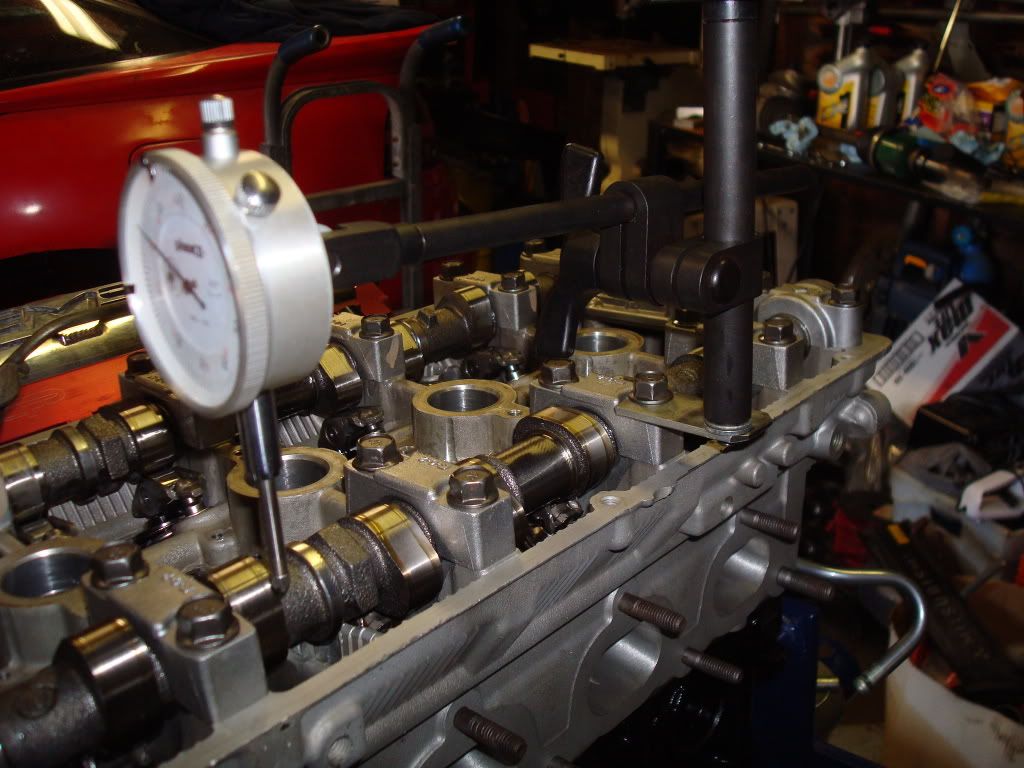
The solid lifters on the intake and exhaust cam, so that we could set zero lash


and a shot of the dial indicator mounted on the cam cap, so we could determine lift
We ended up using the center line method for degreeing cams... our end result for the kelfords were 3.5 degrees advance on the exhaust side, with 0.5 degrees advance on the intake side..
timing accesories done, also shown in the pic below is the fluidmpr
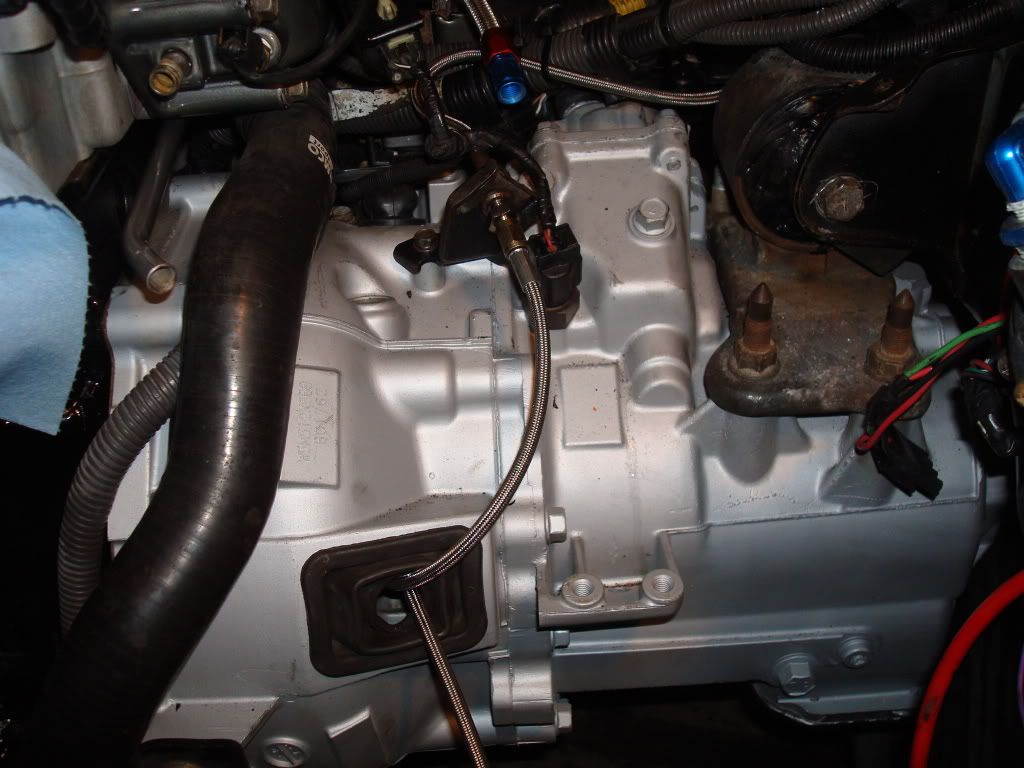
next up we bolted all the accesories to the new shep trans
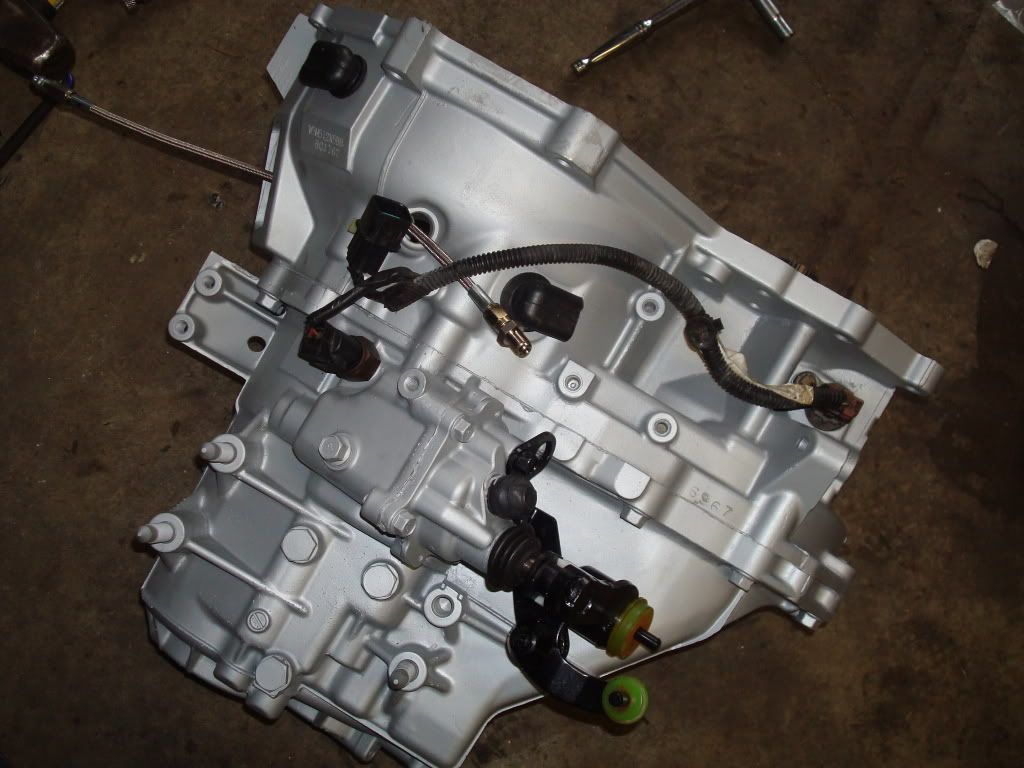
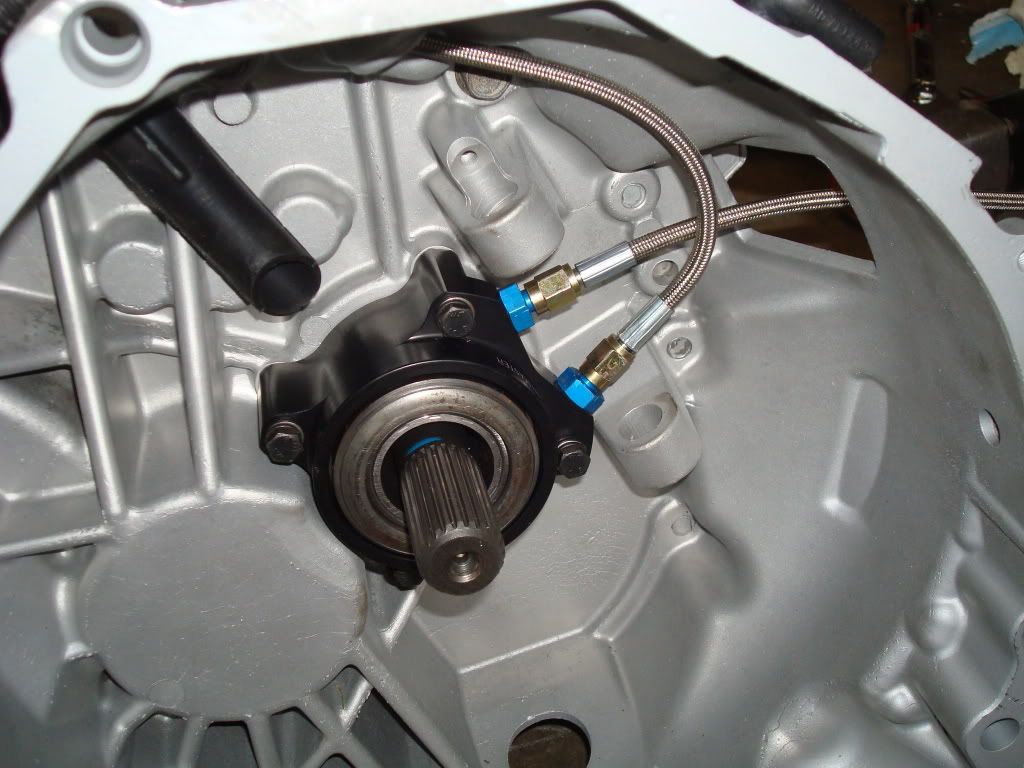
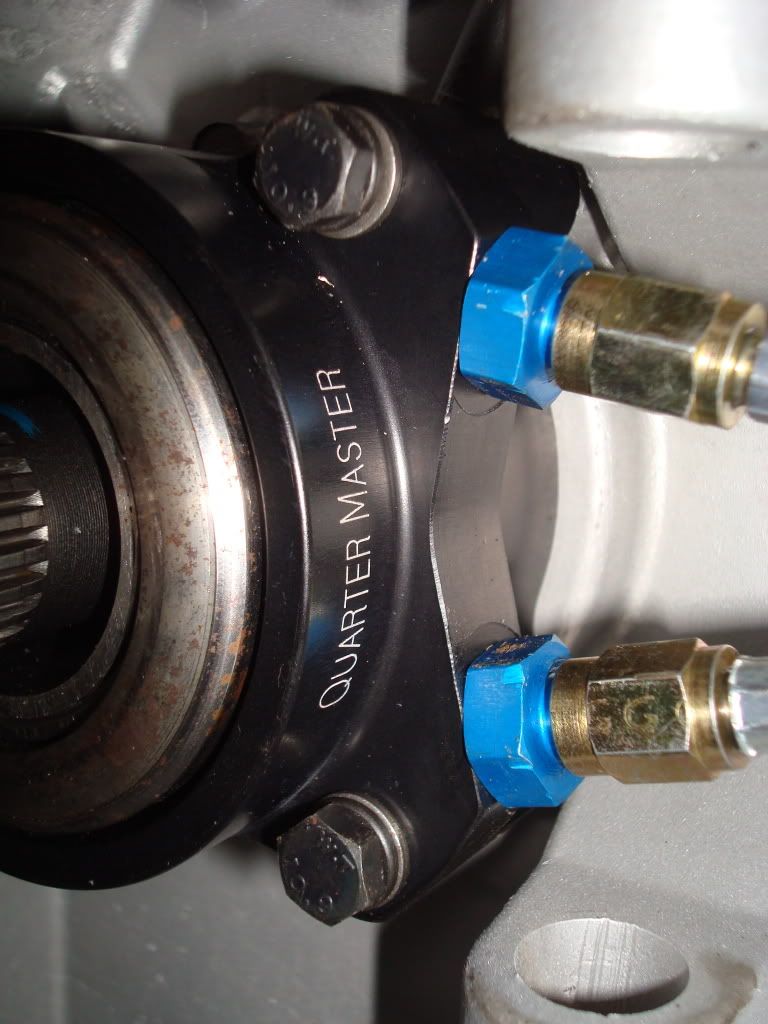
a shot of the quartermaster hydro TOB....No more slave cylinder and fork for me
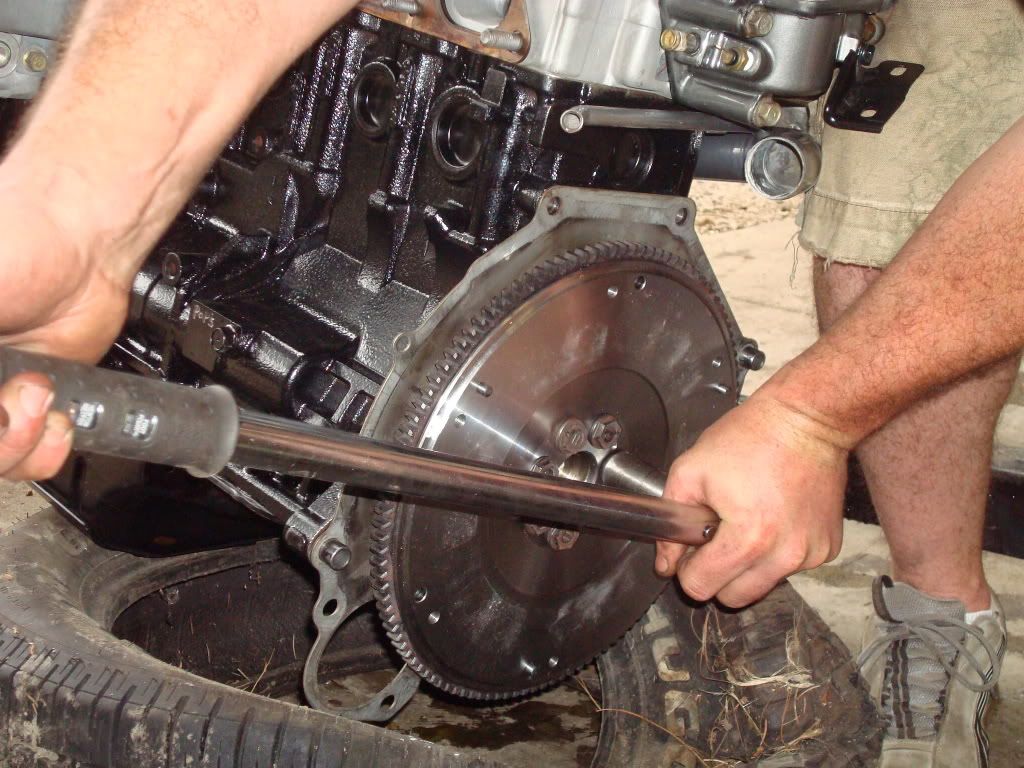
flywheel torqued to 100 ftibs
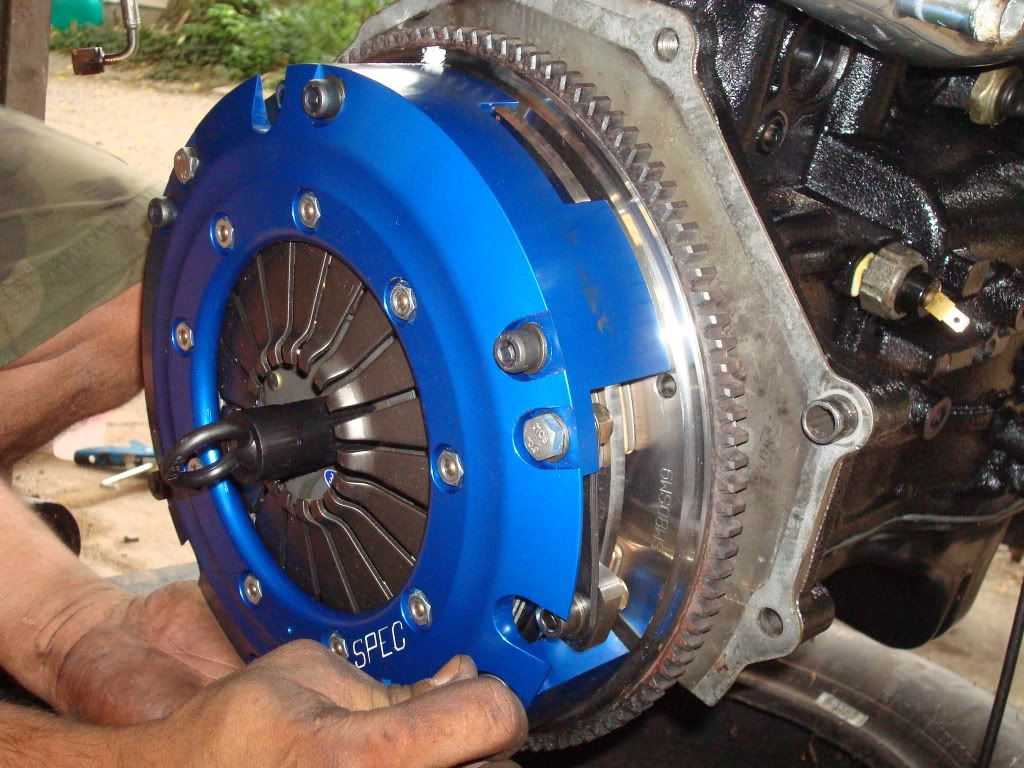
and the twin disc installed
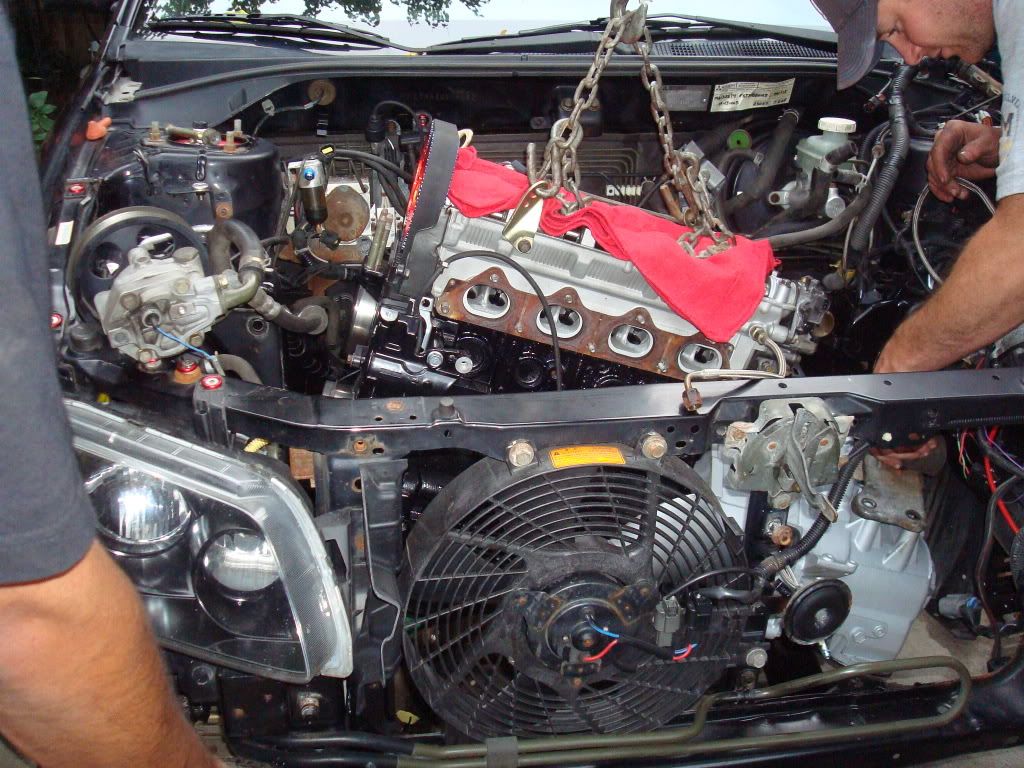
its getting late so lets drop this ***** in, notice the angle of attack
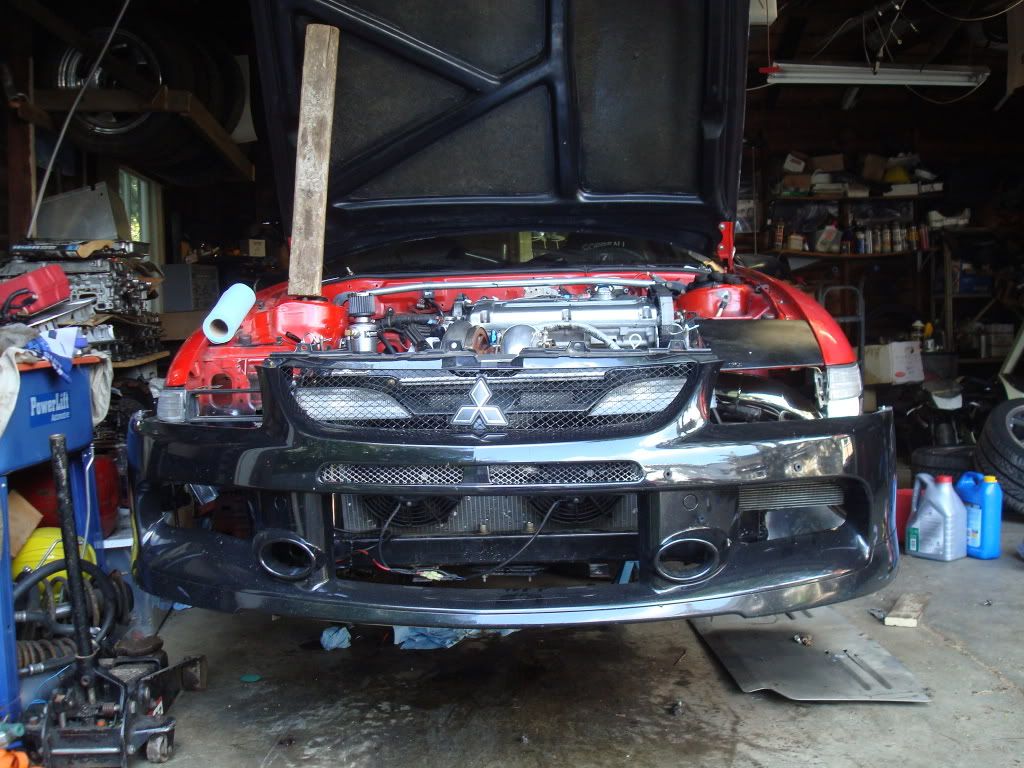
and there she is , in her new home
thats it folks, more to come in the week, as we finish the car.
ITS ALIVE with IDLE VIDEO UPDATES ON PAGE 7
lets begin
engine with some accessories removed
an interesting mod that I might do
the start of the removal
damn grease monkeys
out she comes
useless hunk of junk
look at this nasty engine bay... time to degrease it ...
It is a real pain in the *** to drag a picker with a motor and trans attached to it, over gravel
Out of curiosity we decided to take a look at the clutch... keep in mind that this clutch has about 70k on it .
yuck
look how thin the disc is
but even more critical, the acutal disc was starting to break, this could have been a major problem, had it actually broken completely
Time to grab the built motor out of the basement...woo hooo
look at all that powdercoated goodness
Next we started transferring some of the older accessories on to the new engine, like the intake manifold, alternator etc
then the fun part started we decided that it was time to degree the cams...
finding TDC
The solid lifters on the intake and exhaust cam, so that we could set zero lash
and a shot of the dial indicator mounted on the cam cap, so we could determine lift
We ended up using the center line method for degreeing cams... our end result for the kelfords were 3.5 degrees advance on the exhaust side, with 0.5 degrees advance on the intake side..
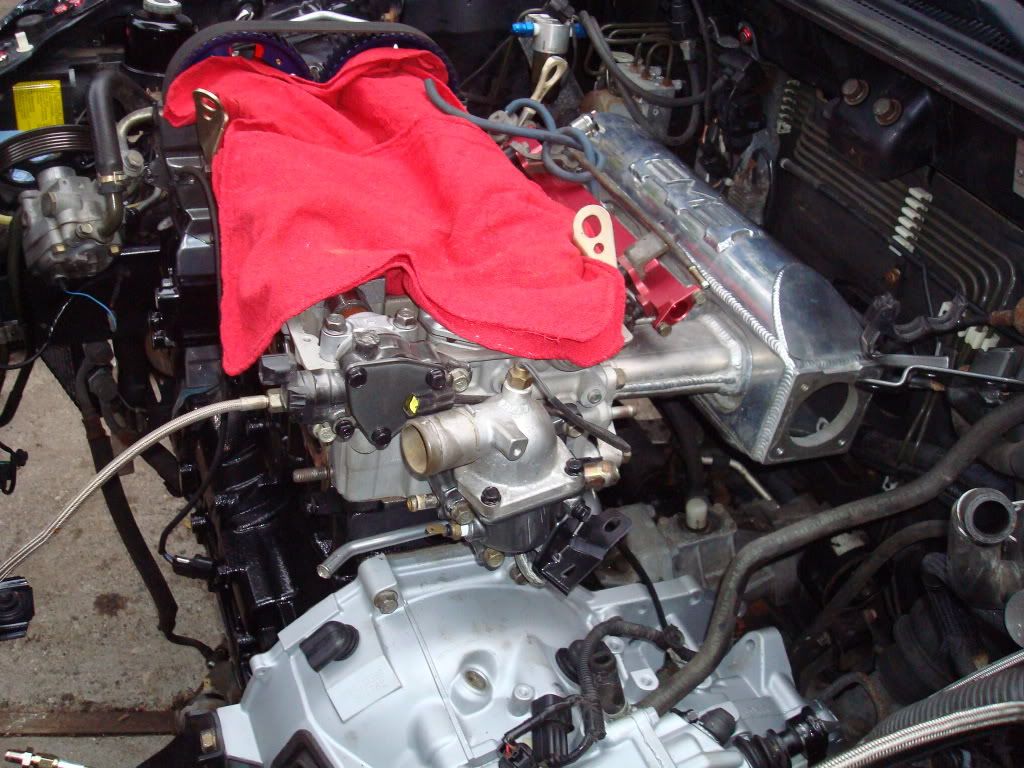
timing accesories done, also shown in the pic below is the fluidmpr
next up we bolted all the accesories to the new shep trans
a shot of the quartermaster hydro TOB....No more slave cylinder and fork for me
flywheel torqued to 100 ftibs
and the twin disc installed
its getting late so lets drop this ***** in, notice the angle of attack
and there she is , in her new home
thats it folks, more to come in the week, as we finish the car.
Last edited by antilag_200; Sep 28, 2009 at 05:12 AM.
Sep 11, 2009 | 05:47 AM
#3
thanks mike
last Night we finished most of the electrical connections, installed the axle on the driver side, ran all the vacuum accesories and a bunch of other crap, We also had to remove the hub assembly because my passenger side axle is frozen in there. I will probably take it to a shop to get pressed out.
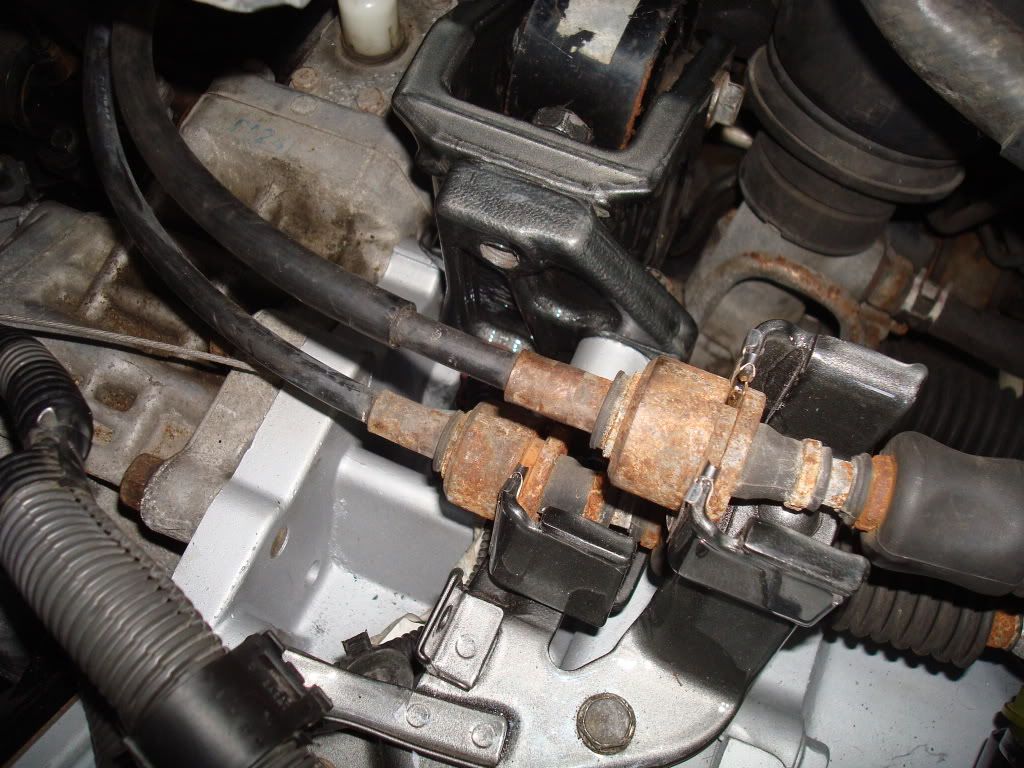
here is a pic showing the powdercoated shifter linkage bracket with rusty shifter linkages, you will also notice the rear motor mount bracket is powdercoated.
we then re routed the slave cylinder SS clutch line and attached it to the Hydro TOB...
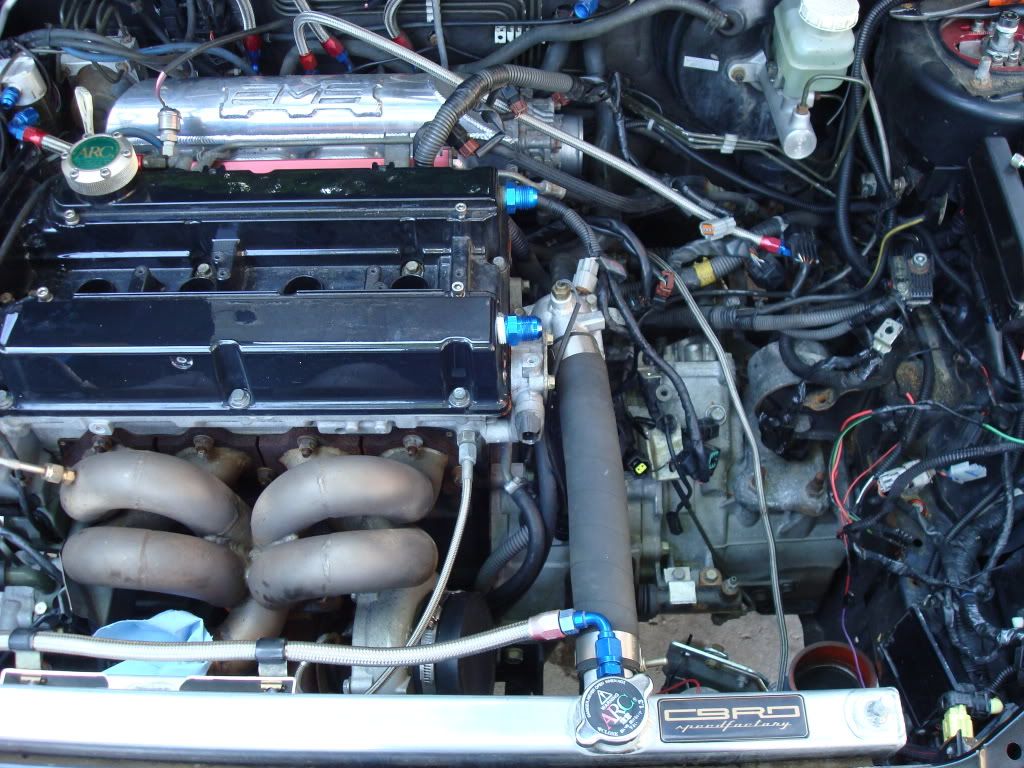
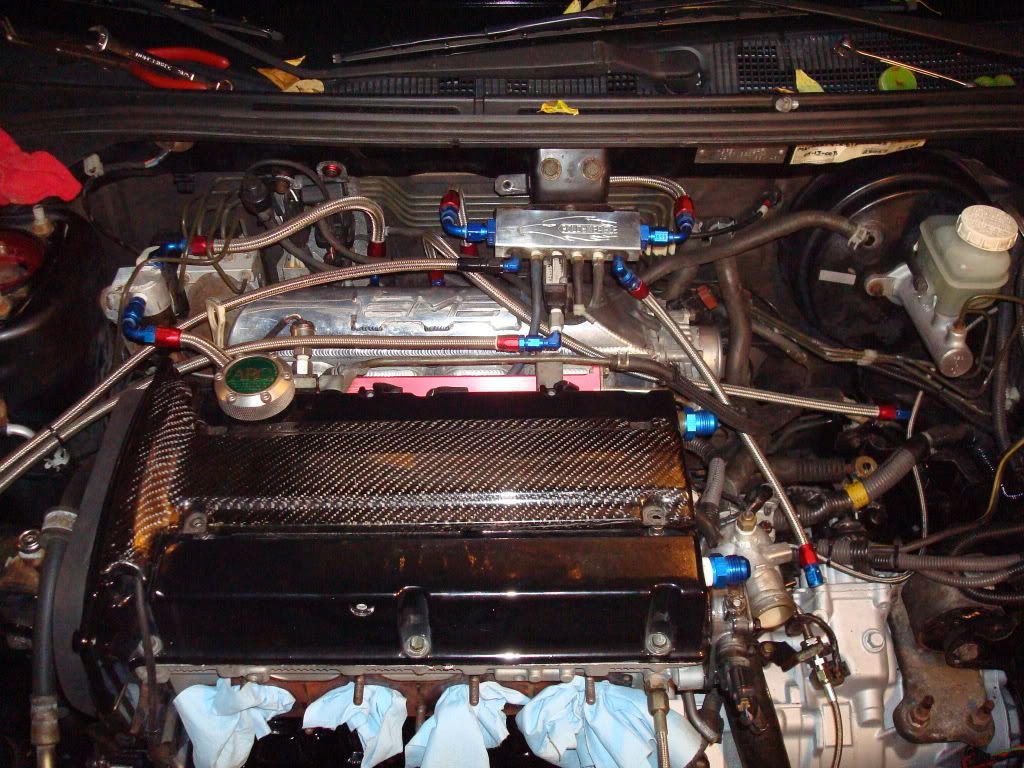
and a picture where we left it last night... it is starting to look like my usual clusterf**k of an engine bay
Remember earlier this year when I bought the new Tial compressor cover.. well I had Rex polish old girl up
old vs new
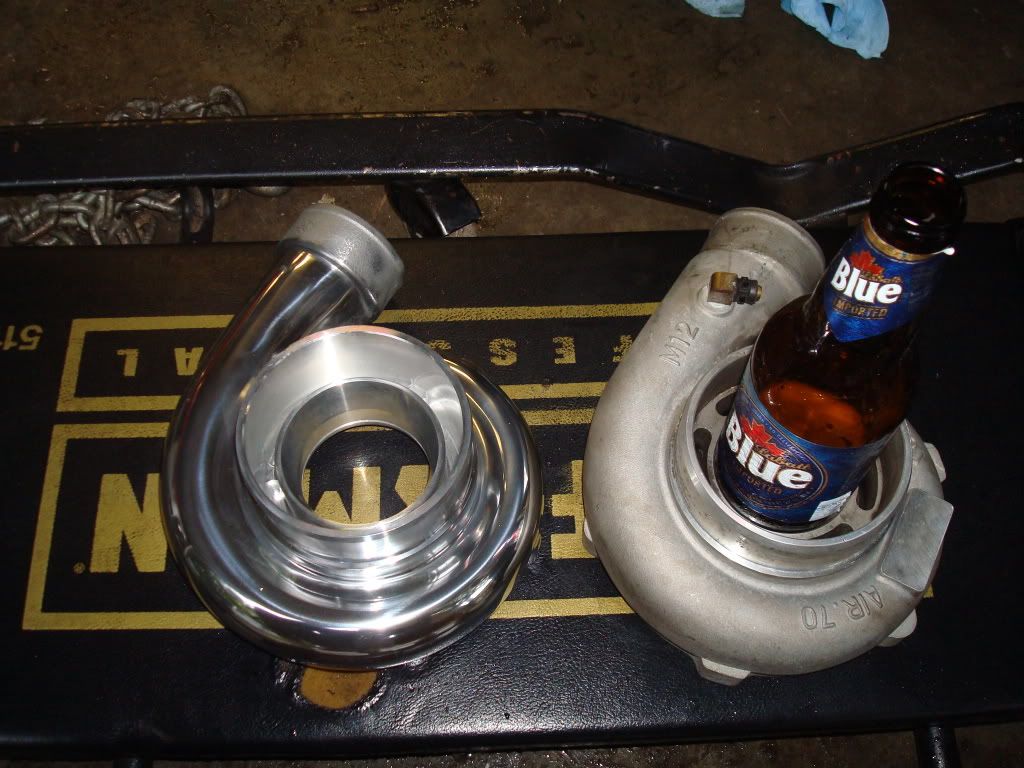
rex being silly
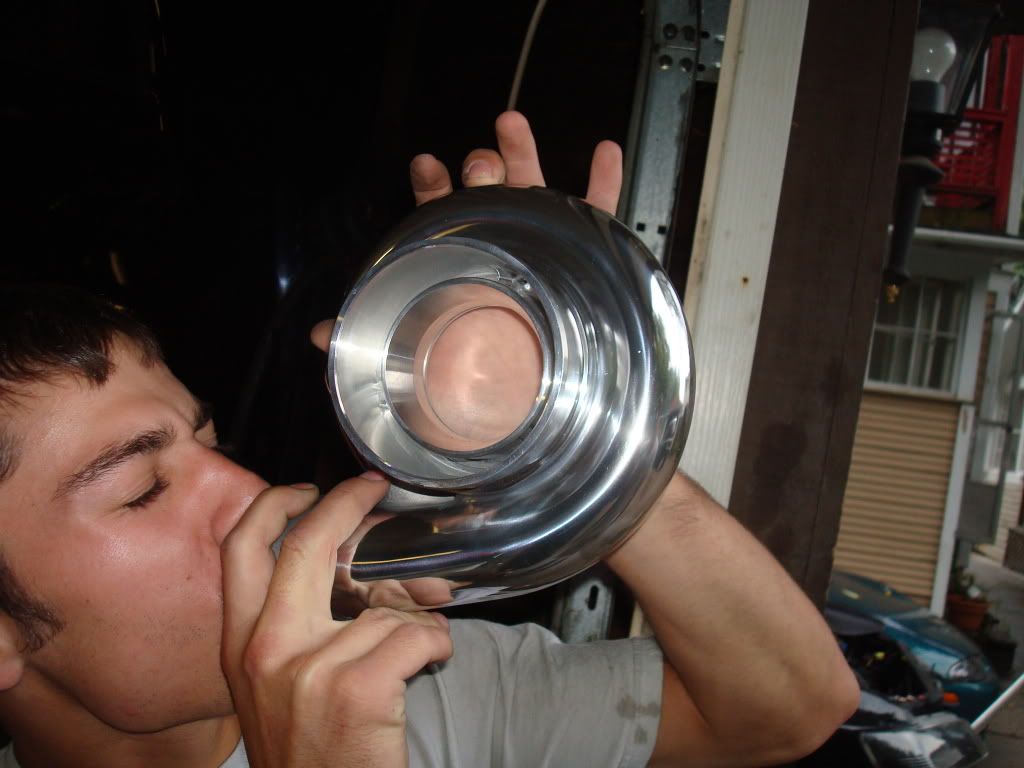
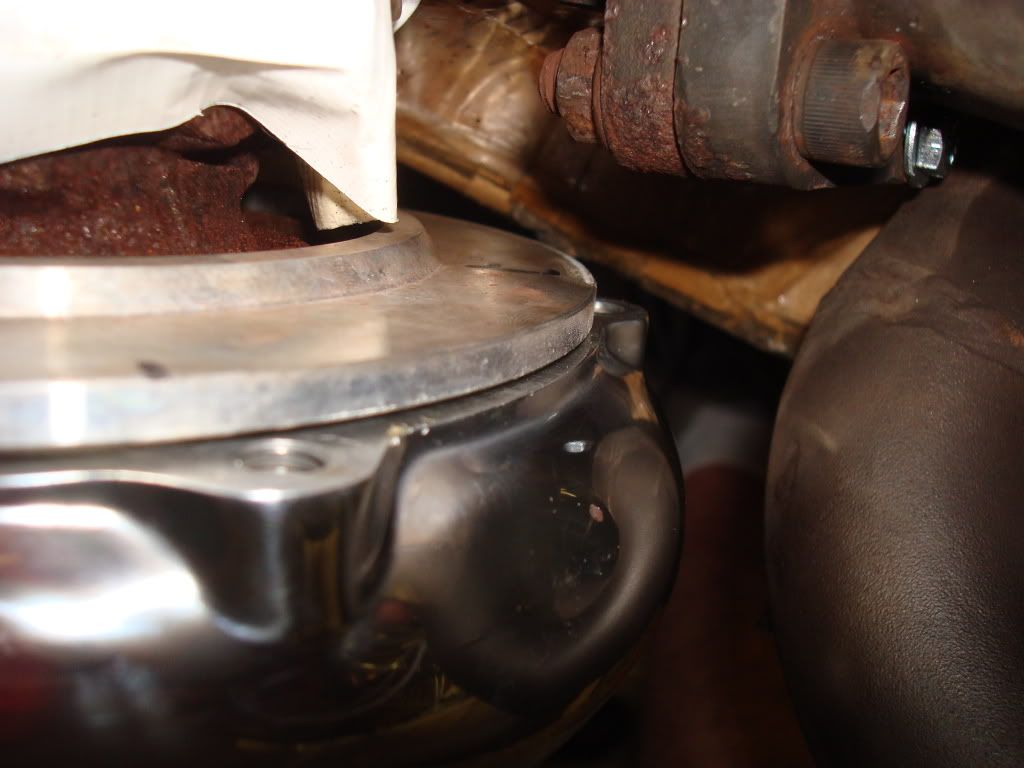
however it didn't fit, so I am dealing with Tial right now, trying to come up with a solution.. I really think I just need to change the backing plate, and then I will be good to go
poor fitment picture
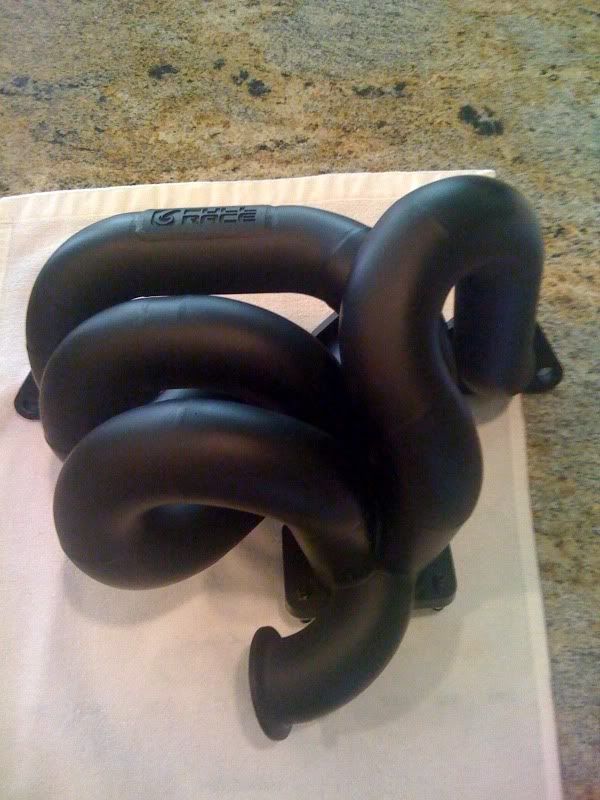
Also I should be getting a little treat in the mail today from a certain company, you might have heard about them

later everyone, more to come as always...
last Night we finished most of the electrical connections, installed the axle on the driver side, ran all the vacuum accesories and a bunch of other crap, We also had to remove the hub assembly because my passenger side axle is frozen in there. I will probably take it to a shop to get pressed out.
here is a pic showing the powdercoated shifter linkage bracket with rusty shifter linkages
, you will also notice the rear motor mount bracket is powdercoated.we then re routed the slave cylinder SS clutch line and attached it to the Hydro TOB...
and a picture where we left it last night... it is starting to look like my usual clusterf**k of an engine bay
Remember earlier this year when I bought the new Tial compressor cover.. well I had Rex polish old girl up
old vs new
rex being silly
however it didn't fit, so I am dealing with Tial right now, trying to come up with a solution.. I really think I just need to change the backing plate, and then I will be good to go
poor fitment picture
Also I should be getting a little treat in the mail today from a certain company, you might have heard about them
later everyone, more to come as always...

Trending Topics
 Sep 11, 2009 | 09:20 AM
#10
couple questions for you. im going to be doing a massive engine swap like this coming up once i get all my parts together and made etc.
1. what exactly is a fluidmpr?? should i get one
2. Have not been keeping up what all in this new motor??
3. on average how long to pull the motor??
1. what exactly is a fluidmpr?? should i get one
2. Have not been keeping up what all in this new motor??
3. on average how long to pull the motor??
Sep 11, 2009 | 09:25 AM
#11
^^
1) A Fluidmpr is a crank pulley... it replaces your harmonic balancer..should you get one, well that is entirely up to you.
2) the new motor has 9:1 CP , eagle rods, clevite bearings, ARP hardware.., cylinder head has supertech 1MM oversize valves and valve train, light port and polish L19 headstuds, kelford cams...
3) it took my buddy and I about 4 hours, from the begining to the end to PULL the motor out.. This includes, jacking the car up , removing all attachments and draining fluids.
Last edited by antilag_200; Sep 11, 2009 at 09:35 AM.
 Sep 11, 2009 | 09:36 AM
#13
A Fluidmpr is a crank pulley... it replaces your harmonic balancer
how much and is it worth it for me to buy?? 4 hours thats promising considering im going to denver to have a shop do all my work cant stay up there a week lol i have to have them drop put it in get a base tune then drive to mephis to let mellon do his magic.
how much and is it worth it for me to buy?? 4 hours thats promising considering im going to denver to have a shop do all my work cant stay up there a week lol i have to have them drop put it in get a base tune then drive to mephis to let mellon do his magic.