RS Sprint inspired Evo 7.5 diary
#1
Thread intro
This thread will serve as an online maintenance record and diary showcasing the progress of my grandma spec daily driver Evo which has been inspired by the rally-bred Evo VII RS Sprint
Pretty boring to be honest, but you're all welcome to have a gieze and give me pointers when i'm in need
Once again, from Gran Turismo...
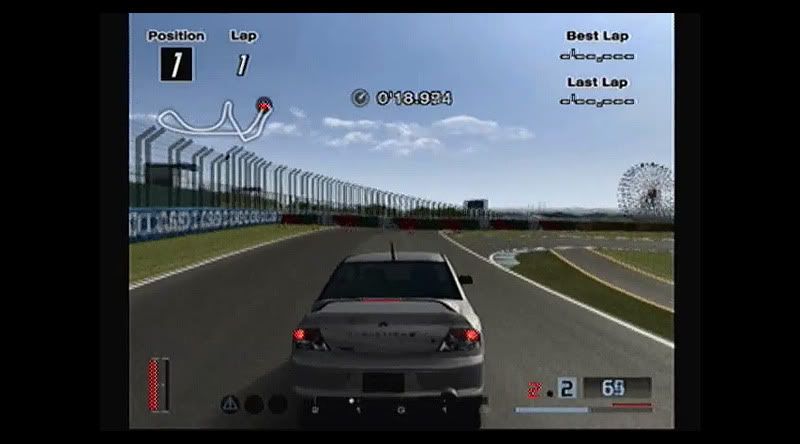
To my driveway.

Evolution VII GT-A.

Interior.

Electric driver's seat and leather.

The legendary 4G.

Hooo.


User manuals and major service completed in Japan.

After the first week...
My air con started playing up. It was turning on and off intermittently.
Iturned out that the relay was put on back to front. All sorted now.

JDMST stickers arrived.
I'm a long time active member there so it's almost a tradition for me to grab a set of stickers whenever i get a new car.


New NRMA heavy duty battery. These batteries are pretty good and they last a long time too. $160.

Scored a GSR boot and spoiler for $150.


Fitted easily in the Magna.

Taking off the spoiler.

Spoiler off. Gonna get it painted and fitted this week.
Then i have to fill in the hole in the boot from the middle section of the GT-A factory spoiler once it's been replaced with the GSR item.

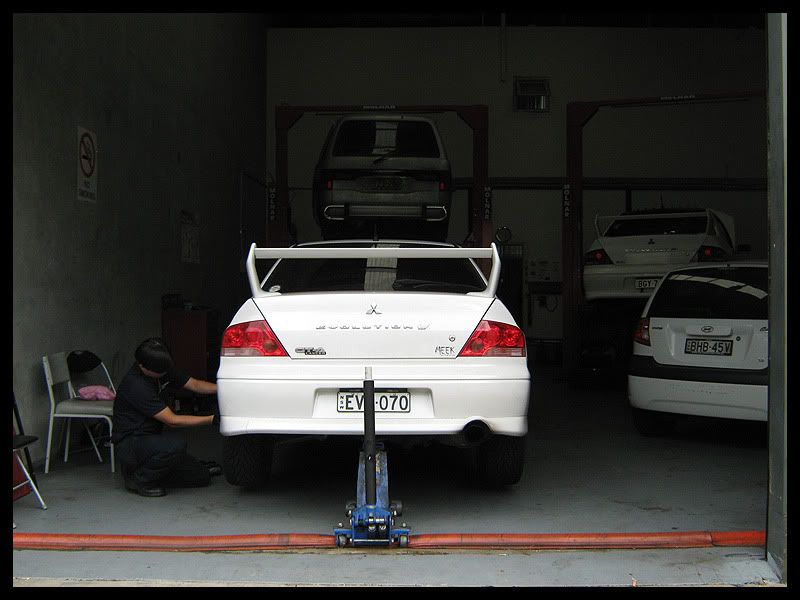
Meek Automotive workshop on a Saturday morning.

Got some good advice off Chris (as always) and picked up a manual boost controller.
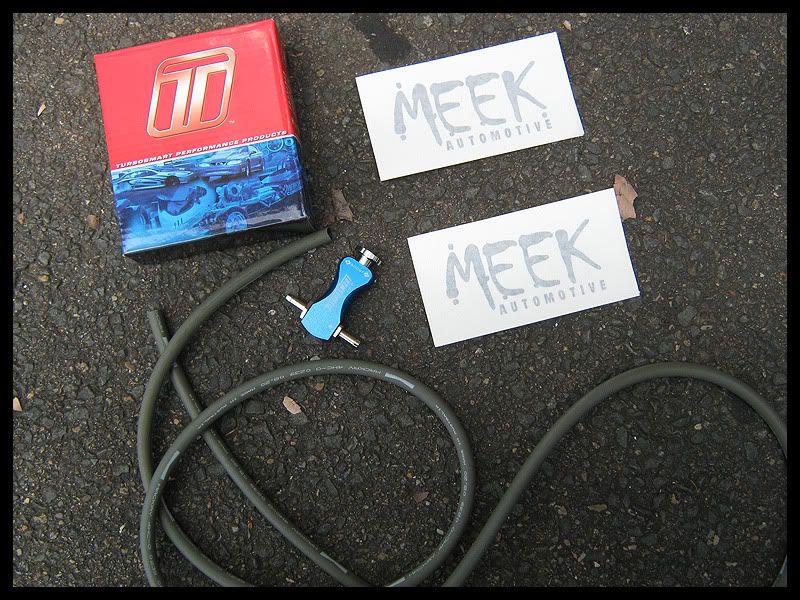
Time to install the MBC. Airbox off first.

Fan has to come off to gain access to the turbo. Fark this was a chore.

There. Much more room to fiddle around now.


Time to put everything back.

****. Dropped my socket down there.


There it is.

Full had to do a McGuyver to get it out.

Please don't drop

Got it. Sweet :sweat:

Finished.
Will look at mounting it some time down the track, but for now, it's all good where it is.

Car run's a lot faster now with the boost dialled up. The pull feels so much harder in 2nd and 3rd gears.
Definitely worth my $89.
Will have to put it on the dyno in two weeks from now to see what it's making.
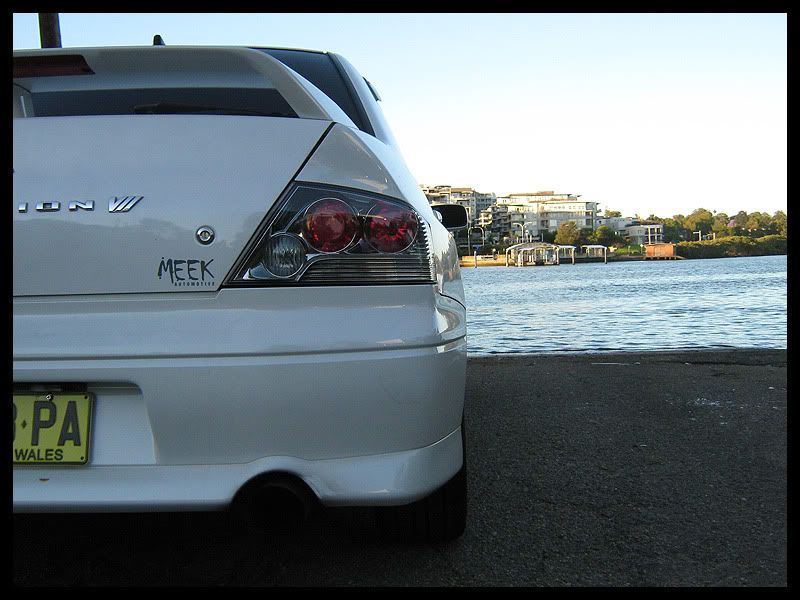
Still a few more cosmetic enhancements needed to bring it up to par.
Looking forward to putting the GSR wing on next week.

Week 3 update
Someone pinched my old antenna (seriously wtf) so got myself a Perrin 4" for $35.

I used Loctite epoxy to fasten it down. Hopefully this deters thieving fockers next time.

New plates.


Grrr. Piece of shiet check engine light kept coming on. Ended up being EGR P0401 insufficient flow error. Got it cleared for $44.

Week 7 update
Slow and gradual upgrade process but here is my update for the new year.
Strong apple air freshner from Super AutoBacs (thanks Nathan).

Kris Kringle present from a chick at work.
After adding this to my coolant, the car is definitely a lot cooler now and heat soak is non existant.
Definitely not placebo because my temp guage is constantly sitting even lower than it was before.
Very impressive. No wonder why the rotary boys swear by it.

Wheel balance.

Wheel alignment.

I do a lot of long distance driving when i have the time off training and work so these animal guards are a worthy investment for me.
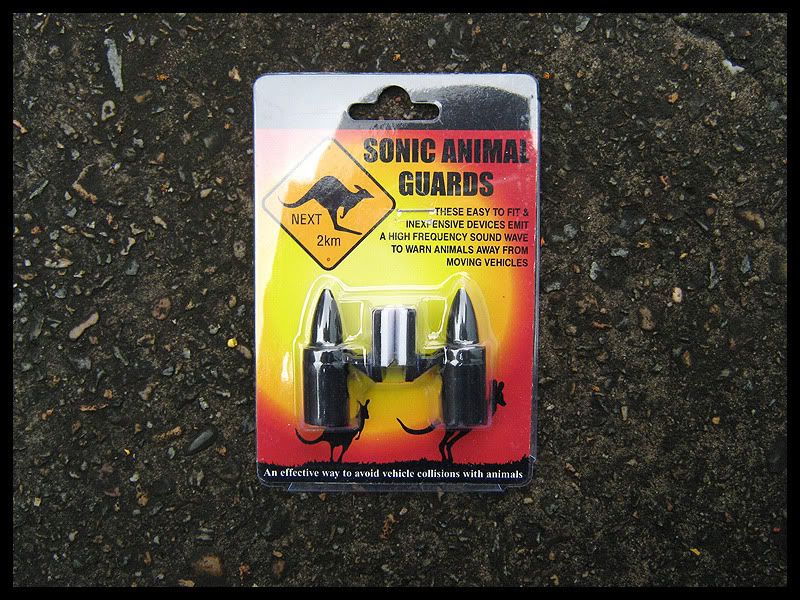
A lot of guys on sports bikes use them as well.
As you can see, they're small, out of the way and definitely worth the $4.75 i paid for them

My old paper filter was rooted so i replaced it with an HKS item. $80 from Meek Automotive.

Time to pick up my GSR wing from the spray shop.

All ready to go.
The cost was $200 for the re-spray in factory pearl. Carried out by Proline Paint & Panel Five Dock, NSW.

Finally, it's starting to look like a real Evo now
All i need to do is install the rear parcel brake light and everything will be complete.


Nothing exciting just a short clip of the car after the HKS panel filter was installed.
http://www.youtube.com/watch?v=QXKVYgy00ak
Week 10
I noticed some Evo VIII GSR's lights were almost identical to the GT-A except for the amber tinted strip where the indicator is.
So here's what i decided to do.
Tamiya water proof TS73 Clear Orange modelling paint.

Masking tape.

Following the out line of the indicator.


All masked and ready to go.

Farken ants decided to come out of their nest to do some random chores. **** off.

Here we go. First application.
Very lightly applying mists of paint to ensure no dripping.

A couple of layers later, it's starting to darken.
Between each layer, i've allowed two to three minutes of drying time.

After about fifteen (very light) layers, it's showing a true "amber" colour now.

Done.


Removing the masking.

Not bad. Looks like the it's pretty much spot on with the line.

I wasn't much of a fan of the clear Altezza style lights on the GT-A.
So for a grand total of $11.50, i've managed to give the GT-A a different look.

Before.

After.

Transmission overhaul and upgrade
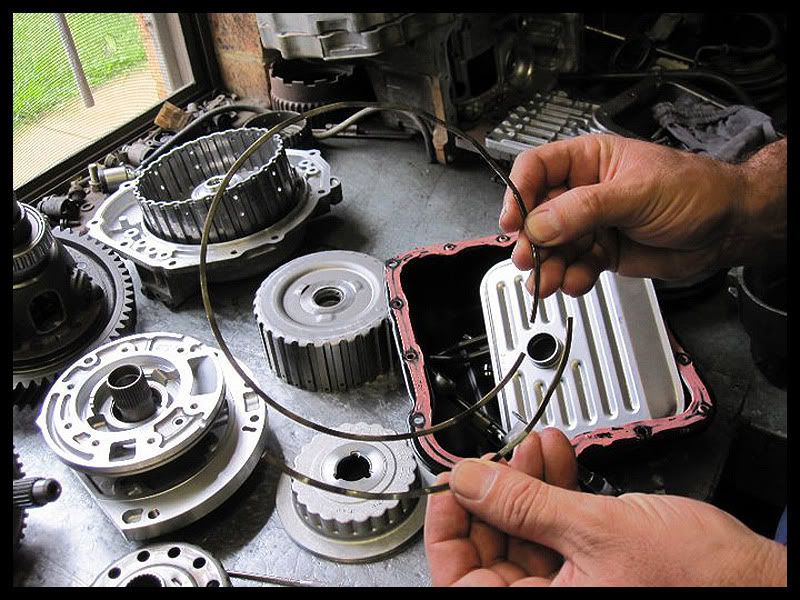
Whilst draining the transmission fluid, i found pieces of the wavespring stuck to the magnetic sump plug.
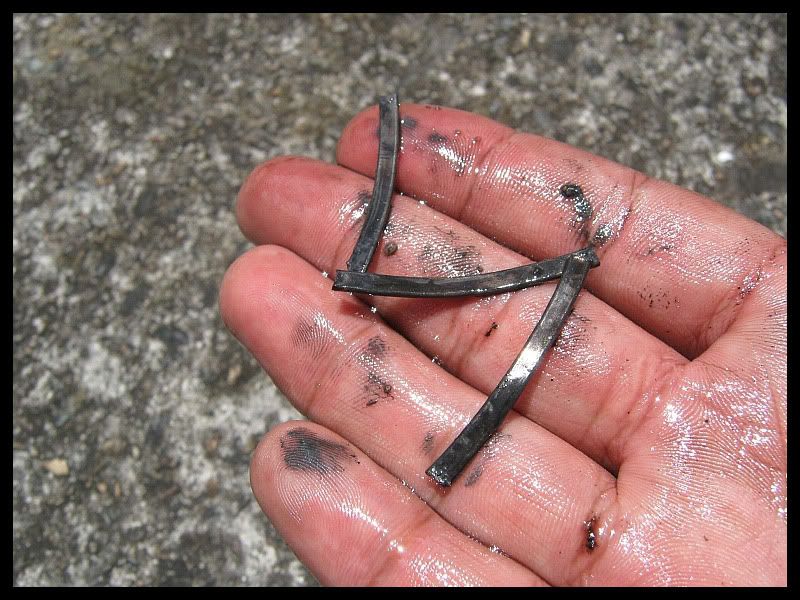
Time for an overhaul.
Out comes the transmission.
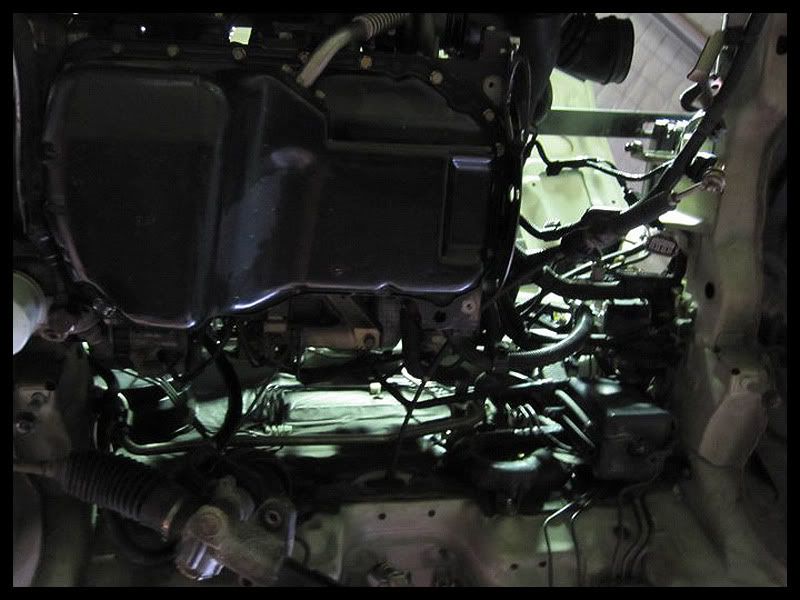
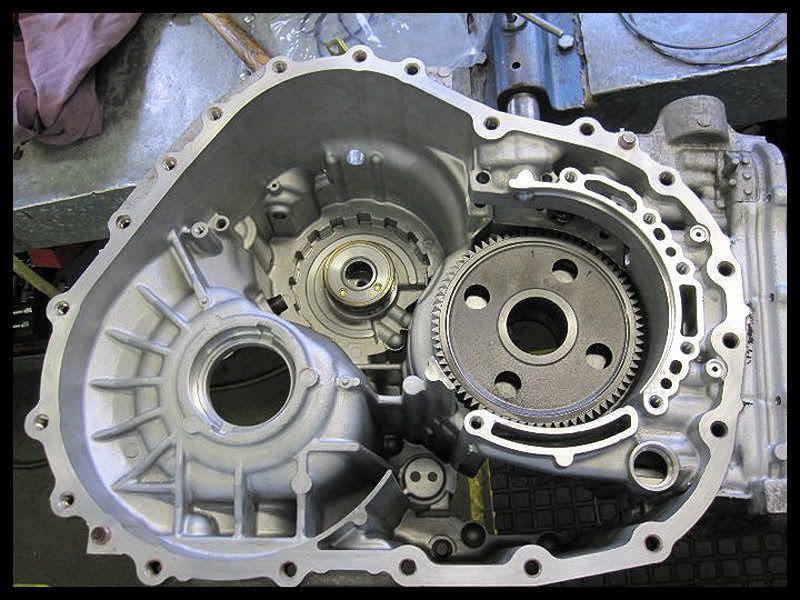
Broken wavespring.
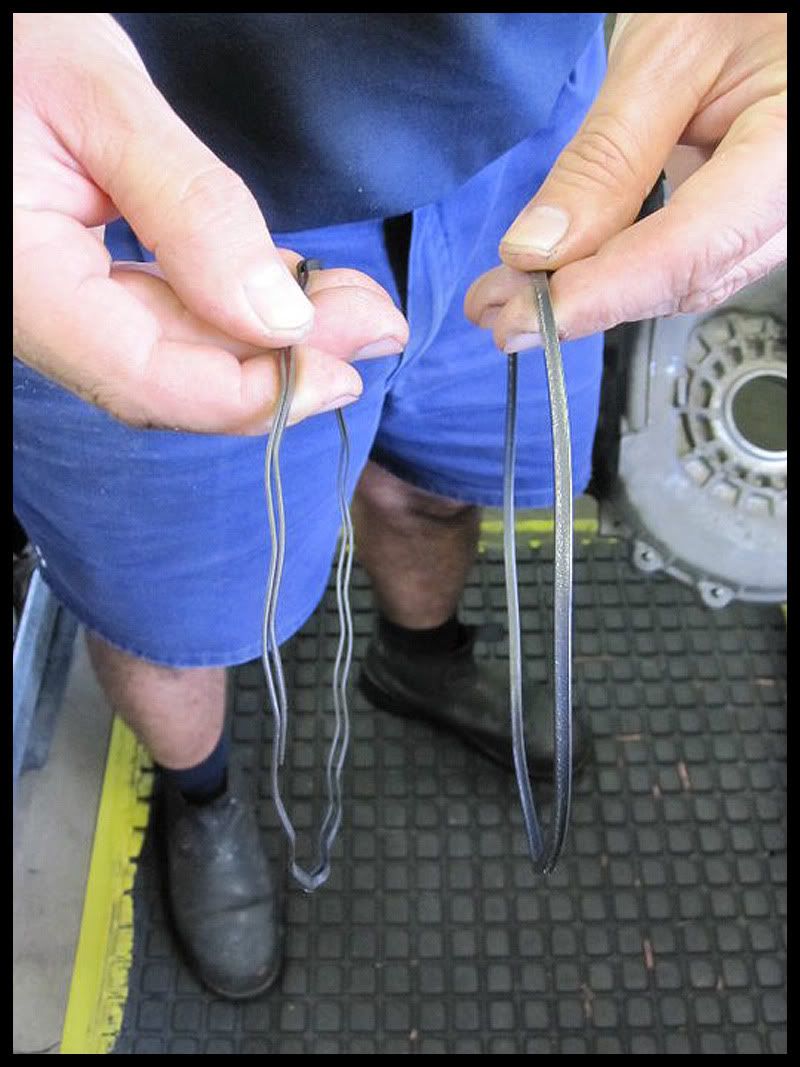
Old wavespring on the left and new super strong wavespring on the right.
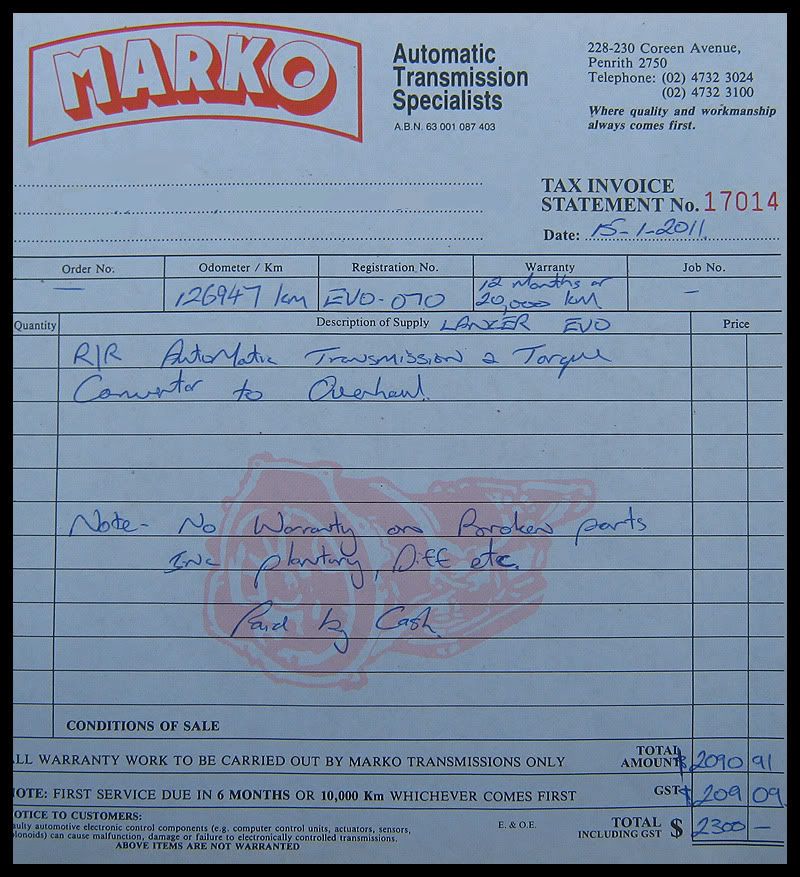
Overhaul complete (thanks Tim for the photos).
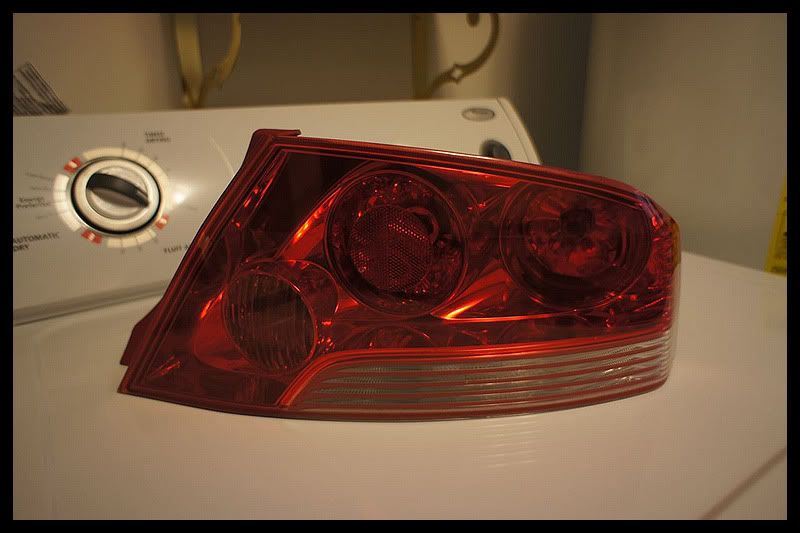
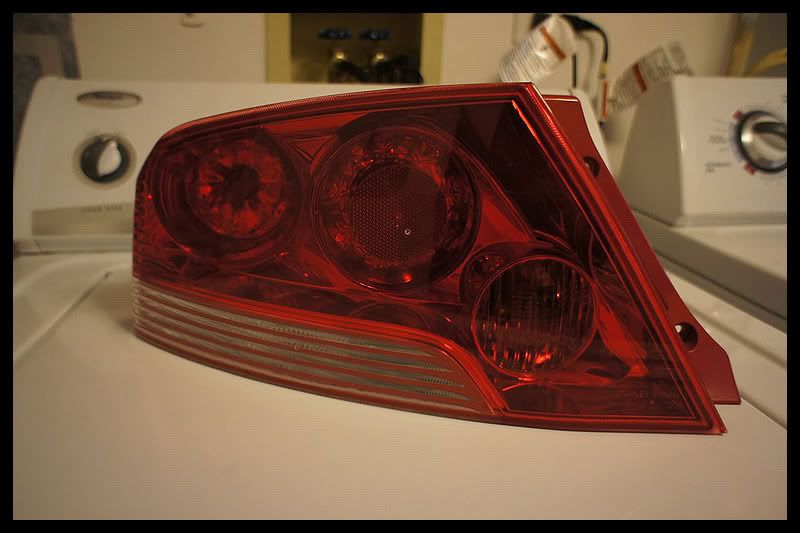
GSR lights (photo courtesy of EvoM member).
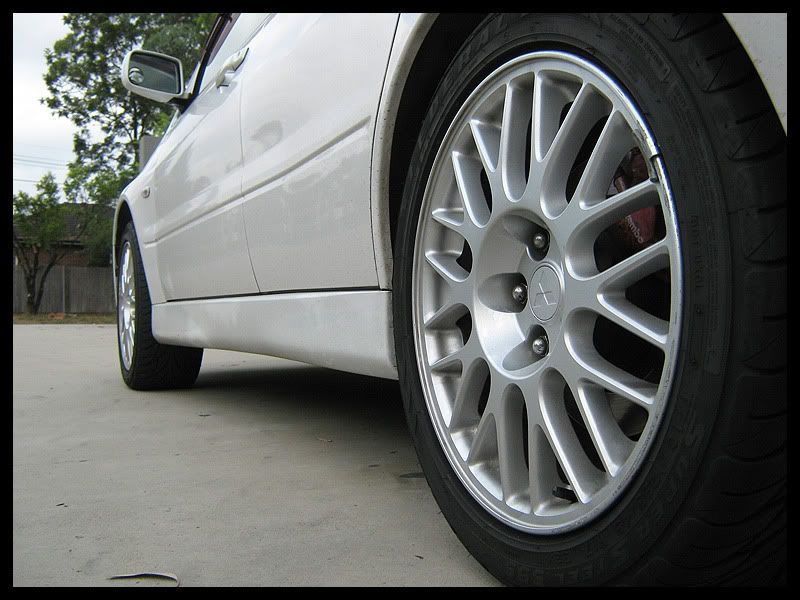
GSR wheels (thanks Dave).
GSR parts arrived
Package from Japan.


GSR interior badge.

GSR boot badge.
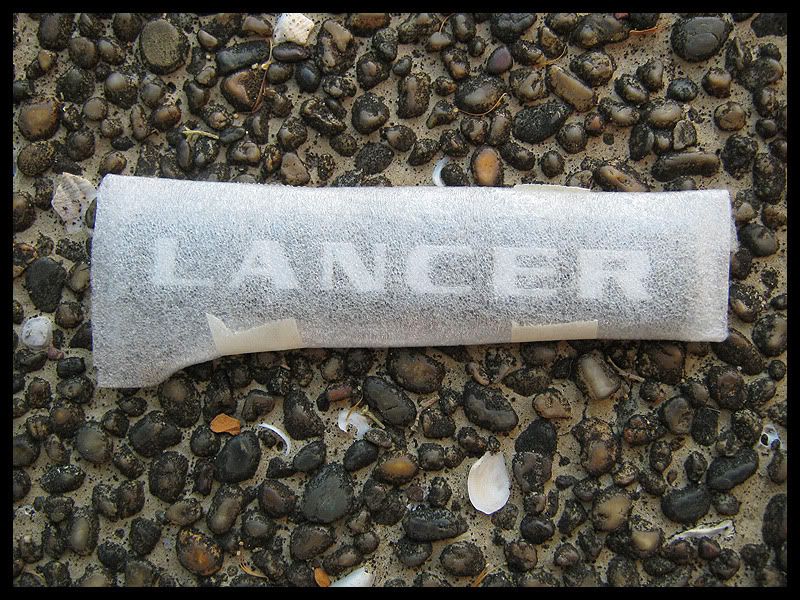
US and European export model ACD decal. I won't be fitting this, but got it just as a reference.

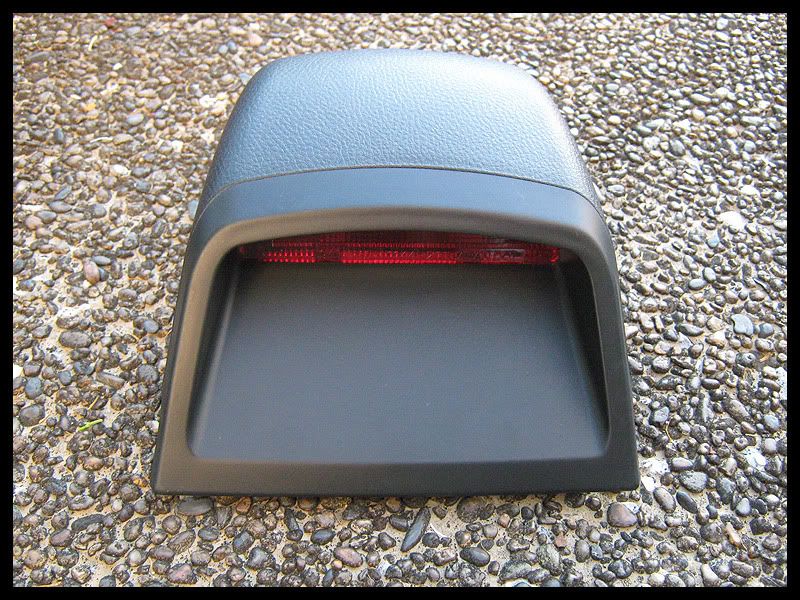
GSR rear parcel shelf light.
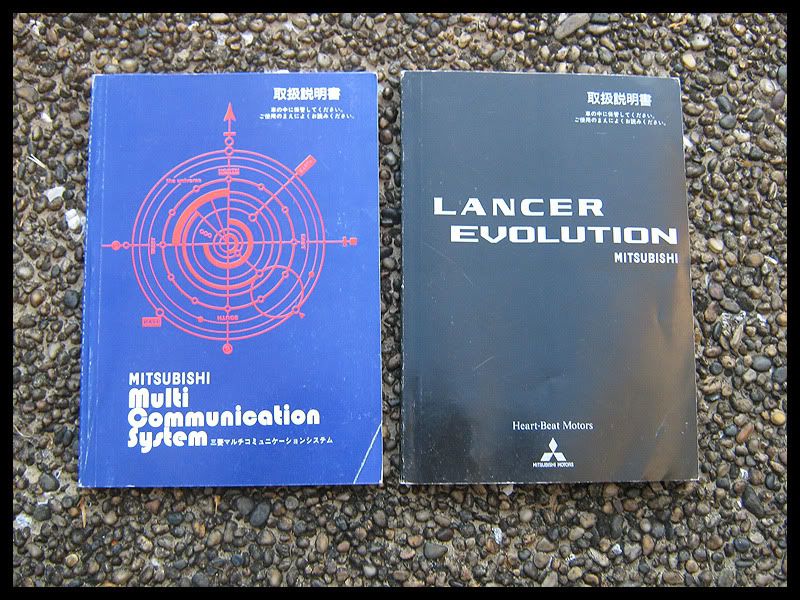
GSR and MMCS user manual.
GSR factory head unit.

GSR hood vents and spare grille mesh.

GSR interior badge unpacked.


GSR boot badge unpacked.
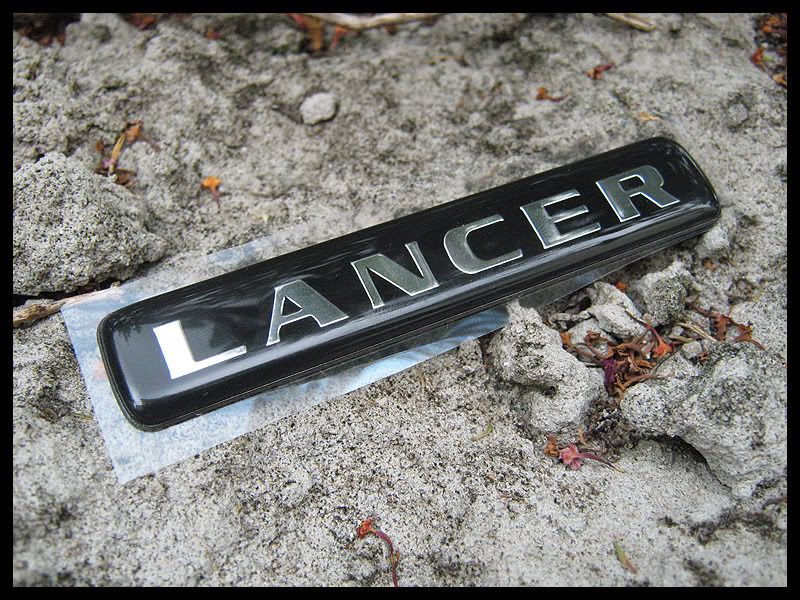
The GT-A boot badge looks too big and clutters the boot. It also gives this "i'm not really an Evo" feel to the back of the car

The GSR boot badge looks the business.

Time for the front GT-A badge to be deleted.

Off comes the badge, but the bracket is welded on. What the **** bro :wallbash:
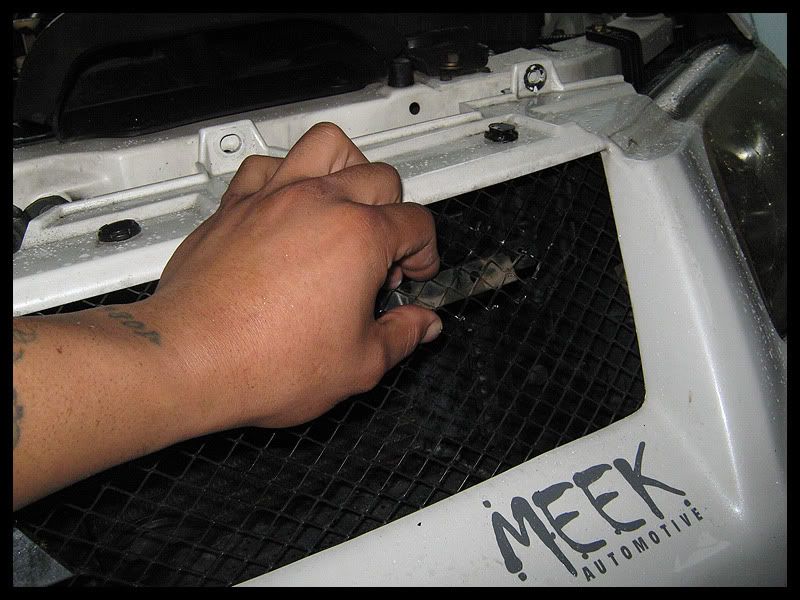
Time for a cut and shut.


Using the spare grille mesh as a replacement.


Fitted using Loctite 5-minute dry clear epoxy (140kg strength).


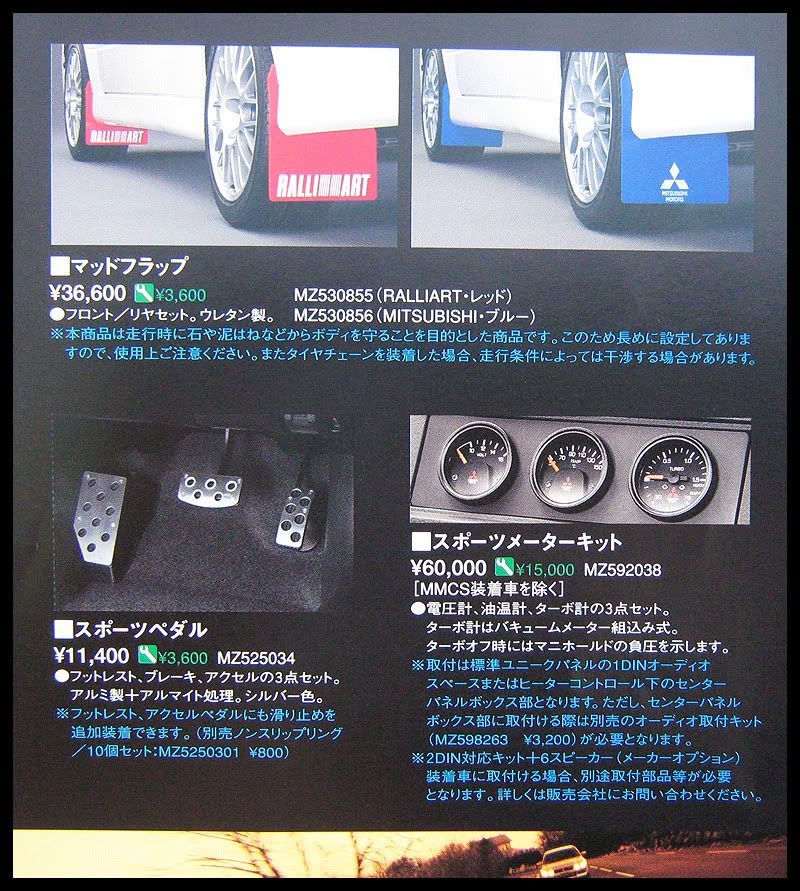
Ralliart mud flaps. These came standard on the Evo VII RS Sprint.


Super Spark coil pack and lead set.

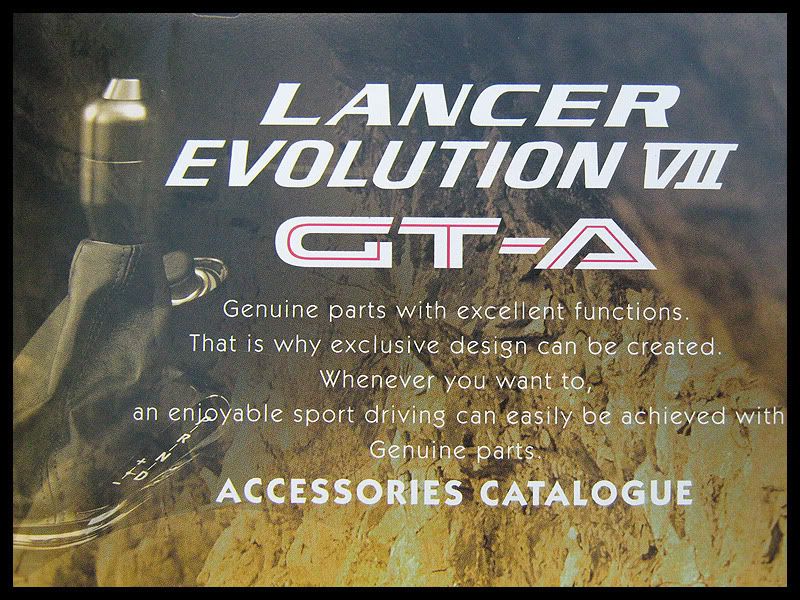
GT-A accessories borchure.


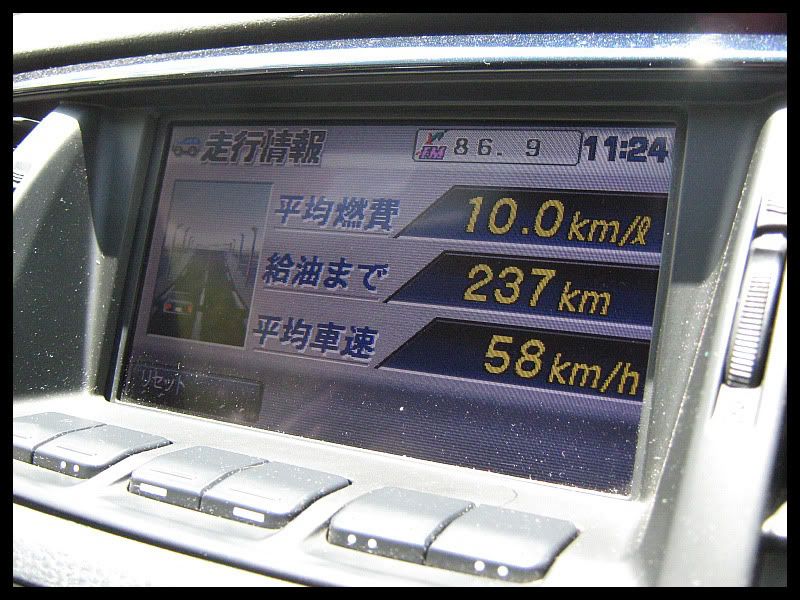
10l per 100km fuel usage
4 months
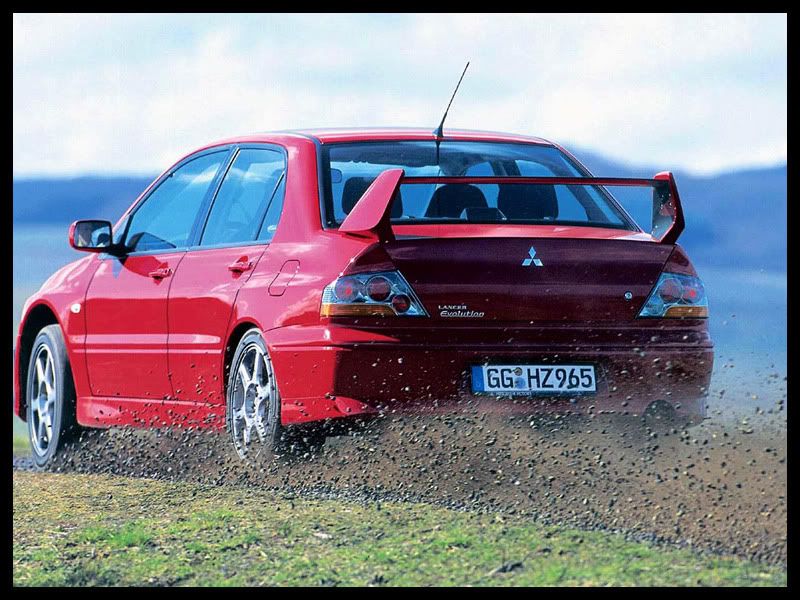
Took the car for a good 40 kilometre blast through an old gravel road.
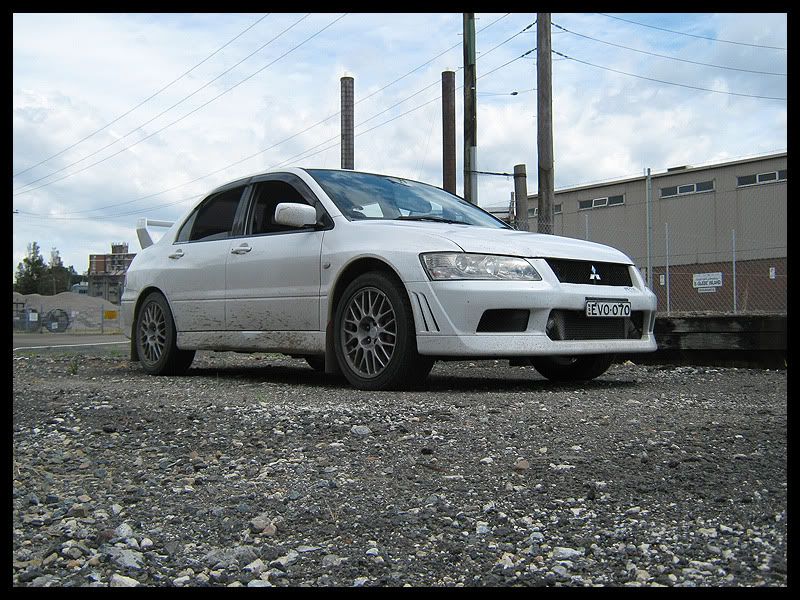
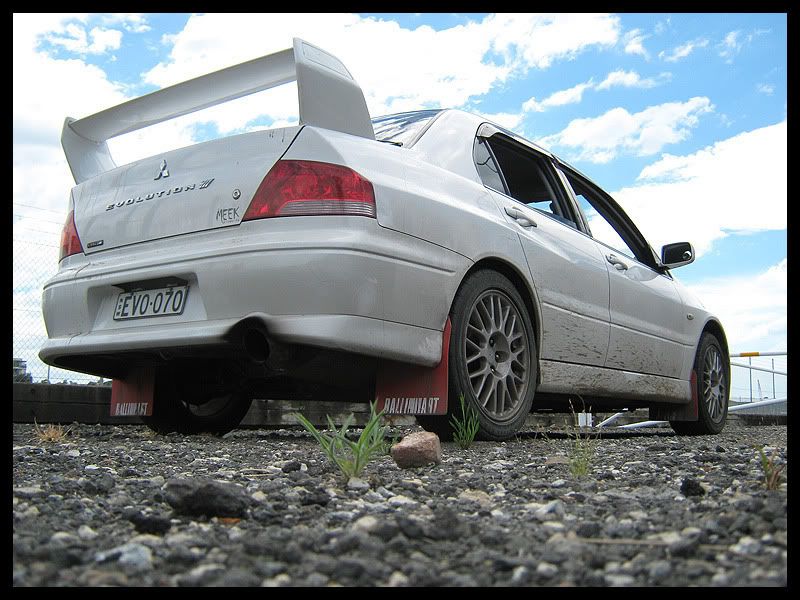
When i got back to the city, i found a broken fire hydrant so i decided to wash the car.
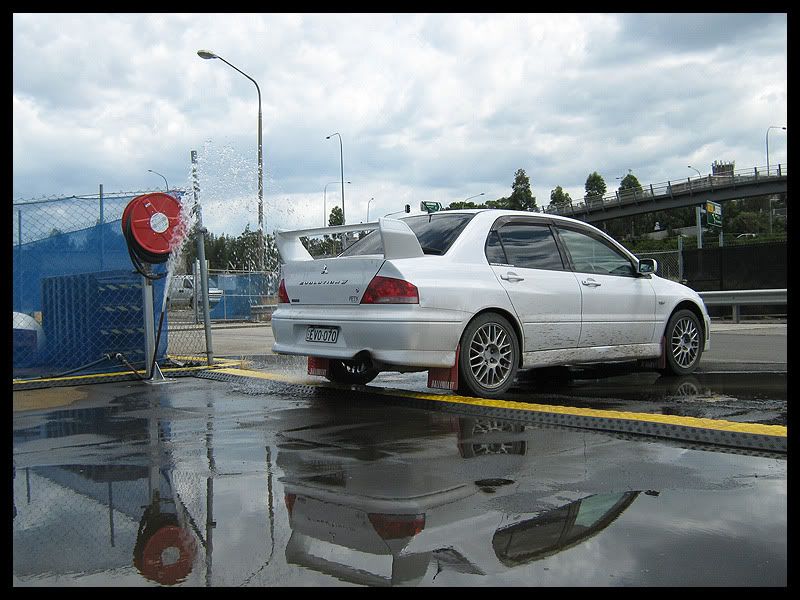
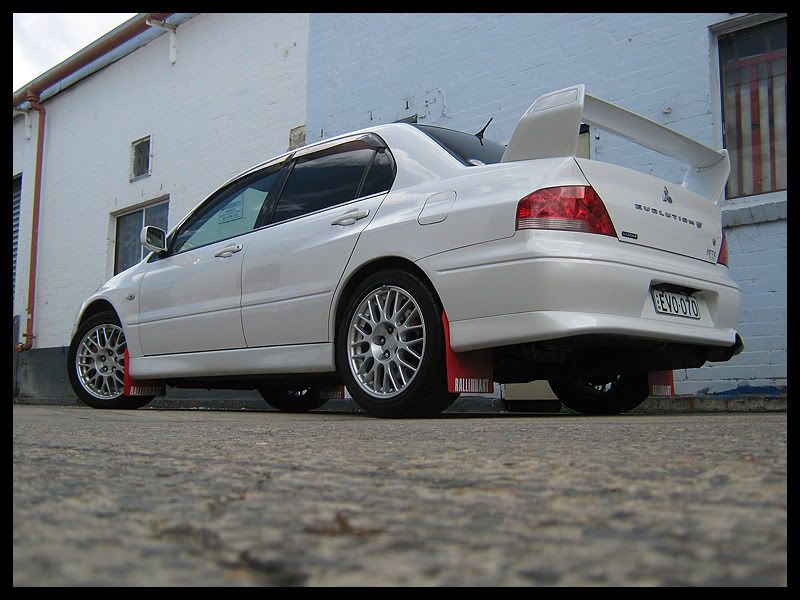
Back to showroom condition now
This thread will serve as an online maintenance record and diary showcasing the progress of my grandma spec daily driver Evo which has been inspired by the rally-bred Evo VII RS Sprint

Pretty boring to be honest, but you're all welcome to have a gieze and give me pointers when i'm in need

Once again, from Gran Turismo...

To my driveway.

Evolution VII GT-A.

Interior.

Electric driver's seat and leather.

The legendary 4G.

Hooo.


User manuals and major service completed in Japan.

After the first week...
My air con started playing up. It was turning on and off intermittently.
Iturned out that the relay was put on back to front. All sorted now.

JDMST stickers arrived.
I'm a long time active member there so it's almost a tradition for me to grab a set of stickers whenever i get a new car.


New NRMA heavy duty battery. These batteries are pretty good and they last a long time too. $160.

Scored a GSR boot and spoiler for $150.


Fitted easily in the Magna.

Taking off the spoiler.

Spoiler off. Gonna get it painted and fitted this week.
Then i have to fill in the hole in the boot from the middle section of the GT-A factory spoiler once it's been replaced with the GSR item.

Meek Automotive workshop on a Saturday morning.

Got some good advice off Chris (as always) and picked up a manual boost controller.

Time to install the MBC. Airbox off first.

Fan has to come off to gain access to the turbo. Fark this was a chore.

There. Much more room to fiddle around now.


Time to put everything back.

****. Dropped my socket down there.


There it is.

Full had to do a McGuyver to get it out.

Please don't drop


Got it. Sweet :sweat:

Finished.
Will look at mounting it some time down the track, but for now, it's all good where it is.

Car run's a lot faster now with the boost dialled up. The pull feels so much harder in 2nd and 3rd gears.
Definitely worth my $89.
Will have to put it on the dyno in two weeks from now to see what it's making.

Still a few more cosmetic enhancements needed to bring it up to par.
Looking forward to putting the GSR wing on next week.

Week 3 update
Someone pinched my old antenna (seriously wtf) so got myself a Perrin 4" for $35.

I used Loctite epoxy to fasten it down. Hopefully this deters thieving fockers next time.

New plates.


Grrr. Piece of shiet check engine light kept coming on. Ended up being EGR P0401 insufficient flow error. Got it cleared for $44.

Week 7 update
Slow and gradual upgrade process but here is my update for the new year.
Strong apple air freshner from Super AutoBacs (thanks Nathan).

Kris Kringle present from a chick at work.
After adding this to my coolant, the car is definitely a lot cooler now and heat soak is non existant.
Definitely not placebo because my temp guage is constantly sitting even lower than it was before.
Very impressive. No wonder why the rotary boys swear by it.

Wheel balance.

Wheel alignment.

I do a lot of long distance driving when i have the time off training and work so these animal guards are a worthy investment for me.

A lot of guys on sports bikes use them as well.
As you can see, they're small, out of the way and definitely worth the $4.75 i paid for them


My old paper filter was rooted so i replaced it with an HKS item. $80 from Meek Automotive.

Time to pick up my GSR wing from the spray shop.

All ready to go.
The cost was $200 for the re-spray in factory pearl. Carried out by Proline Paint & Panel Five Dock, NSW.

Finally, it's starting to look like a real Evo now

All i need to do is install the rear parcel brake light and everything will be complete.


Nothing exciting just a short clip of the car after the HKS panel filter was installed.
http://www.youtube.com/watch?v=QXKVYgy00ak
Week 10
I noticed some Evo VIII GSR's lights were almost identical to the GT-A except for the amber tinted strip where the indicator is.

So here's what i decided to do.
Tamiya water proof TS73 Clear Orange modelling paint.

Masking tape.

Following the out line of the indicator.


All masked and ready to go.

Farken ants decided to come out of their nest to do some random chores. **** off.

Here we go. First application.
Very lightly applying mists of paint to ensure no dripping.

A couple of layers later, it's starting to darken.
Between each layer, i've allowed two to three minutes of drying time.

After about fifteen (very light) layers, it's showing a true "amber" colour now.

Done.


Removing the masking.

Not bad. Looks like the it's pretty much spot on with the line.

I wasn't much of a fan of the clear Altezza style lights on the GT-A.
So for a grand total of $11.50, i've managed to give the GT-A a different look.

Before.

After.

Transmission overhaul and upgrade
Whilst draining the transmission fluid, i found pieces of the wavespring stuck to the magnetic sump plug.

Time for an overhaul.
Out comes the transmission.


Broken wavespring.

Old wavespring on the left and new super strong wavespring on the right.

Overhaul complete (thanks Tim for the photos).

GSR lights (photo courtesy of EvoM member).


GSR wheels (thanks Dave).

GSR parts arrived
Package from Japan.


GSR interior badge.

GSR boot badge.

US and European export model ACD decal. I won't be fitting this, but got it just as a reference.

GSR rear parcel shelf light.

GSR and MMCS user manual.

GSR factory head unit.

GSR hood vents and spare grille mesh.

GSR interior badge unpacked.


GSR boot badge unpacked.

The GT-A boot badge looks too big and clutters the boot. It also gives this "i'm not really an Evo" feel to the back of the car


The GSR boot badge looks the business.

Time for the front GT-A badge to be deleted.

Off comes the badge, but the bracket is welded on. What the **** bro :wallbash:

Time for a cut and shut.


Using the spare grille mesh as a replacement.


Fitted using Loctite 5-minute dry clear epoxy (140kg strength).


Ralliart mud flaps. These came standard on the Evo VII RS Sprint.


Super Spark coil pack and lead set.

GT-A accessories borchure.


10l per 100km fuel usage


4 months
Took the car for a good 40 kilometre blast through an old gravel road.


When i got back to the city, i found a broken fire hydrant so i decided to wash the car.

Back to showroom condition now


Last edited by dimi108; Jun 19, 2011 at 10:03 PM.
Trending Topics
#11
#14
i LOVE how the dash setup is on those cars... the center ac vents, the screen, and the HVAC setup... wish i was baller enough to buy it all and install it into my evo!
very nice GT-A by the way! any particular reason you went with a GT-A?
very nice GT-A by the way! any particular reason you went with a GT-A?


