
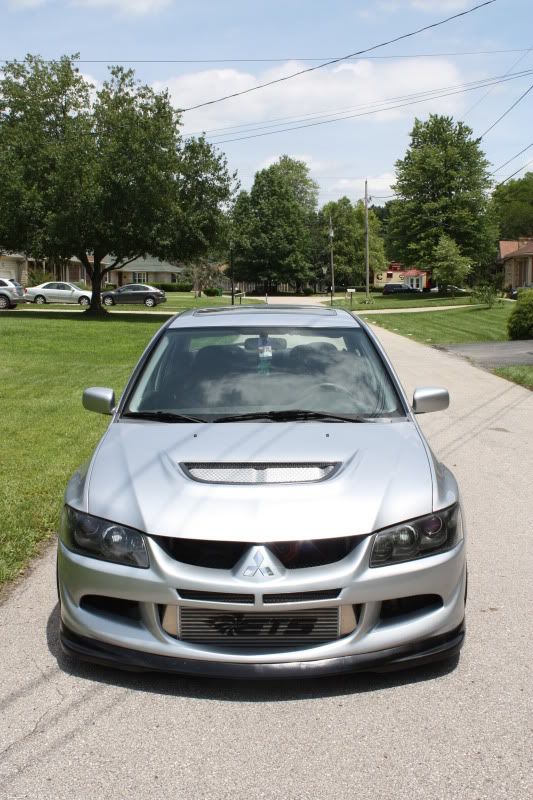
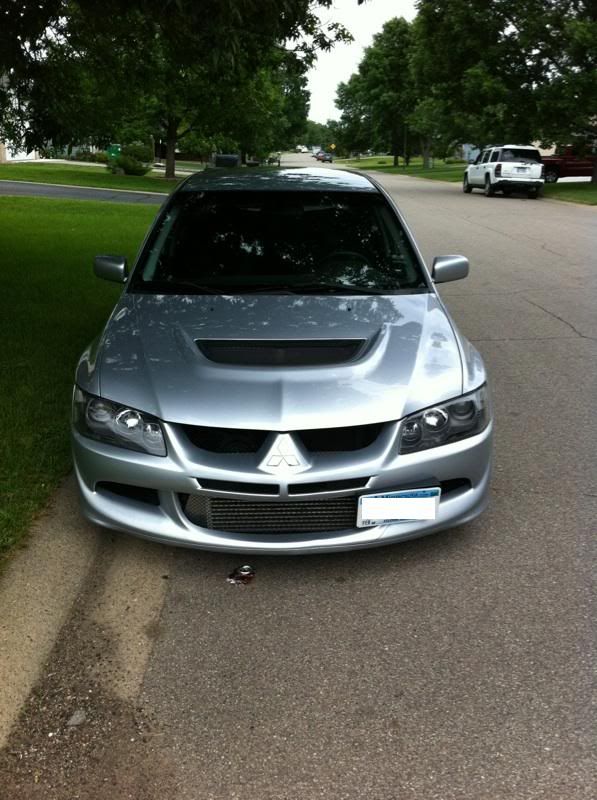
Show me your Headlights!


 Aug 3, 2011, 09:34 AM
#23
JDM lights suck. Sure black surround looks nice but the beam is focused for RHD and cannot be re-aligned + waaay too expensive.
I opened and painted my OEM 8s flat black but the beam is not as bright or wide without the reflective surround.
I have done both JDM, OEM 8 painted and will probably go new shiny un-molested OEM USDM 9s before winter.
Aug 3, 2011, 11:48 PM
#24
Evolving Member
iTrader: (5)
Join Date: Jun 2011
Location: Norcal & Socal
Posts: 147
Likes: 0
Received 0 Likes
on
0 Posts
Silicone RTV.
JDM lights suck. Sure black surround looks nice but the beam is focused for RHD and cannot be re-aligned + waaay too expensive.
I opened and painted my OEM 8s flat black but the beam is not as bright or wide without the reflective surround.
I have done both JDM, OEM 8 painted and will probably go new shiny un-molested OEM USDM 9s before winter.
JDM VIII HL's have been re-aligned and you can do it yourself with some time and patience lmao
OP, painting your own headlights is easier than you think. there's plenty of how-to's out there (not necessarily on this forum) for you to reference. good luck to you.
Aug 4, 2011, 02:22 AM
#25
OP: get yourself a:
* $10 gear gun
* screwdriver to remove the single screw at the bottom of the HL
* large flat head screwdriver to pry the lense off
It takes me 11min to pull one HL apart... Give urself 20min if you need to take your time... Bend the tabs out of the way then pull the lens off... Start from the foglight corner...
Aug 4, 2011, 02:36 AM
#27
Evolving Member
iTrader: (20)
Join Date: May 2011
Location: michigan
Posts: 380
Likes: 0
Received 0 Likes
on
0 Posts
Remove headlights.. Set oven to 250 degrees
Remove all clips from HL's
Bake for 15 minutes
Remove with hot glove
Use Flat head and rag to pry open and not scratch anything
Remove bezel and paint
Heat oven back up
put headlights back together
bake 15
remove with hot glove and reinstall clips clamp for a few minutes with your hands if you must and you are golden.

 Aug 10, 2011, 09:03 AM
#29
Newbie
Join Date: Jul 2010
Location: Nor Holly Cal
Posts: 82
Likes: 0
Received 0 Likes
on
0 Posts
Remove headlights.. Set oven to 250 degrees
Remove all clips from HL's
Bake for 15 minutes
Remove with hot glove
Use Flat head and rag to pry open and not scratch anything
Remove bezel and paint
Heat oven back up
put headlights back together
bake 15
remove with hot glove and reinstall clips clamp for a few minutes with your hands if you must and you are golden.
Remove all clips from HL's
Bake for 15 minutes
Remove with hot glove
Use Flat head and rag to pry open and not scratch anything
Remove bezel and paint
Heat oven back up
put headlights back together
bake 15
remove with hot glove and reinstall clips clamp for a few minutes with your hands if you must and you are golden.
If this is really how easy it is I'm going to do it today. I am just so scared to do it because I had a honda years ago that had foggy lenses from someone else trying something like this.
Aug 10, 2011, 09:15 AM
#30
^^ Then make sure you inspect the HL all the way around to see if theres sufficient sealant inside the groove.... Use the flat head screw driver and push it back in if you have to......
You yanks are so fixated on using the oven method...
heat gun / flat head screw driver / clips... be done in half the time and half the effort...


You yanks are so fixated on using the oven method...
heat gun / flat head screw driver / clips... be done in half the time and half the effort...