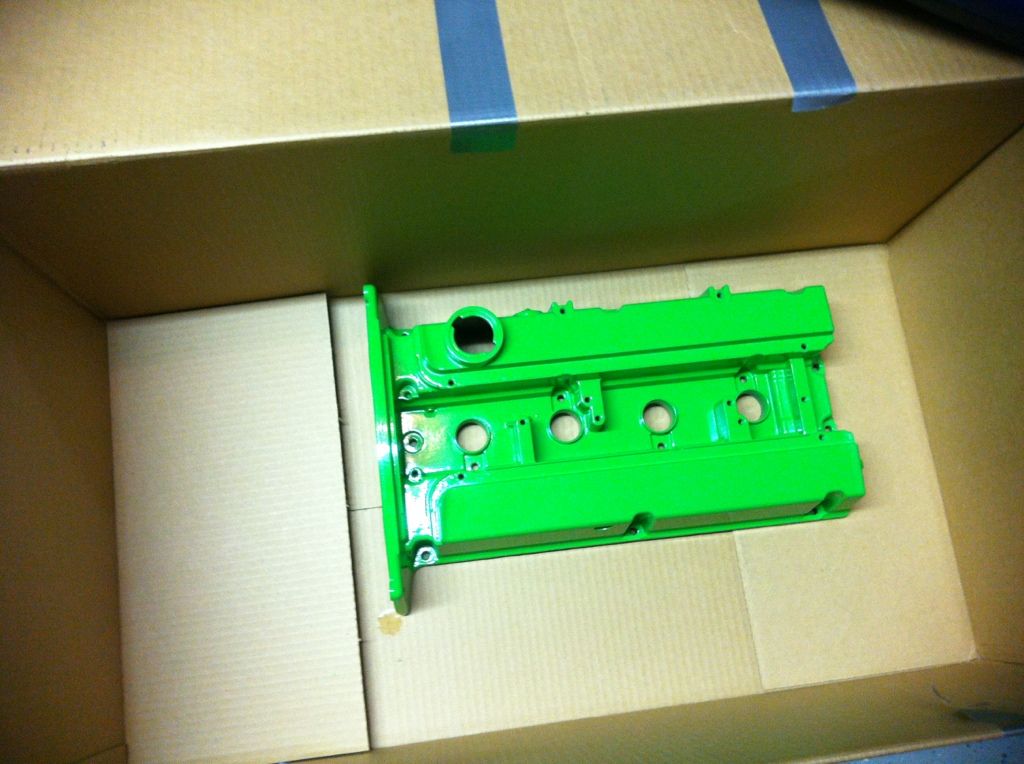
freshy fresh valve cover

 Jun 12, 2012, 02:26 PM
#18
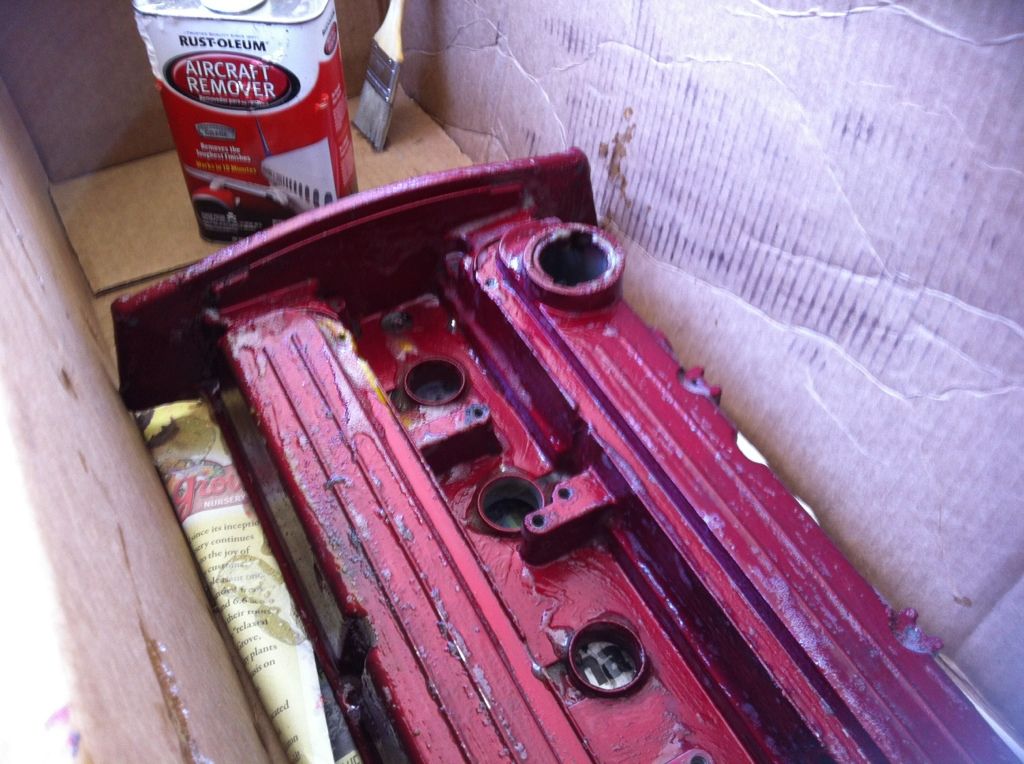
Is the paint holding up alright? I was going to paint mine but was wary about painting it with non hi temp paint, the colors I need don't come in hi temp. Any problems with it fading or anything?
That bay is so damn clean I can't even tell if you run the thing
That bay is so damn clean I can't even tell if you run the thing
 Jul 23, 2012, 06:28 AM
#26
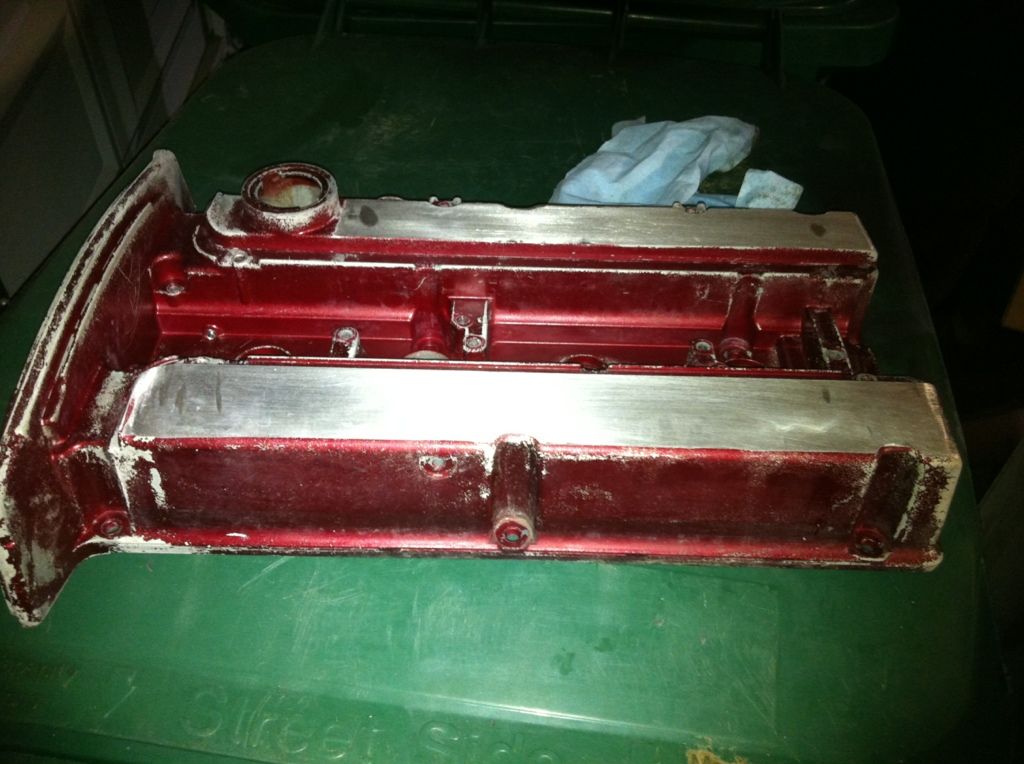
Looks good so far!! I didn't get it down to the bare metal, just enough to get the surface roughed up. Once that was done I sanded like crazy! I like that you shaved it too, I thought about it, but decided I kind of liked the ridges and lettering.