
Refinish your 6sp knob for approx $6
 Apr 16, 2014, 10:38 AM
#1
Evolved Member
Thread Starter
iTrader: (4)

Join Date: Oct 2011
Location: cocoa, FL / Madison, WI
Posts: 537
Likes: 0
Received 8 Likes
on
6 Posts
Refinish your 6sp knob for approx $6
OK, so years of wear has done a few things to my shift knob...
The sticker on the top had yellowed and become cloudy, and the machined alluminum knob had become polished from hand wear and scratches from keys in my hand or my rings.
So, this had bugged me enough, I decided to refinish it, and wanted to give you all a step by step guide on how to do it.
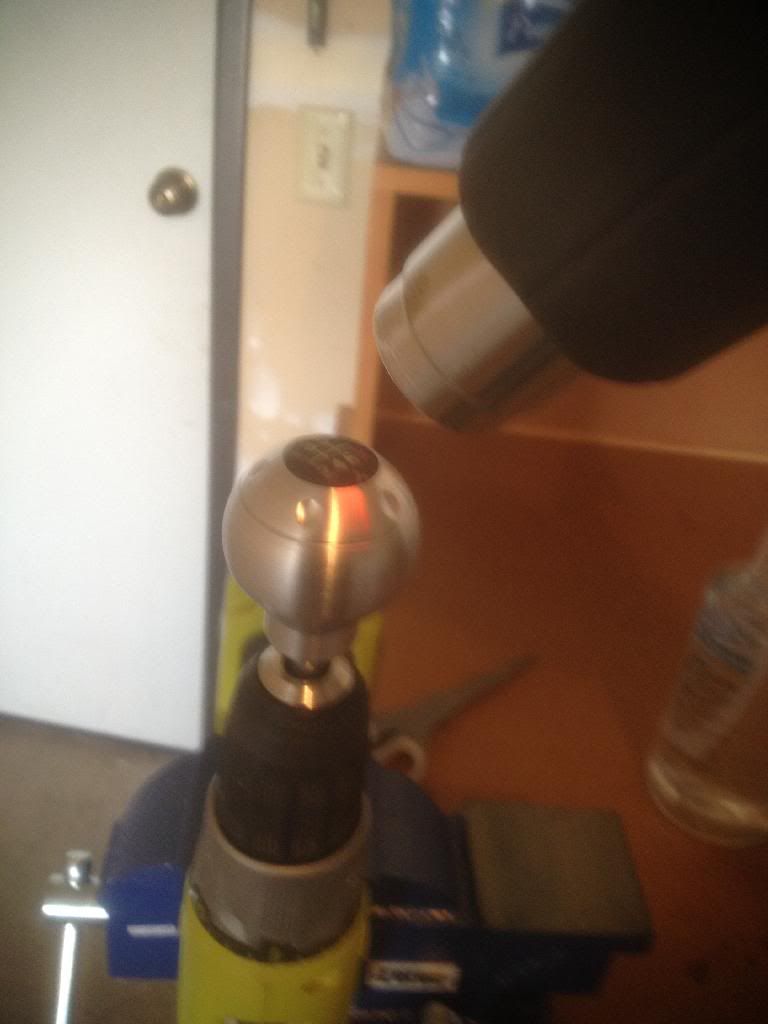
First you need to remove the knob. They are screwed onto shift lever. They are standard threads, so "Lefty loosey" to take it off. I used a strap wrench to get mine off, but when I have strong hand strength, I could just grab it and twist it off.
Once it's off, here's what mine looked like:
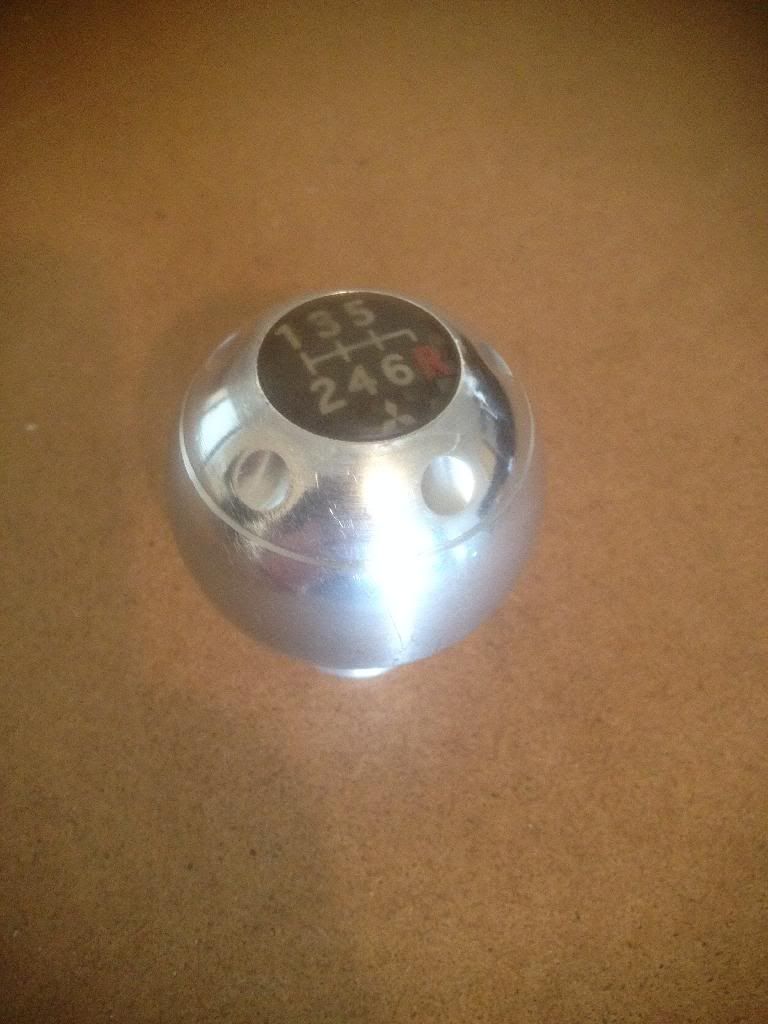
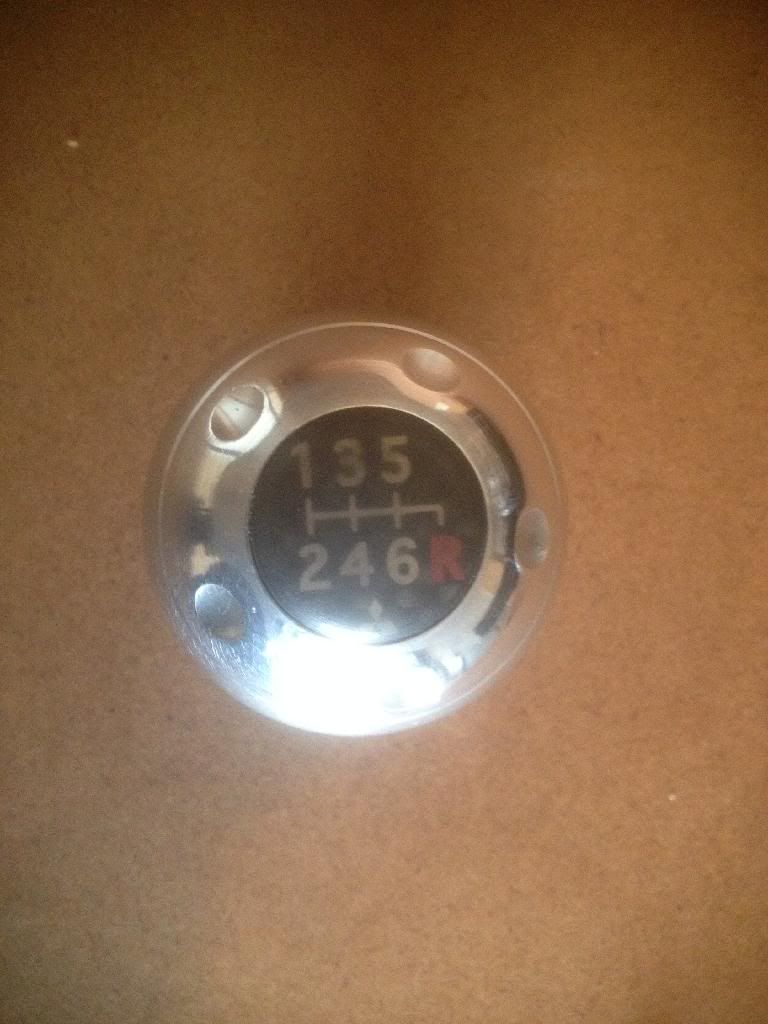
You can't see the yellowing of the sticker, but it was there. It was also cloudy the top of the knob had become scratched, and polished all at once. It lacked the machine finish that was once there.
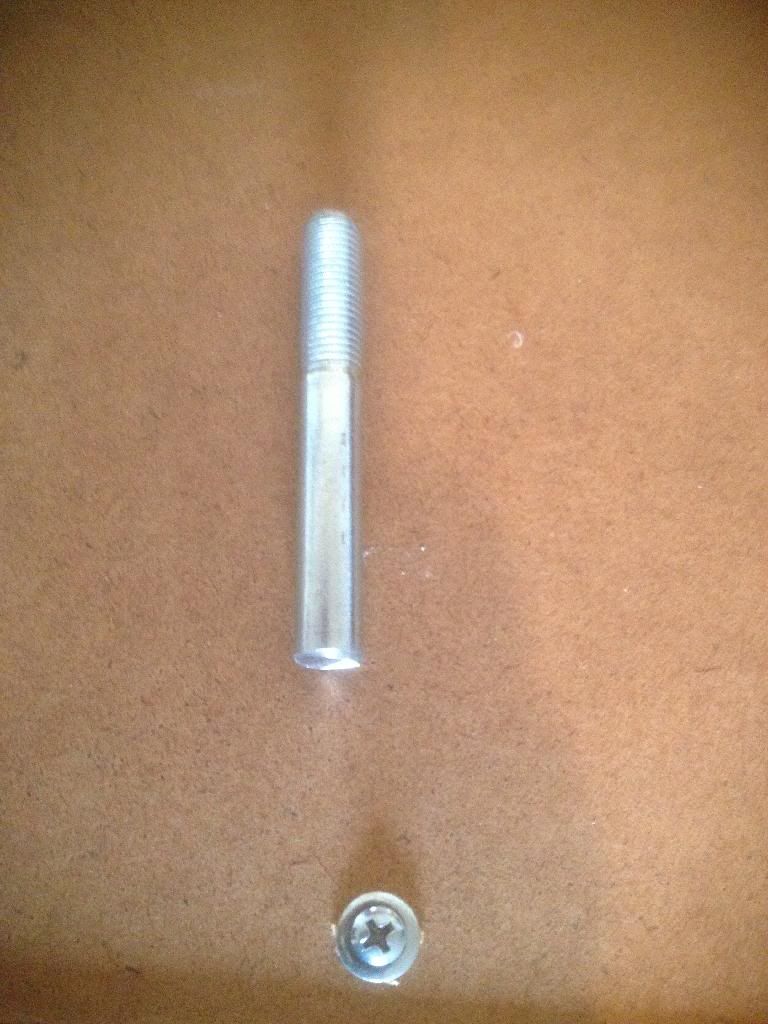
So, I went to the hardware store, and purchased a bolt to fit in the knob. Mine was about 3" long, and the thread pitch is 10x1.25. The hardware store was nice enough to cut off the head and de-burr it for me (gotta love local ace hardware)
Here's what I came up with:
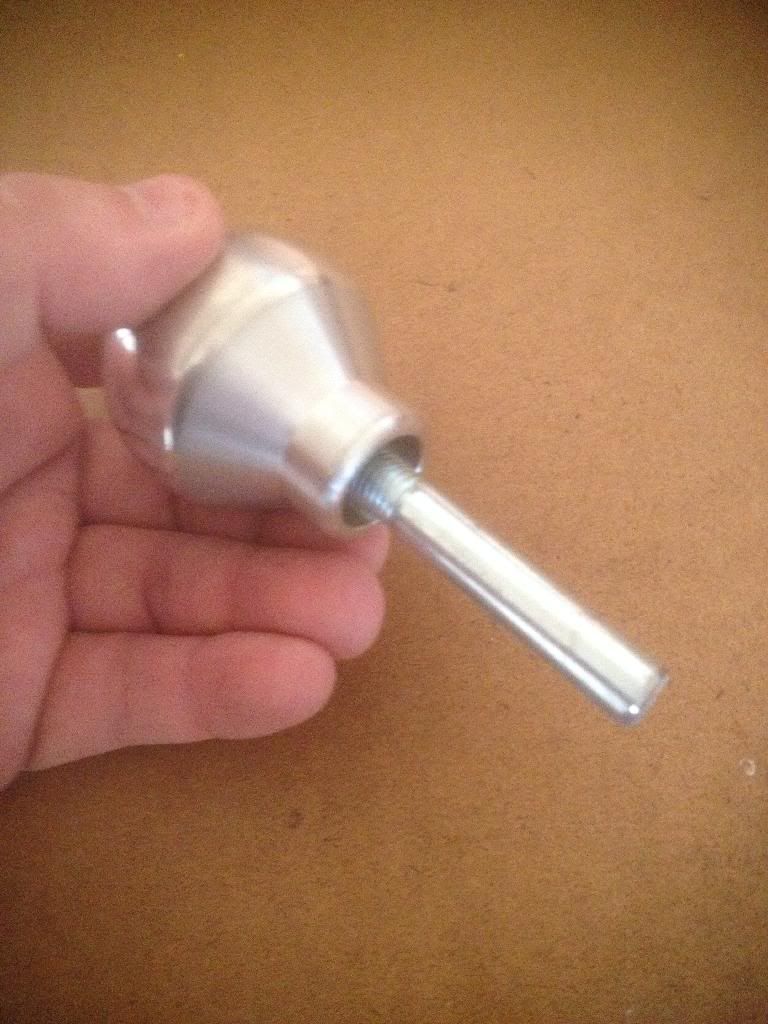
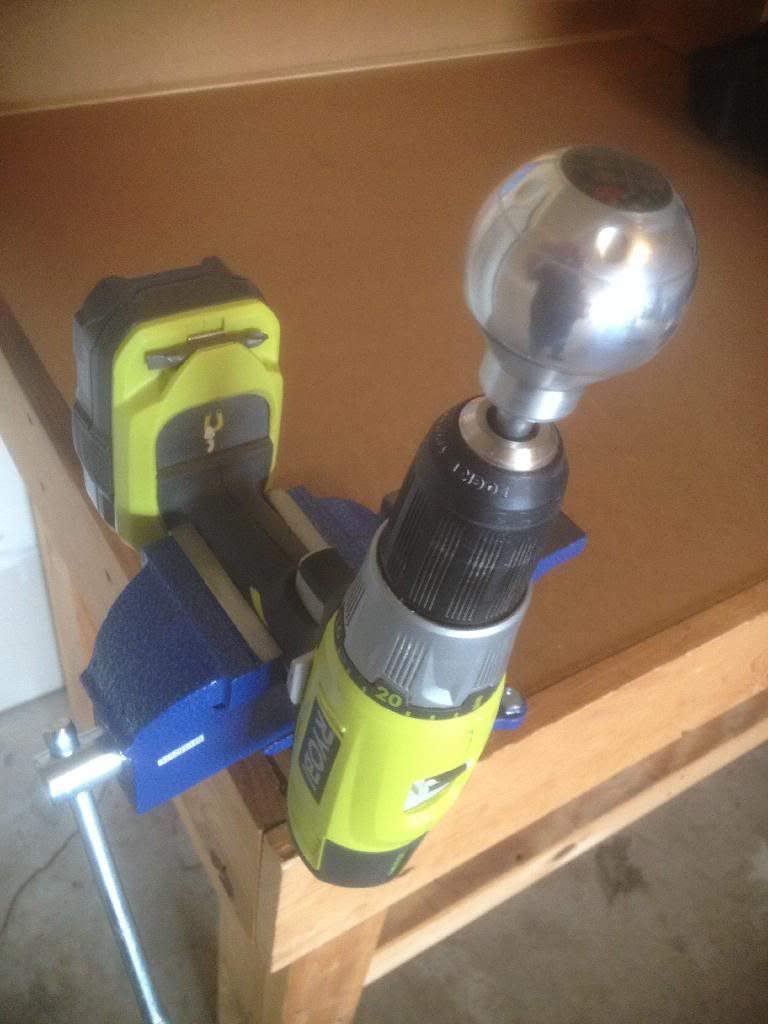
I then screwed this into the base of the shift knob:
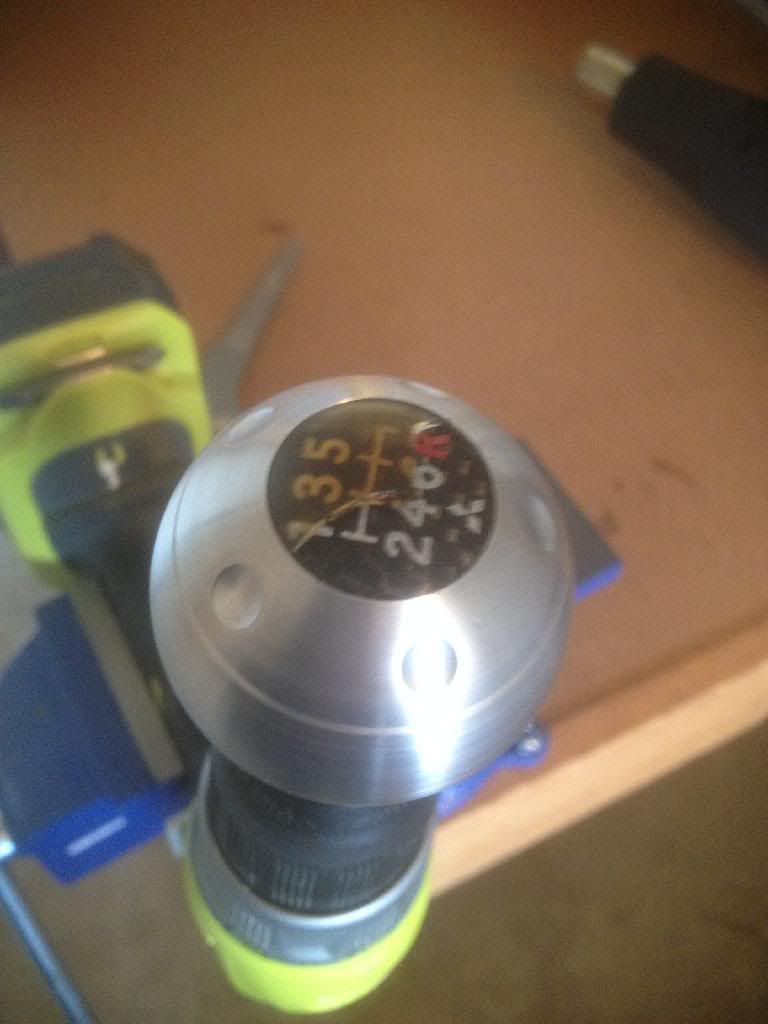
I then put this into the chuck of my drill, and mounted the drill in a vice. You can do this by hand, but I liked to have the drill mounted firmly.
I then used a 220 grit sandpaper that had been wet down with some water as a lubricant, and with the drill on high speed, I sanded the knob down. I let the drill run at high speed, and slowly ran the paper over the knob so that the sand paper left it's scratches in a lateral direction:
Check it every few seconds, and stop once you have knocked off all the scratches and the surface finish.
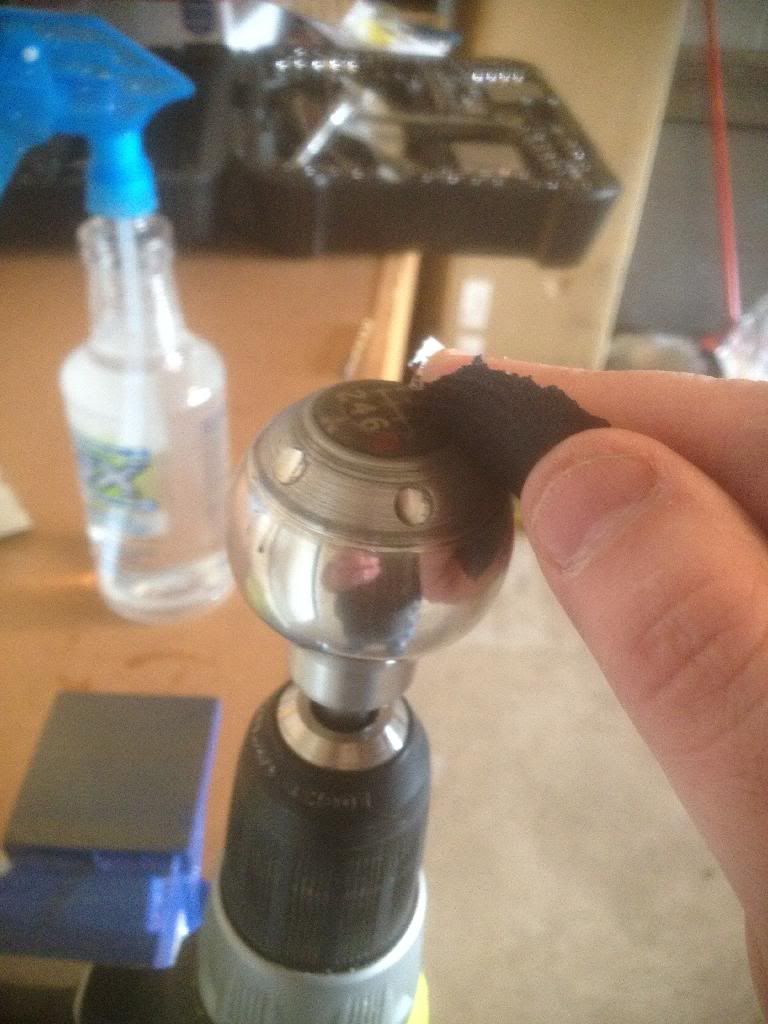
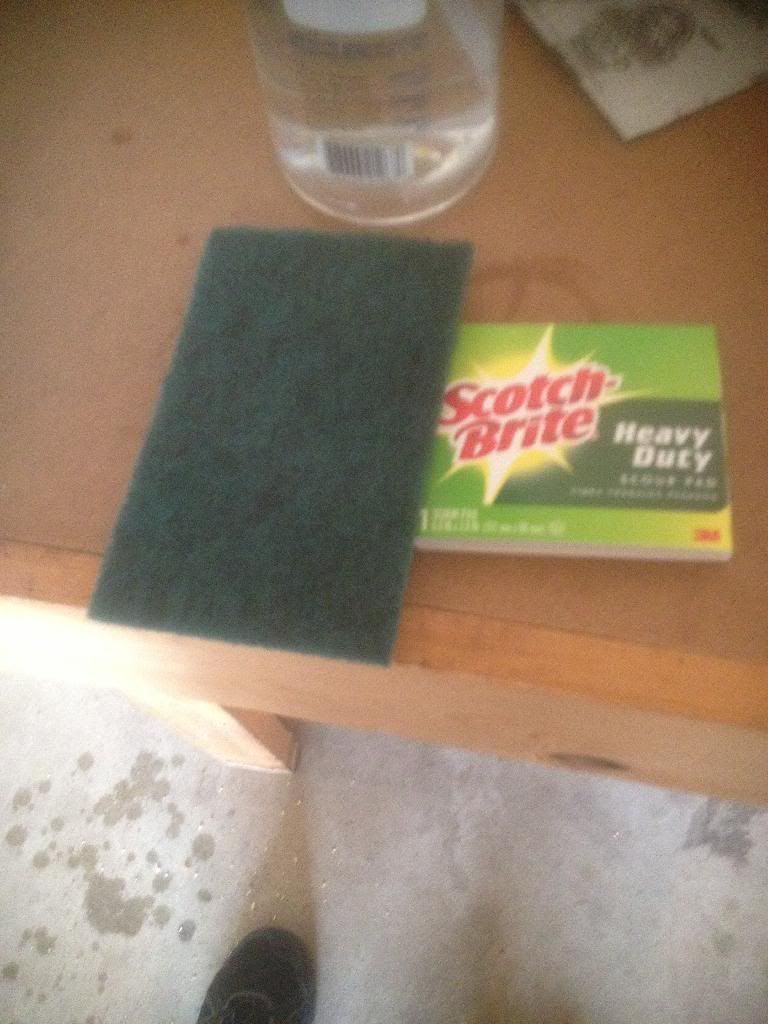
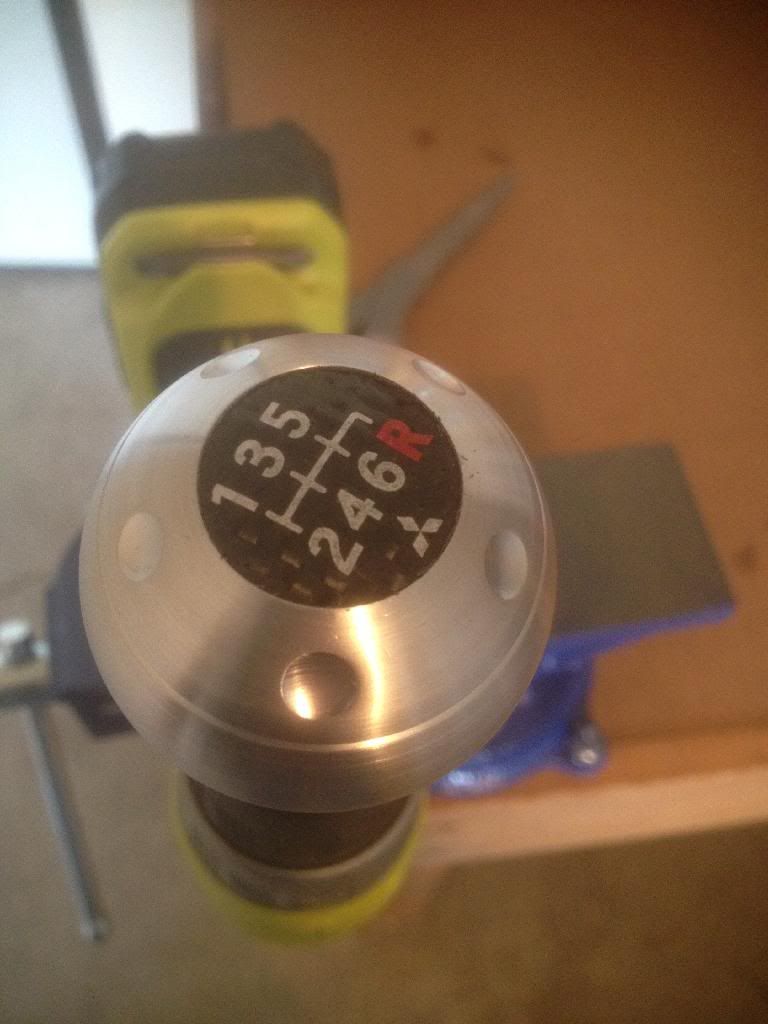
Once all the scratches were gone, I switched to a green scotch brite pad. These are available at any hardware store, or grocery store (pot scrubbers)
I then ran the drill again, and using water as a lubricant, took off the deep scratches from the sandpaper. again, letting the drill run at high speed, and slowly, with light pressure letting the scotch brite pad over the surface.
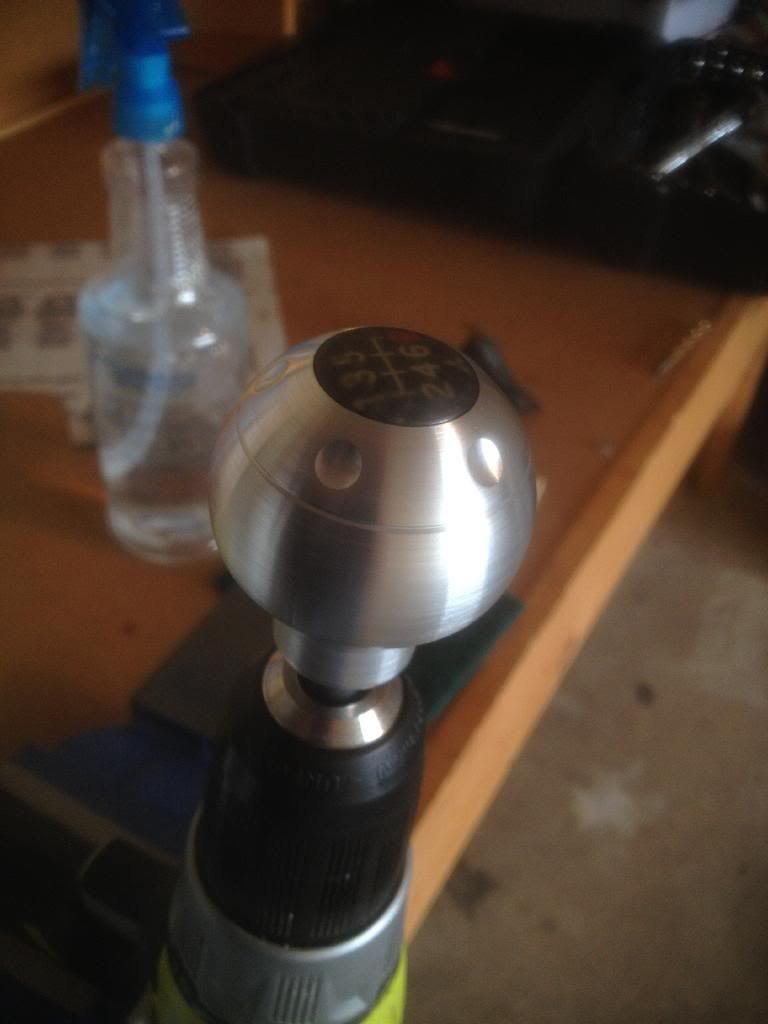
Once you are done with that, use a damp rag and wipe off the residue. You should be left with this. a finish which is almost a perfect match to the factory finish:
Now it's time to work on that cloudy sticker...
Others have just pryed this off with a knife/screwdriver, but they end up scratching the factory lettering. I used a heat gun to loosen the glue.
Oddly enough, once I started to see the glue loosen, mine also started to crack. I may have heated it a bit much, but it left the lettering.
I did not let the knife touch the carbon fiber or the lettering, I just hooked an edge and lifted.
Once it was all gone, here's what it looked like:
I then took my new stickers (I ordered 3 different brands and sizes before I found the right ones... they took a week each to get in (ouch), and I had to buy them in bulk... so I have some left over.
I pealed the sticker off of the base, while using the top paper to line the sticker up. this way I never touched the adhesives... I then pushed it down on the carbon fiber, and with force, pushed the sticker down from the inside to the outside edges...
Here's what it looked like completed:
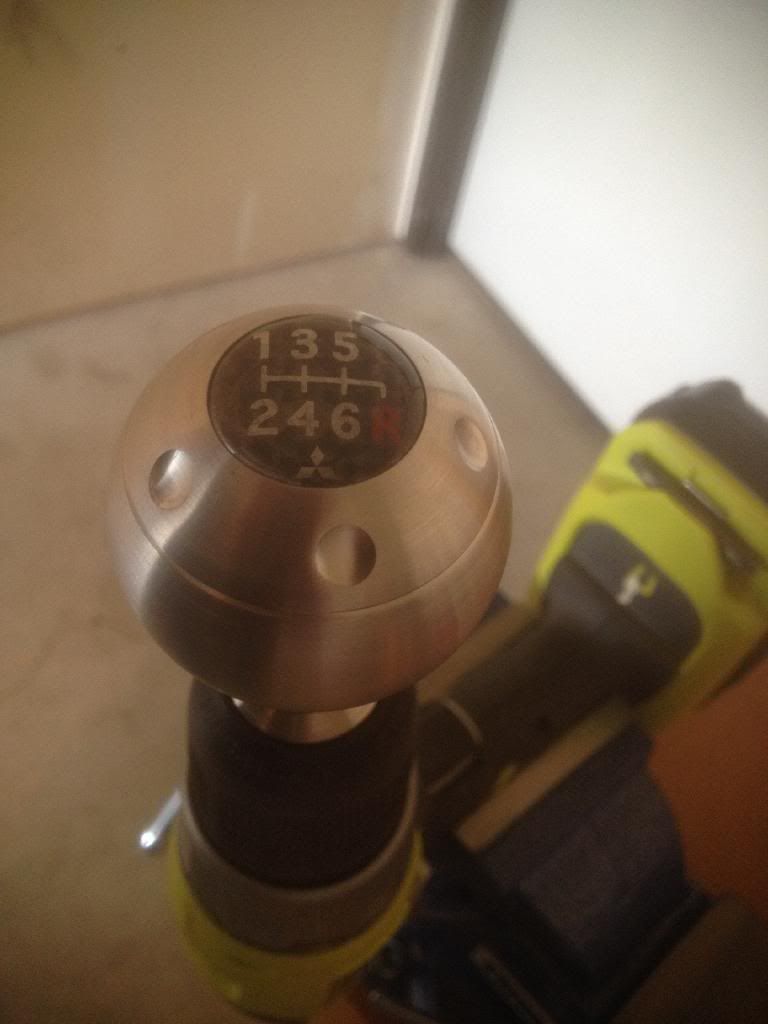
The pictures don't do it justice, but the new sticker is a perfect size, and the bluring and yellowing are gone!
PS: As I had to buy the stickers in bulk, I have some left over. They are for sale here:
https://www.evolutionm.net/forums/sa...l#post11179805
The sticker on the top had yellowed and become cloudy, and the machined alluminum knob had become polished from hand wear and scratches from keys in my hand or my rings.
So, this had bugged me enough, I decided to refinish it, and wanted to give you all a step by step guide on how to do it.
First you need to remove the knob. They are screwed onto shift lever. They are standard threads, so "Lefty loosey" to take it off. I used a strap wrench to get mine off, but when I have strong hand strength, I could just grab it and twist it off.
Once it's off, here's what mine looked like:
You can't see the yellowing of the sticker, but it was there. It was also cloudy the top of the knob had become scratched, and polished all at once. It lacked the machine finish that was once there.
So, I went to the hardware store, and purchased a bolt to fit in the knob. Mine was about 3" long, and the thread pitch is 10x1.25. The hardware store was nice enough to cut off the head and de-burr it for me (gotta love local ace hardware)
Here's what I came up with:
I then screwed this into the base of the shift knob:
I then put this into the chuck of my drill, and mounted the drill in a vice. You can do this by hand, but I liked to have the drill mounted firmly.
I then used a 220 grit sandpaper that had been wet down with some water as a lubricant, and with the drill on high speed, I sanded the knob down. I let the drill run at high speed, and slowly ran the paper over the knob so that the sand paper left it's scratches in a lateral direction:
Check it every few seconds, and stop once you have knocked off all the scratches and the surface finish.
Once all the scratches were gone, I switched to a green scotch brite pad. These are available at any hardware store, or grocery store (pot scrubbers)
I then ran the drill again, and using water as a lubricant, took off the deep scratches from the sandpaper. again, letting the drill run at high speed, and slowly, with light pressure letting the scotch brite pad over the surface.
Once you are done with that, use a damp rag and wipe off the residue. You should be left with this. a finish which is almost a perfect match to the factory finish:
Now it's time to work on that cloudy sticker...
Others have just pryed this off with a knife/screwdriver, but they end up scratching the factory lettering. I used a heat gun to loosen the glue.
Oddly enough, once I started to see the glue loosen, mine also started to crack. I may have heated it a bit much, but it left the lettering.
I did not let the knife touch the carbon fiber or the lettering, I just hooked an edge and lifted.
Once it was all gone, here's what it looked like:
I then took my new stickers (I ordered 3 different brands and sizes before I found the right ones... they took a week each to get in (ouch), and I had to buy them in bulk... so I have some left over.
I pealed the sticker off of the base, while using the top paper to line the sticker up. this way I never touched the adhesives... I then pushed it down on the carbon fiber, and with force, pushed the sticker down from the inside to the outside edges...
Here's what it looked like completed:
The pictures don't do it justice, but the new sticker is a perfect size, and the bluring and yellowing are gone!
PS: As I had to buy the stickers in bulk, I have some left over. They are for sale here:
https://www.evolutionm.net/forums/sa...l#post11179805
Last edited by hatesposers; Apr 16, 2014 at 10:54 AM.

 Apr 16, 2014, 07:24 PM
#4
Evolved Member
Thread Starter
iTrader: (4)
Join Date: Oct 2011
Location: cocoa, FL / Madison, WI
Posts: 537
Likes: 0
Received 8 Likes
on
6 Posts
Of Note. I think I saw your post evoixjohn, and I agree the adhesives of the 3M stickers may be a little weak. I am going to add a bit of clear epoxy adhesive between the sticker and the OEM carbon fiber.
Apr 16, 2014, 09:50 PM
#7
You should post a link of where you got the replacement stickers in the original post for anyone in the future. Also a good description of what they are described as well. Alot of time I'll find a helpful thread, and no link to purchase or the link is dead and I'm left to experiment by myself.
Trending Topics
Apr 17, 2014, 01:01 PM
#8
Evolved Member
Thread Starter
iTrader: (4)
Join Date: Oct 2011
Location: cocoa, FL / Madison, WI
Posts: 537
Likes: 0
Received 8 Likes
on
6 Posts
You should post a link of where you got the replacement stickers in the original post for anyone in the future. Also a good description of what they are described as well. Alot of time I'll find a helpful thread, and no link to purchase or the link is dead and I'm left to experiment by myself.
As I mentioned in the bottom of my initial post, I had to buy these in bulk, so I have TONS left over, I don't see myself ever running out. I even posted a link to where you can buy them.
Last edited by hatesposers; Apr 17, 2014 at 01:04 PM.


Thread
Thread Starter
Forum
Replies
Last Post
hatesposers
For Sale/WTB - Engine / Drivetrain / Power
3
Jan 24, 2015 06:21 AM
hatesposers
For Sale - Interior / Exterior / Sound / Styling
2
Jan 23, 2015 08:07 PM
hatesposers
For Sale - Interior / Exterior / Sound / Styling
6
Jan 21, 2015 06:12 AM
hatesposers
For Sale/WTB - Engine / Drivetrain / Power
3
Sep 26, 2014 11:54 PM
hatesposers
For Sale - Interior / Exterior / Sound / Styling
2
Apr 17, 2014 12:57 PM