Changing Tires - Uhoh!
#1
Changing Tires - Uhoh!
Well it's that time of year again - at least for me in Winterpeg.
Just picked up a new set of Michelin X-Radial All Seasons at Costco (woop for savings :P) and go figure one of my lugs was siezed. And on the front to boot.
Called the dealer and they actually had the stud and the nut IN STOCK for my '04 OZ (score). $20CAD later (picked up an extra set of each just in case) and driving home on 3 lugs, I'm about to take the front hub apart and remove that snapped stud.

Part # for stud: MB911495
Part # for lug nut: 3880A008
There doesn't appear to be a recent How-To or at least some decent pictures for this process, so hopefully I can snap some while I work. Found a good thread for the Evo's at least: Wheel hub removal and lug/wheel stud install
If anyone's in Winnipeg and wants to bring a case of beer around - It's f*kin gorgeous outside and I'll be skipping class this afternoon til she's finished. Haha
PS. Yeah my rims are in rough shape. Bought it used and they were already like that. Would love to get them refinished in the near future. Love the stock OZ's.
---
Updated:
Alright that was an easy fix. I didn't end up taking the rotor off, although my understanding is that this step is always recommended so you don't damage the wheel bearings!! But I tapped the bolt with my hammer just once and noticed it moved very easily. I simply used my hands to push it out the rest of the way.
I did take the axle nut off but couldn't remove my disk by hand. I used a hammer to tap on the bolts themselves to free them up and some rust and other **** did fall out. It looks like I would have needed the adapter to pull it off, as mentioned on the link above.
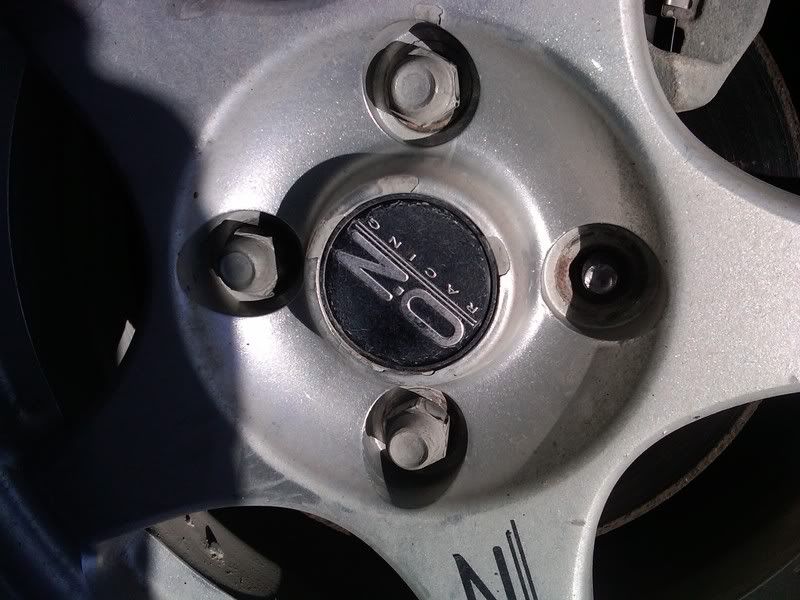
Before:

The top left bolt was in a good position for this fix. I simply had to move the caliper and I could get at the front and back of it.
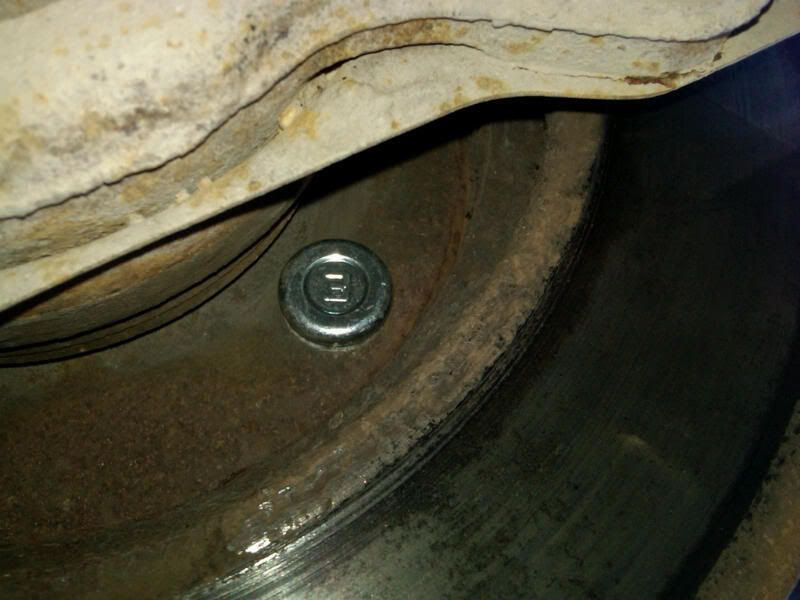
Back of bolt:

After I had the bolt in place I tightened the lug nut up by hand, then used the impact wrench to tighten it so it was even with the others
After:

Good as new!
Just picked up a new set of Michelin X-Radial All Seasons at Costco (woop for savings :P) and go figure one of my lugs was siezed. And on the front to boot.

Called the
 dealer and they actually had the stud and the nut IN STOCK for my '04 OZ (score). $20CAD later (picked up an extra set of each just in case) and driving home on 3 lugs, I'm about to take the front hub apart and remove that snapped stud.
Part # for stud: MB911495
Part # for lug nut: 3880A008
There doesn't appear to be a recent How-To or at least some decent pictures for this process, so hopefully I can snap some while I work. Found a good thread for the Evo's at least: Wheel hub removal and lug/wheel stud install
If anyone's in Winnipeg and wants to bring a case of beer around - It's f*kin gorgeous outside and I'll be skipping class this afternoon til she's finished. Haha

PS. Yeah my rims are in rough shape. Bought it used and they were already like that. Would love to get them refinished in the near future. Love the stock OZ's.
---
Updated:
Alright that was an easy fix. I didn't end up taking the rotor off, although my understanding is that this step is always recommended so you don't damage the wheel bearings!! But I tapped the bolt with my hammer just once and noticed it moved very easily. I simply used my hands to push it out the rest of the way.
I did take the axle nut off but couldn't remove my disk by hand. I used a hammer to tap on the bolts themselves to free them up and some rust and other **** did fall out. It looks like I would have needed the adapter to pull it off, as mentioned on the link above.
Before:

The top left bolt was in a good position for this fix. I simply had to move the caliper and I could get at the front and back of it.
Back of bolt:

After I had the bolt in place I tightened the lug nut up by hand, then used the impact wrench to tighten it so it was even with the others
After:

Good as new!
Last edited by prezdead; Mar 29, 2011 at 05:23 PM. Reason: Update
Thread
Thread Starter
Forum
Replies
Last Post
allday10sec
Evo How Tos / Installations
35
May 4, 2017 09:51 AM
vtluu
Evo How Tos / Installations
1
Jul 24, 2005 09:33 PM


