
Under $15 Budget Camera Mount How To
 Oct 5, 2007, 09:21 AM
#1
Under $15 Budget Camera Mount How To
For those of us on the cheap (or as in my case - poor. Thank you UofM ") ) - here is my under $15 camera bar. Works for those without harnesses - sorry guys with.
) - here is my under $15 camera bar. Works for those without harnesses - sorry guys with.
Materials needed:
-1: 3 ft of 90deg angle steel
~$8 from hardware store
-2: 6in long bolts (1/4 - but whatever fits the holes in the bar)
-2: wingnuts that work with the bolts
-4: washers. 2 of them need to be keep the bolt from going through the other larger on. The larger on must be bigger than your OE harness holes
-1: 1in bolt that fits your cameras tripod mount
-2: bolts for that nut
~$6 from hardware store
Putting it all together:
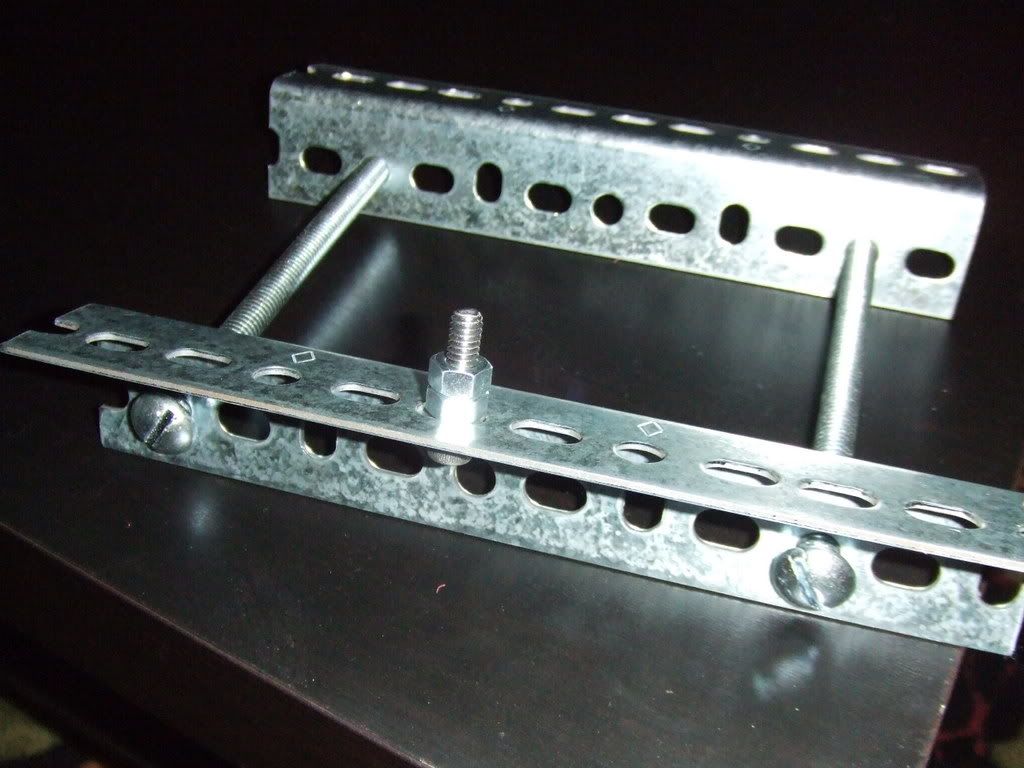
This is pretty straight forward - take the long bolts, washers, and wingnuts and put one in each hole (I used the ones closest to the center of the car).
Heres what that looks like:
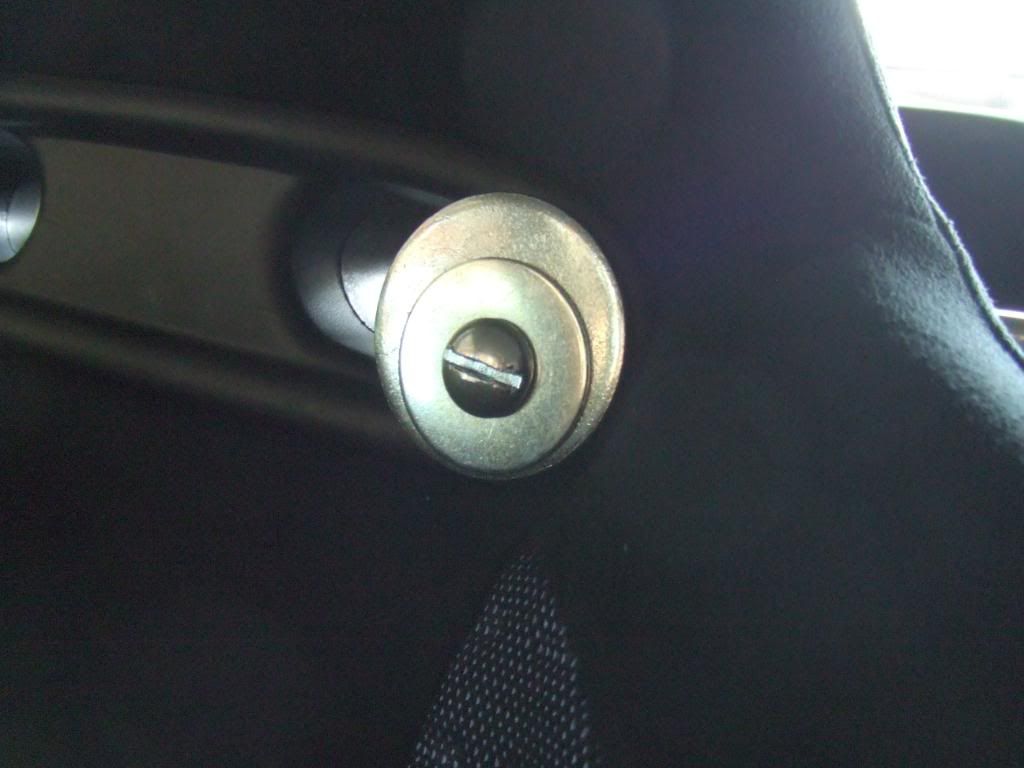
Now put the angle bar across the back seat and use the wingnuts to tighten everything down.

Using the bolt that works with the tripod mount find a location in the bar and put that together. Tighten that nut down and put on the other nut loosely. Spin the camera on and then tighten that second nut up towards the camera.
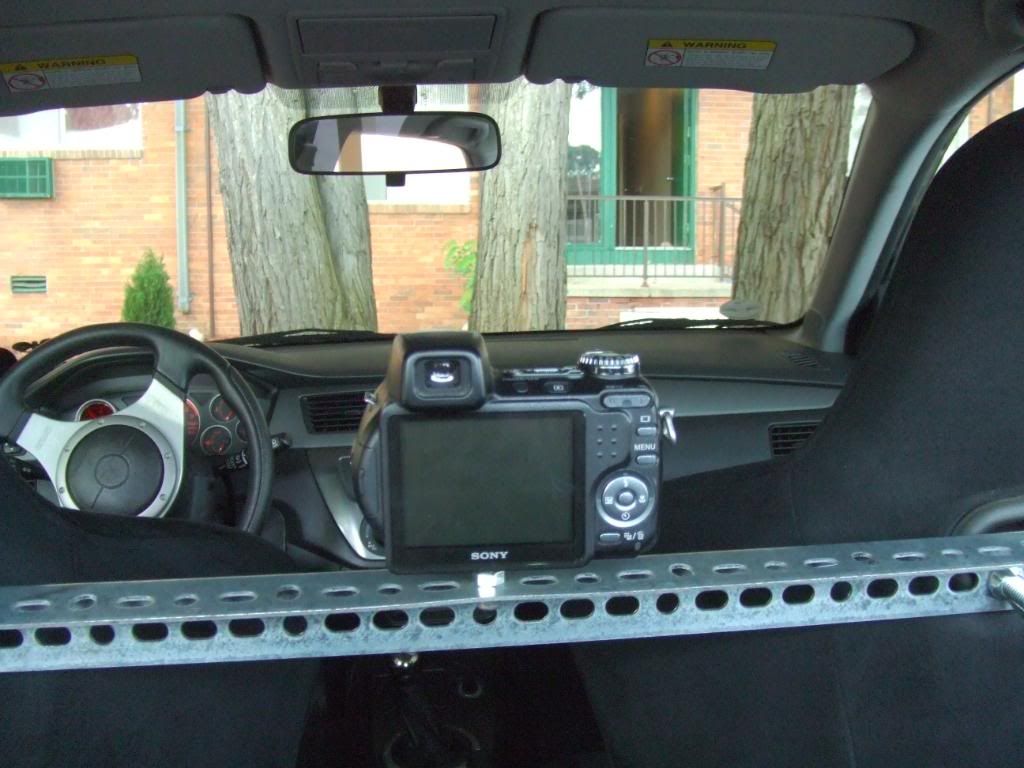
You now have a camera mount.
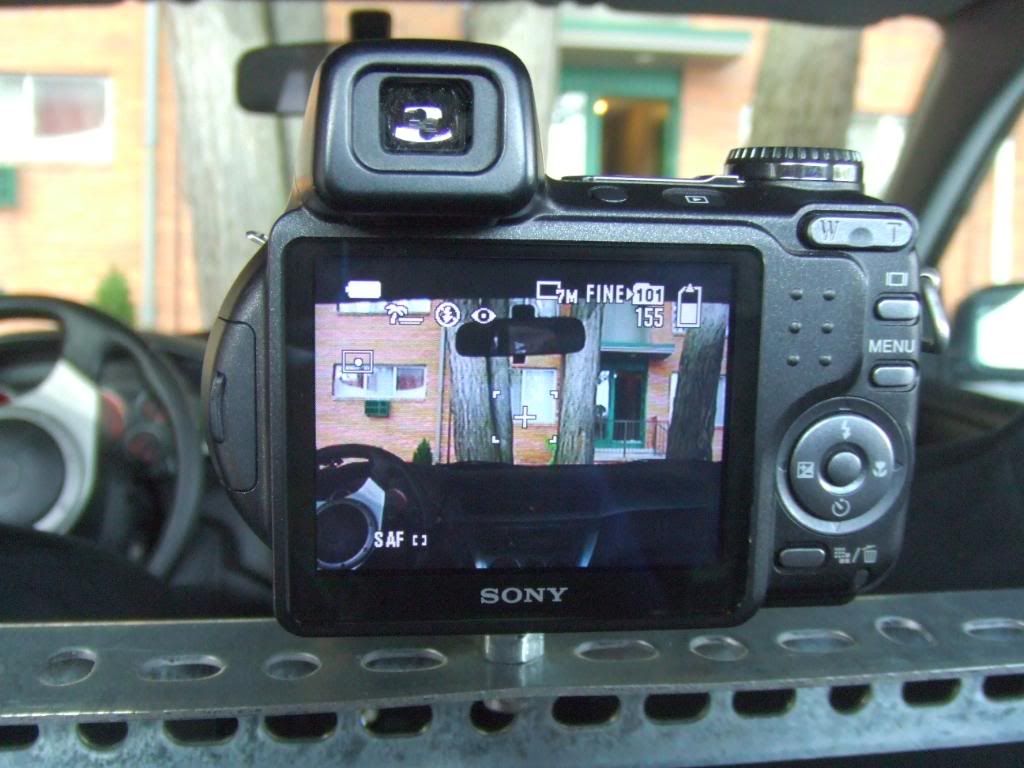
Picture from the camera (what the video will see):

Enjoy
MG
Ill be using this Sunday. Ill put up a link to the video here also when I have it together.
------------------------------
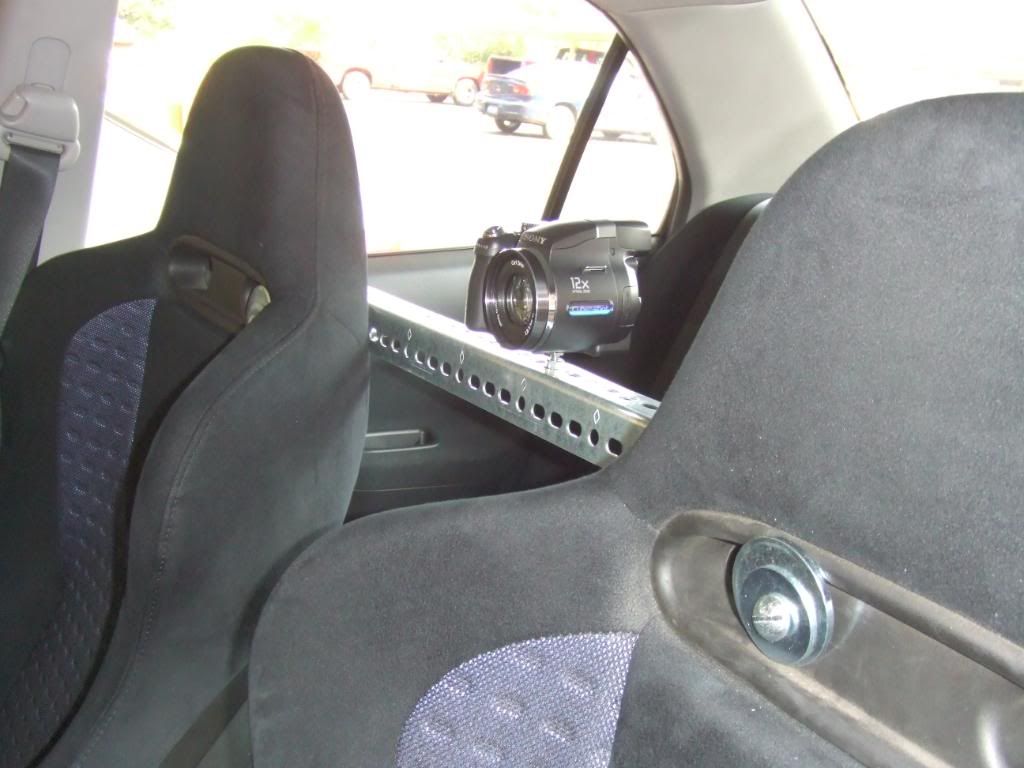
The "other" version:
Here is a spin on it for those who dont have a pass. or want to see more of themselves in racing (works great for drag racing - can really see what the driver is going (or not) when you point it at him.
Cut down to about 8in per bar and uses both harness wholes on one side.
What it looks like in use:
http://www.youtube.com/watch?v=whXMuQZO_RQ
) - here is my under $15 camera bar. Works for those without harnesses - sorry guys with. Materials needed:
-1: 3 ft of 90deg angle steel
~$8 from hardware store
-2: 6in long bolts (1/4 - but whatever fits the holes in the bar)
-2: wingnuts that work with the bolts
-4: washers. 2 of them need to be keep the bolt from going through the other larger on. The larger on must be bigger than your OE harness holes
-1: 1in bolt that fits your cameras tripod mount
-2: bolts for that nut
~$6 from hardware store
Putting it all together:
This is pretty straight forward - take the long bolts, washers, and wingnuts and put one in each hole (I used the ones closest to the center of the car).
Heres what that looks like:
Now put the angle bar across the back seat and use the wingnuts to tighten everything down.
Using the bolt that works with the tripod mount find a location in the bar and put that together. Tighten that nut down and put on the other nut loosely. Spin the camera on and then tighten that second nut up towards the camera.
You now have a camera mount.
Picture from the camera (what the video will see):
Enjoy
MG
Ill be using this Sunday. Ill put up a link to the video here also when I have it together.
------------------------------
The "other" version:
Here is a spin on it for those who dont have a pass. or want to see more of themselves in racing (works great for drag racing - can really see what the driver is going (or not) when you point it at him.
Cut down to about 8in per bar and uses both harness wholes on one side.
What it looks like in use:
http://www.youtube.com/watch?v=whXMuQZO_RQ

 Oct 5, 2007, 01:17 PM
#4
Good idea. I've seen others similar to this.
I'm not sure of the flex for road-racing though - and not sure it'd pass inspection on some DE's though. I think the flexing would create a lot of rubbing on the seat mounting points. Maybe if you put in some rubber washers or something it'd prevent wear/tear.
Obviously wouldn't work if you're running harness belts...
 Oct 5, 2007, 02:03 PM
#6
Thanks everyone!
Ive been thinking about the same thing - might dip the whole thing (or at least the ends) in that rubber wrench handle stuff.
My friend (also an instructor) here didnt see a problem with it. As long as it doesnt get in the way of the driver or mess with the car.
In the future when I upgrade to a 4pt cage w/harnesses I will then have a new camera mount on the cage. So till then Im happy. I look forward to testing this out Sunday.
Last edited by Smike; Oct 5, 2007 at 02:10 PM.
Trending Topics
Oct 6, 2007, 08:36 PM
#10
Evolving Member
iTrader: (7)

Join Date: Jul 2004
Location: Charlotte, NC
Posts: 266
Likes: 0
Received 0 Likes
on
0 Posts
Not bad! Would look less 'rigged' if it were black, but it sure does get the job done. Here is the result of my ongoing ME education:

You can see my camera mount in the rear window. It's a piece of wood with velcro on the bottom. It attaches to the center baby seat mounting bolt and the video camera is mounted behind the headrest to help block the wind. VERY stable, sturdy, and cheap. Not the best on wind noise, though (I just put tape over the mic).
Good work, though. I may borrow that idea for mine in order to cut wind noise further, or just buy an external mic.
Devin
 Oct 7, 2007, 04:01 PM
#13
Video results
Taken from the SCCA season ender today. Eh, finished 7th...it was 90% humidity and 88deg...not a nice crisp October day like it should be.
http://youtube.com/watch?v=Q5NVueRu9y0
Taken from the SCCA season ender today. Eh, finished 7th...it was 90% humidity and 88deg...not a nice crisp October day like it should be.
http://youtube.com/watch?v=Q5NVueRu9y0