The New and Improved Guadalupe River Boombox Version 4.0
#1
Guadalupe River Boombox Version 4.0, New Pics Added
As you guys know, a huge group of us always float down the Guadalupe River every year. For the past couple of years I have built different designs of boomboxes to float along side of us. Each year I try to improve the previous design.
Below are some of the previous designs and their flaws.
VERSION 1 -The first boombox was a simple plastic storage box for tools with holes cut out for speakers and the radio head unit. Simple design, it worked, but far to archaic for my liking. Sorry I have no pics of this one.
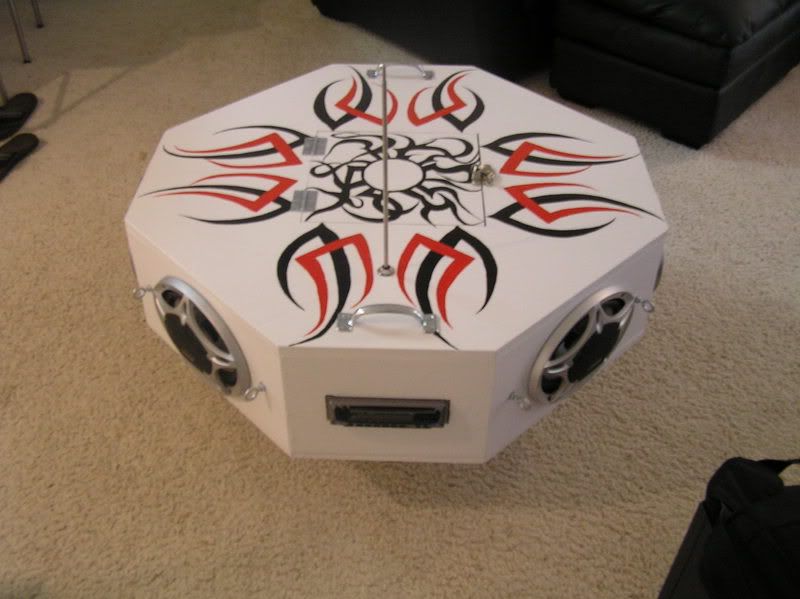
VERSION 2 - The next boombox design was a "mushroom" style design. Octagon on top, and battery low inside the middle of the tube. Worked great, but being solid wood, no wheels, it became very tough to carry. At this point, we are still using a car battery, car radio, and NO amp. This design lasted for 2 years.
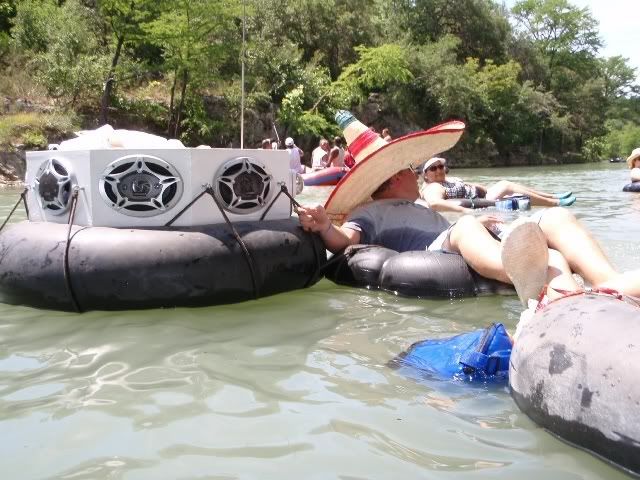
VERSION 3 - Moving on, last year I decided to go a different route. I used a 30 gallon barrel in hopes of taking the boombox on a diet. It worked great but its too top heavy. At one point I had to save it from toppling over on the river by jumping out of my tube in the middle of a rapid. In this design we ditched the car radio and car battery, instead we used a marine battery, amp, and Ipod.
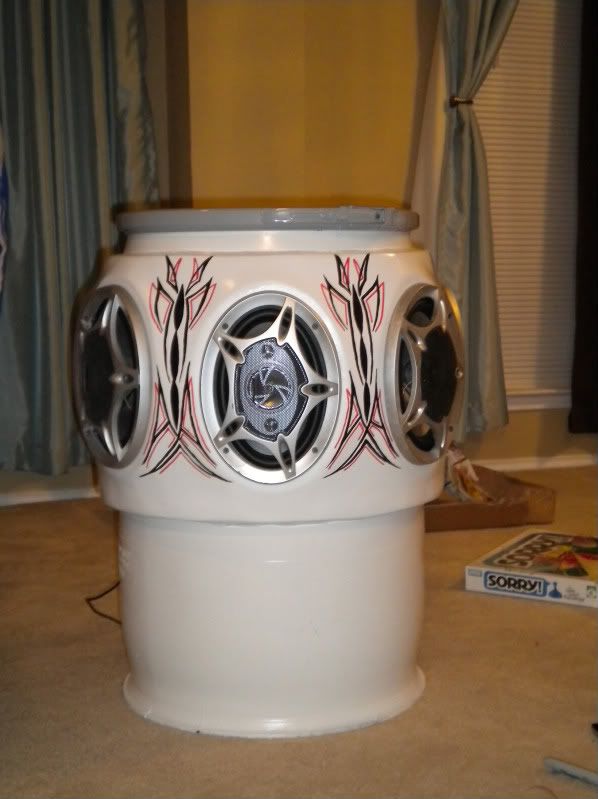
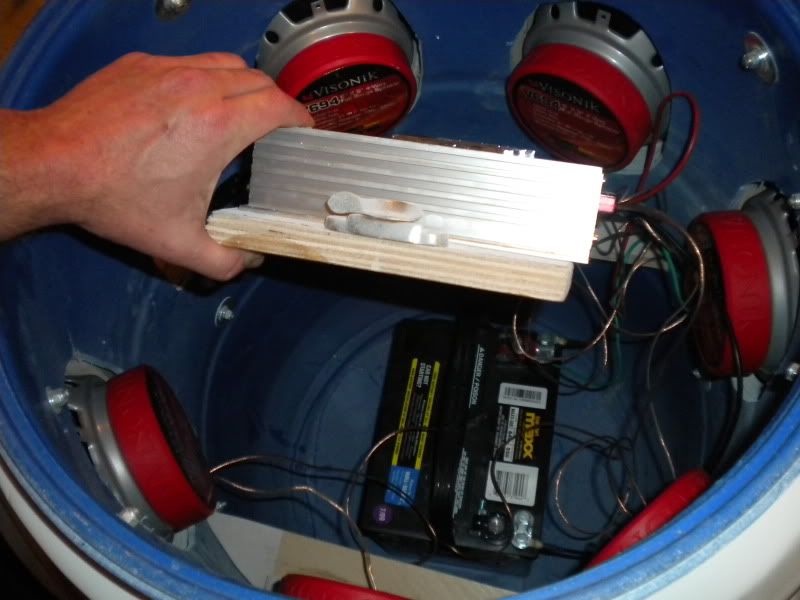
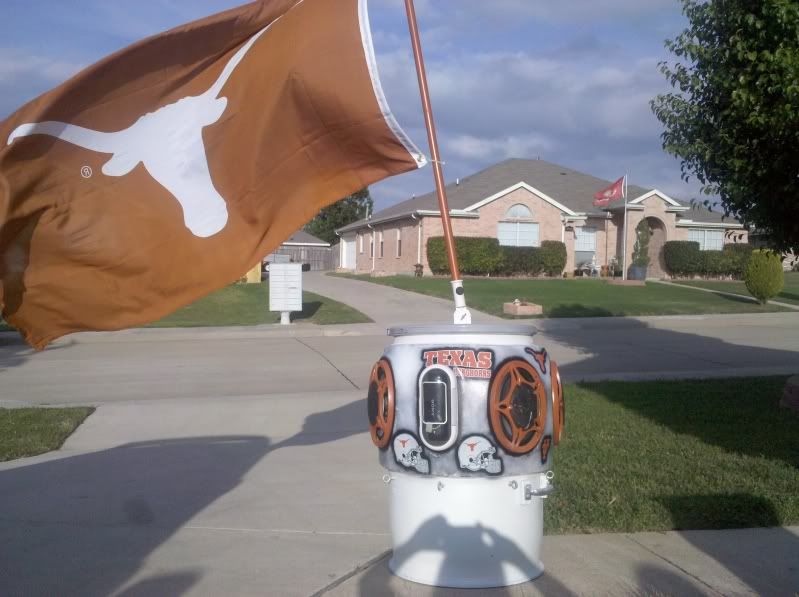
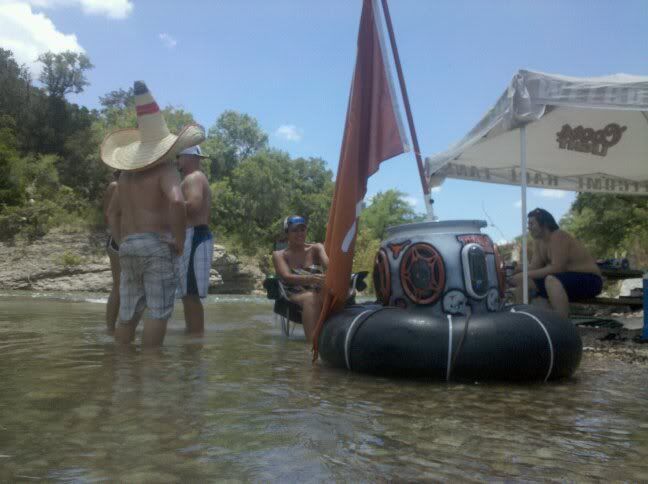

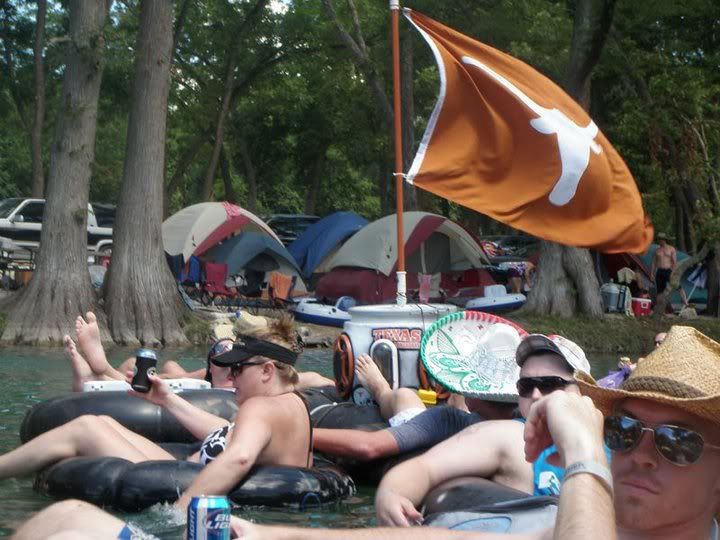
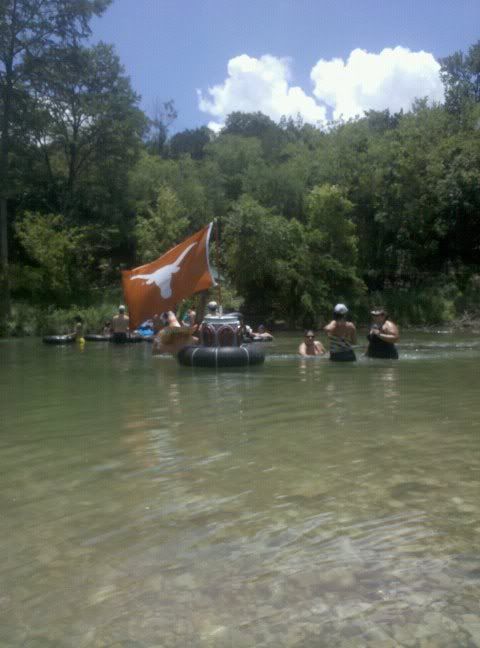
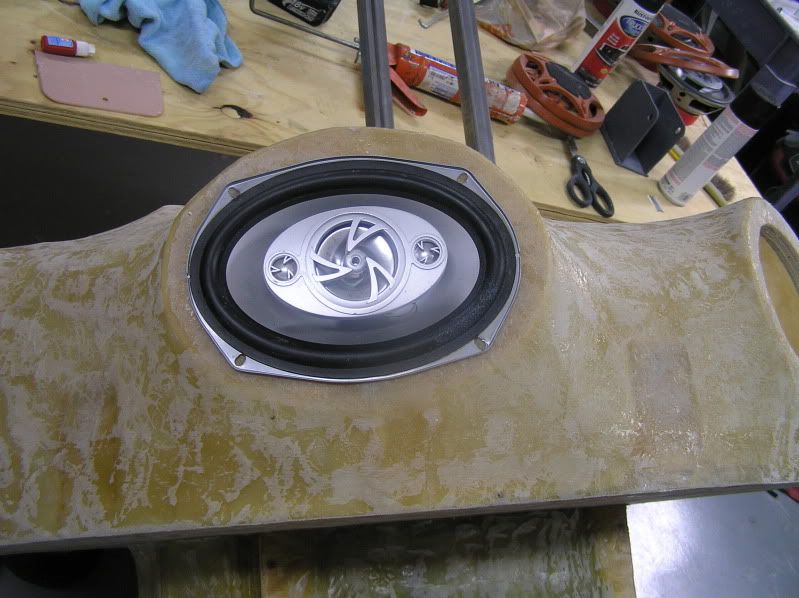
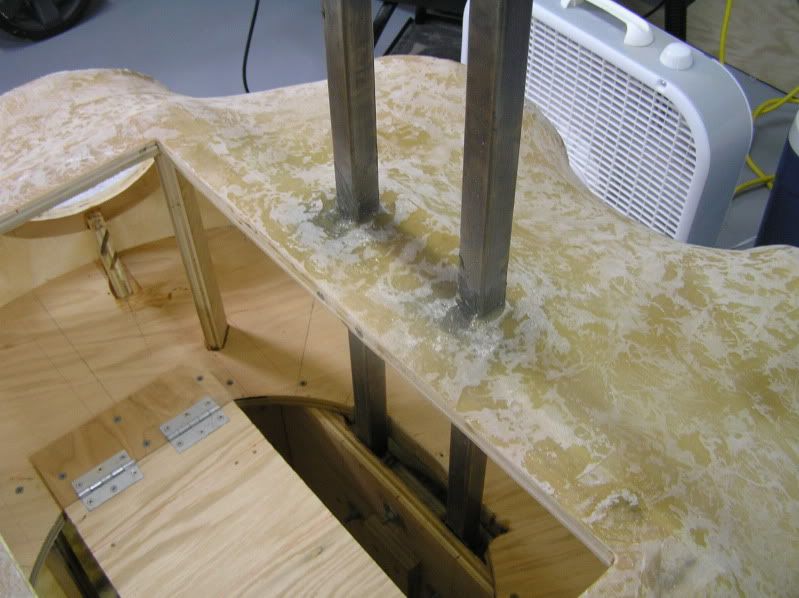
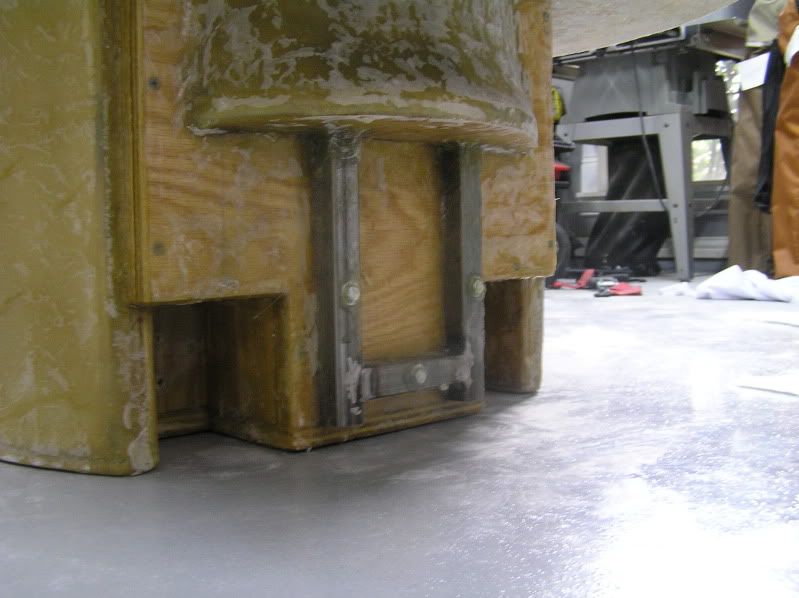
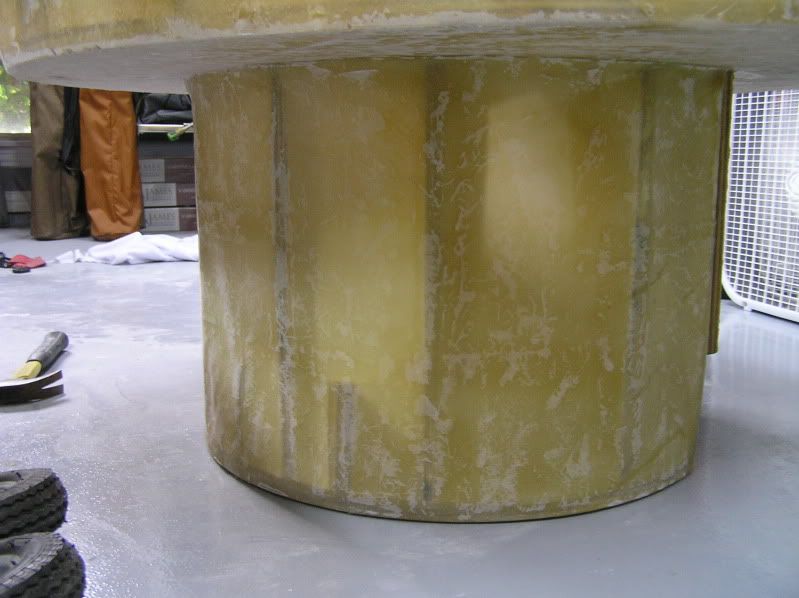
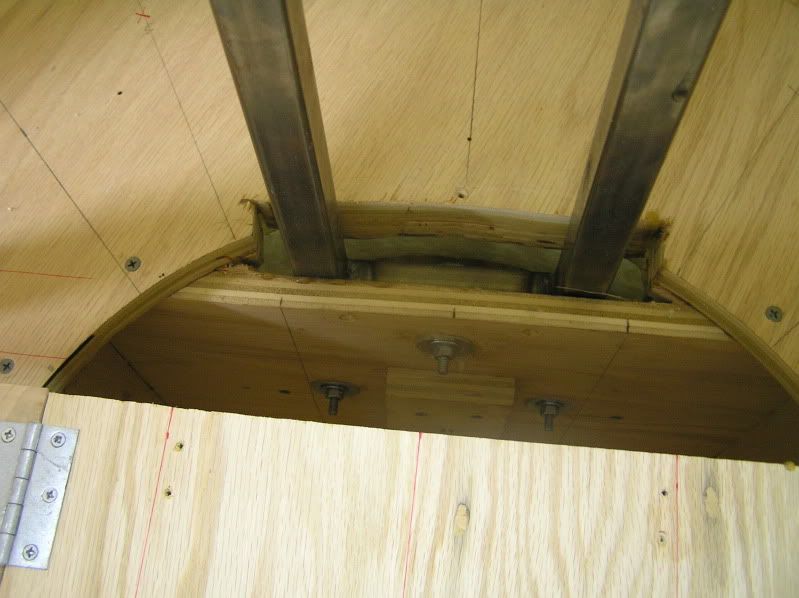
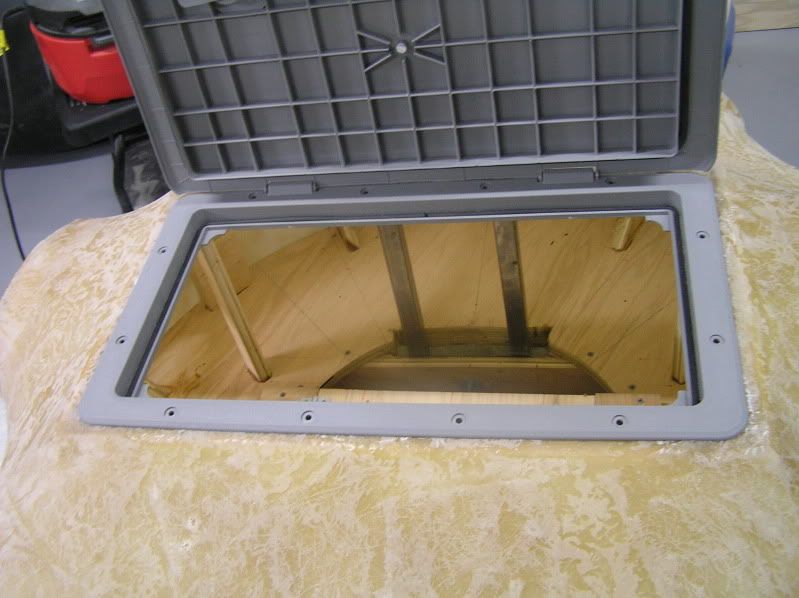
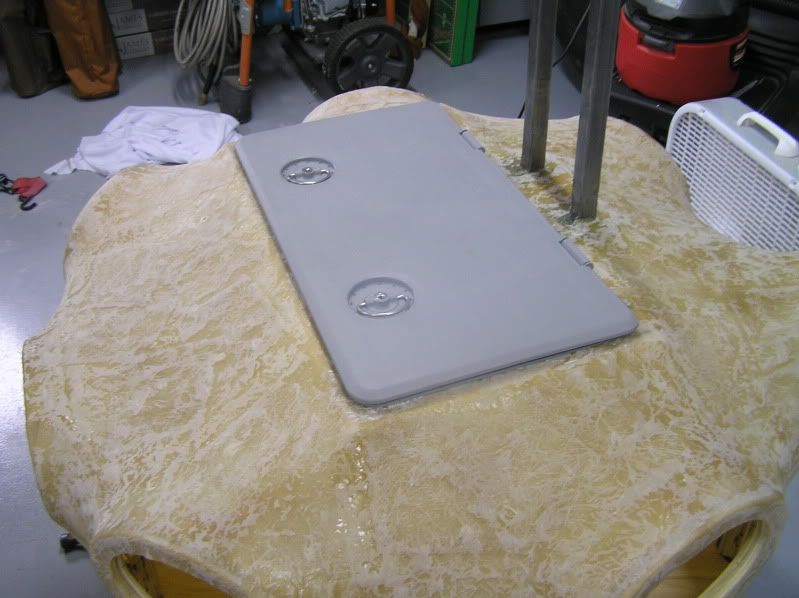
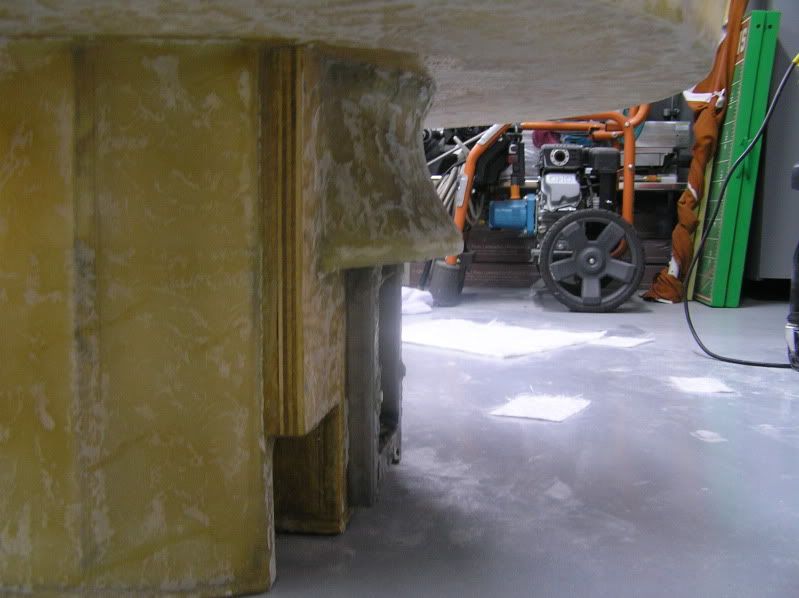
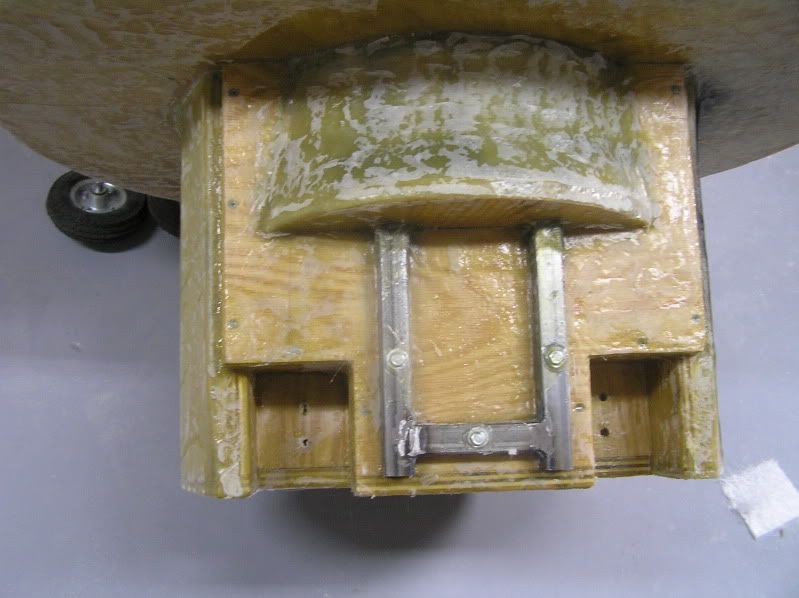
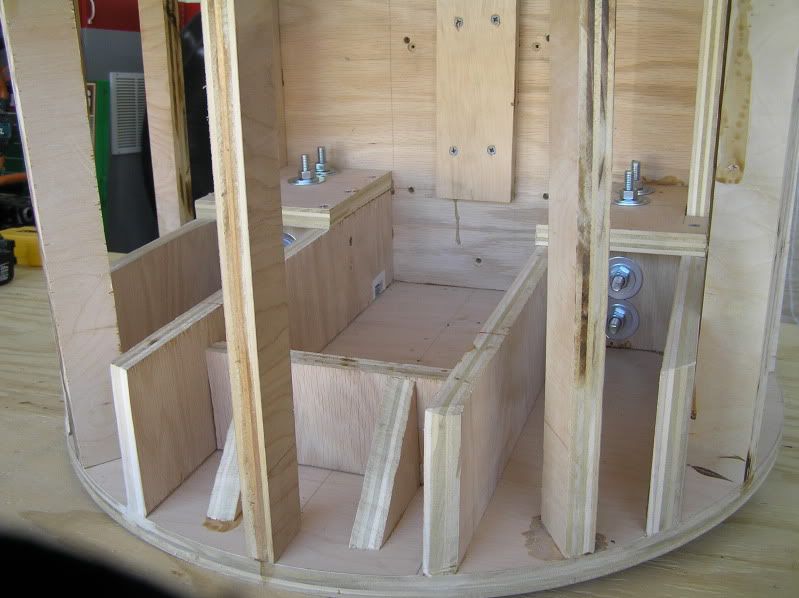
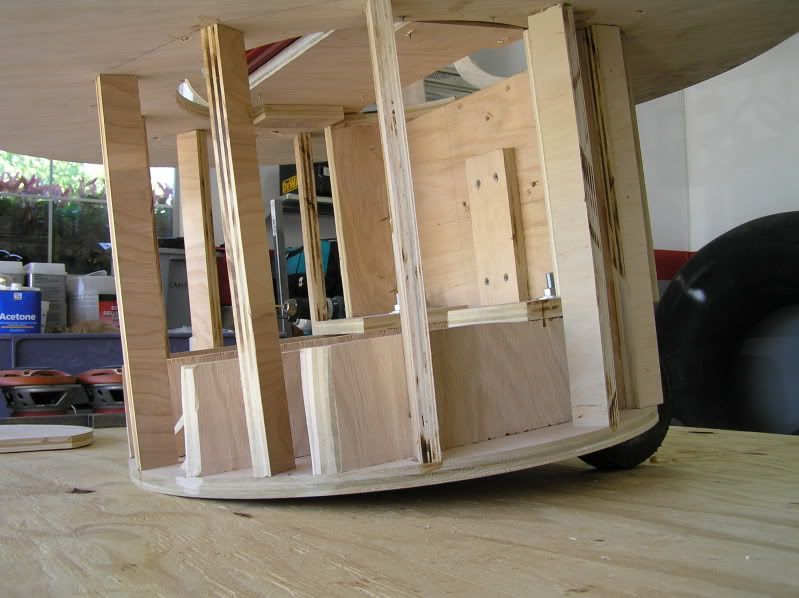
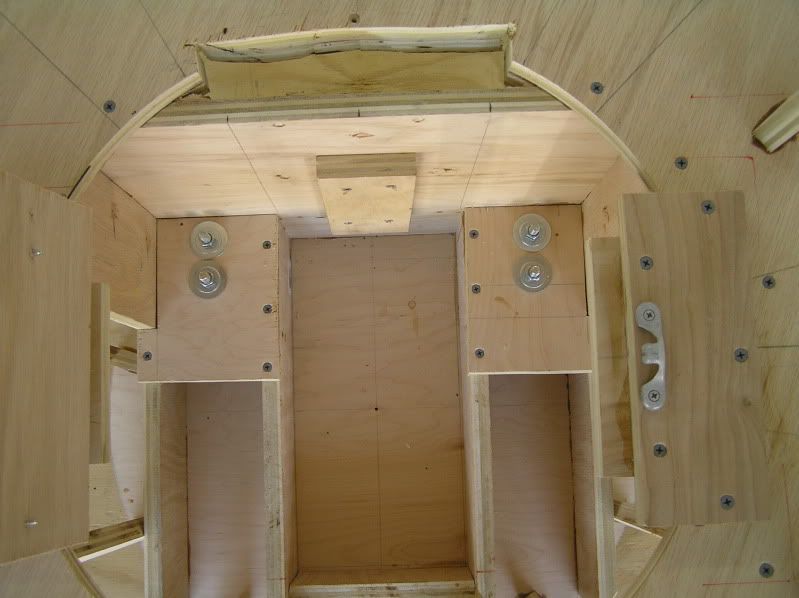
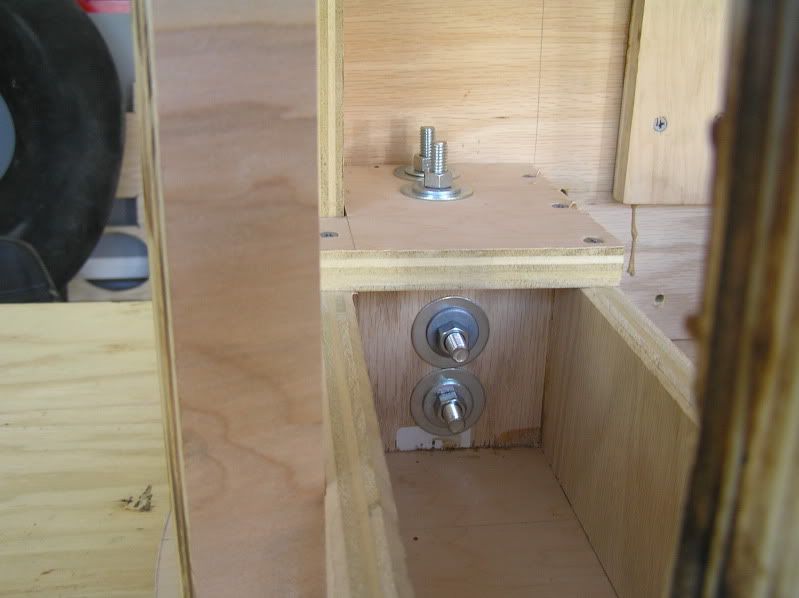
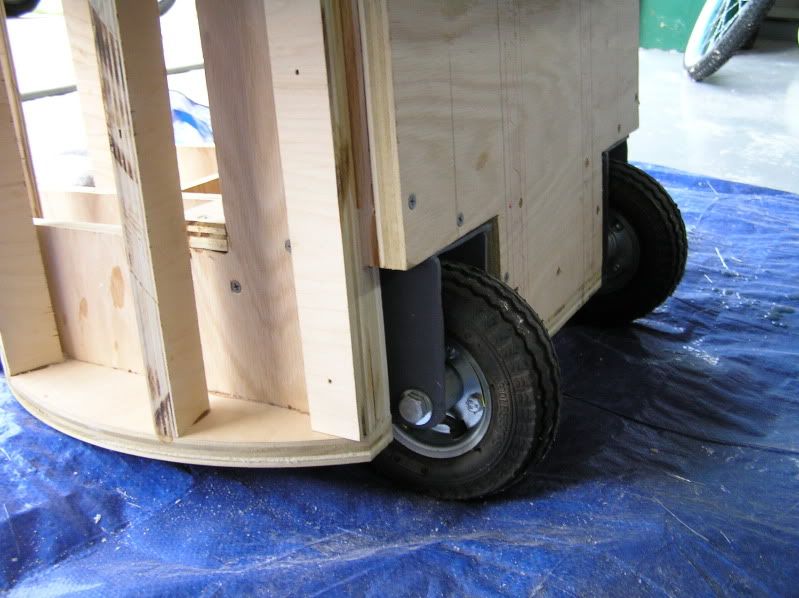
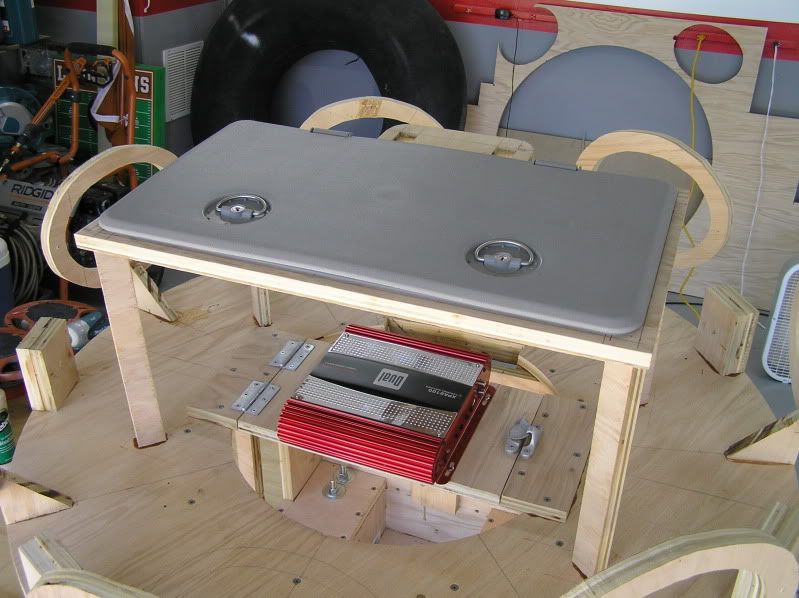
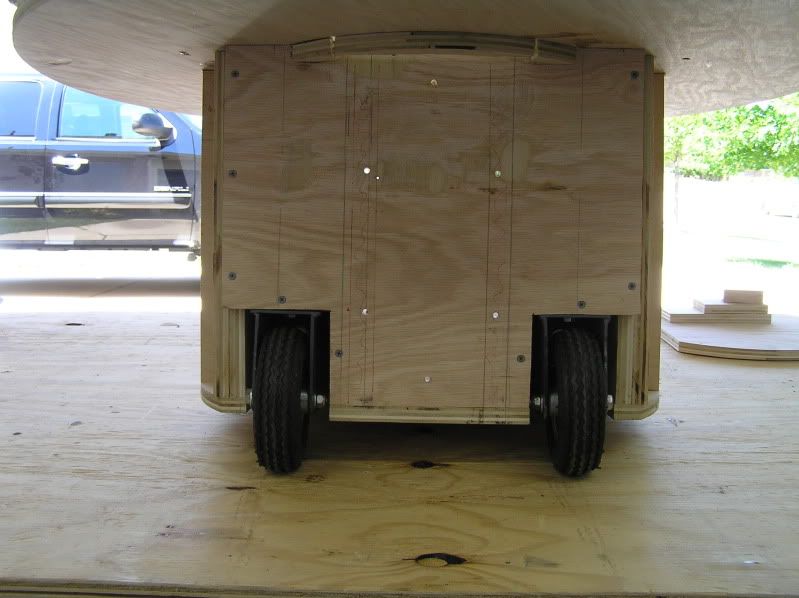
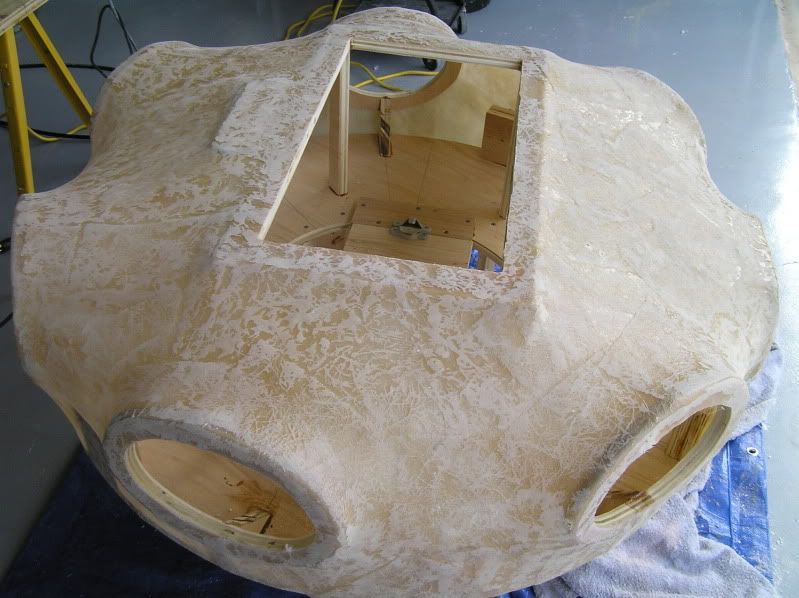
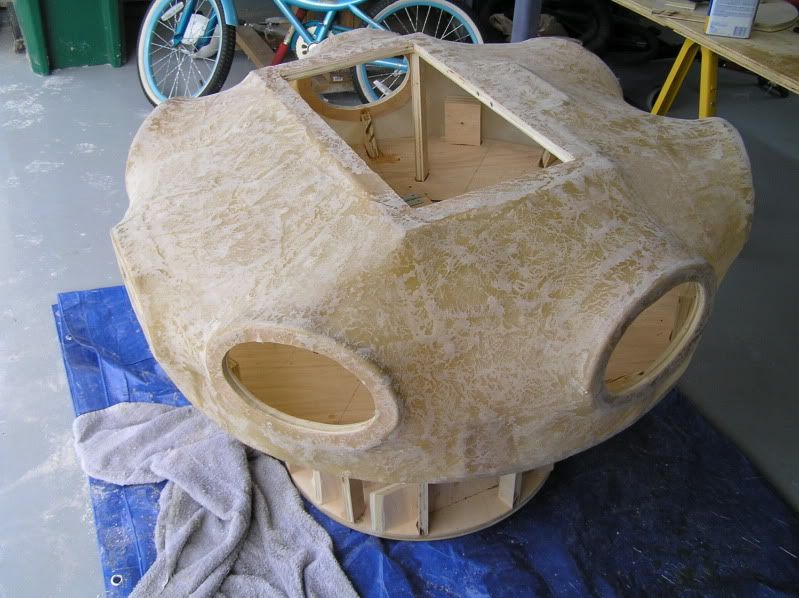
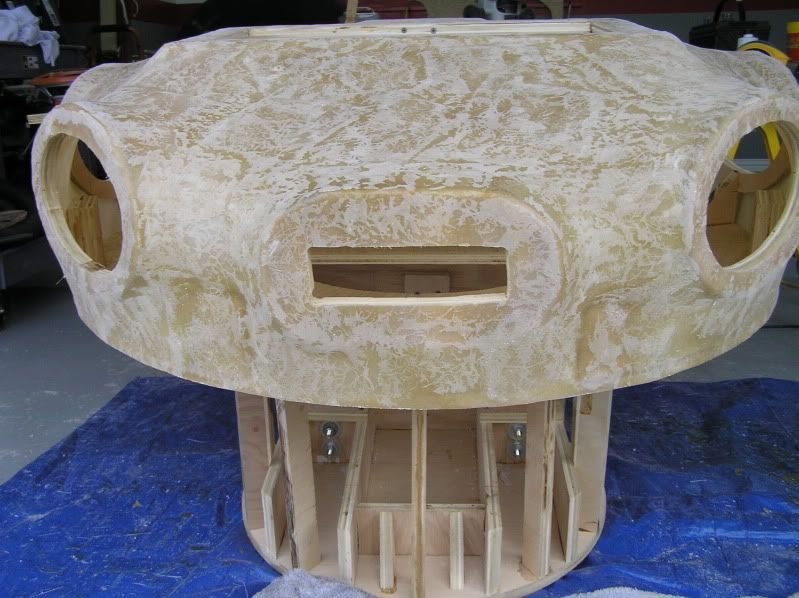
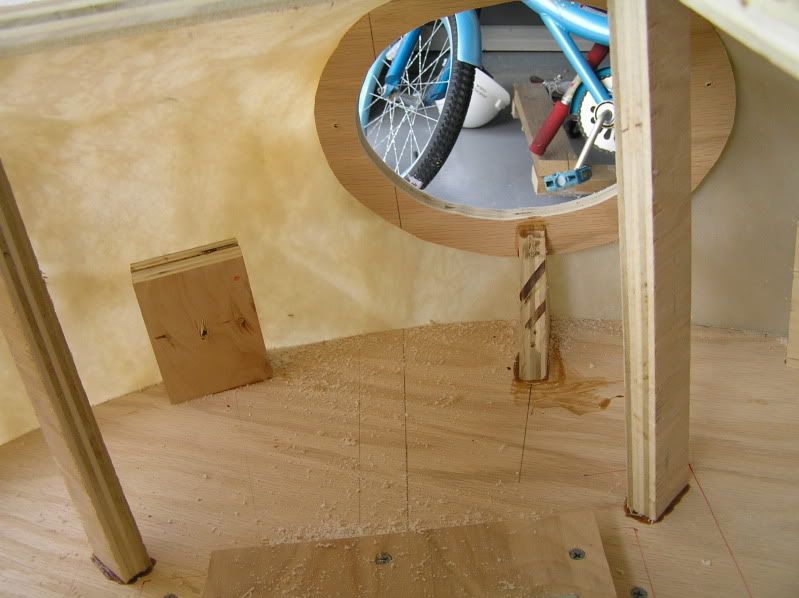
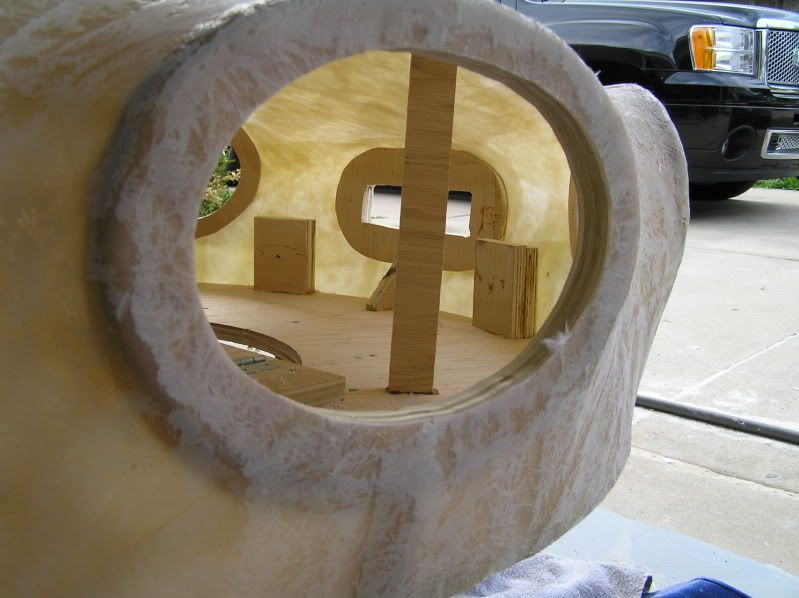
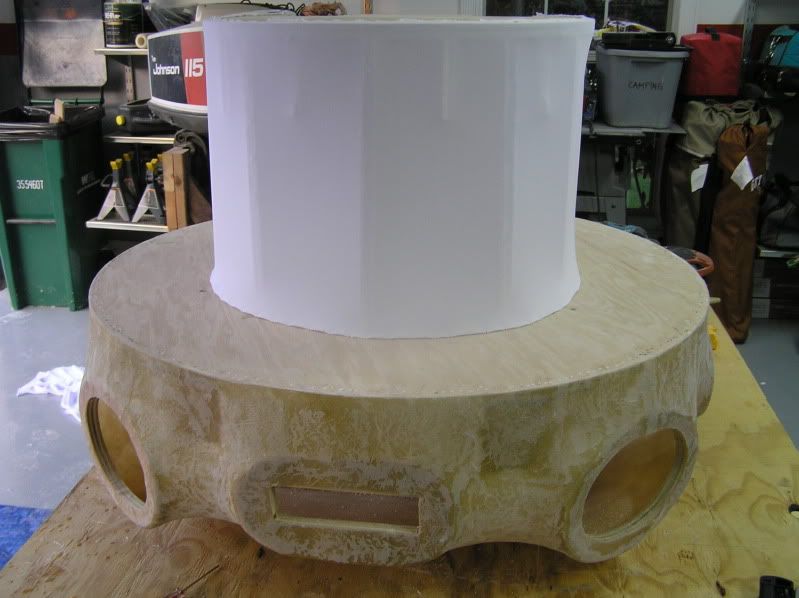
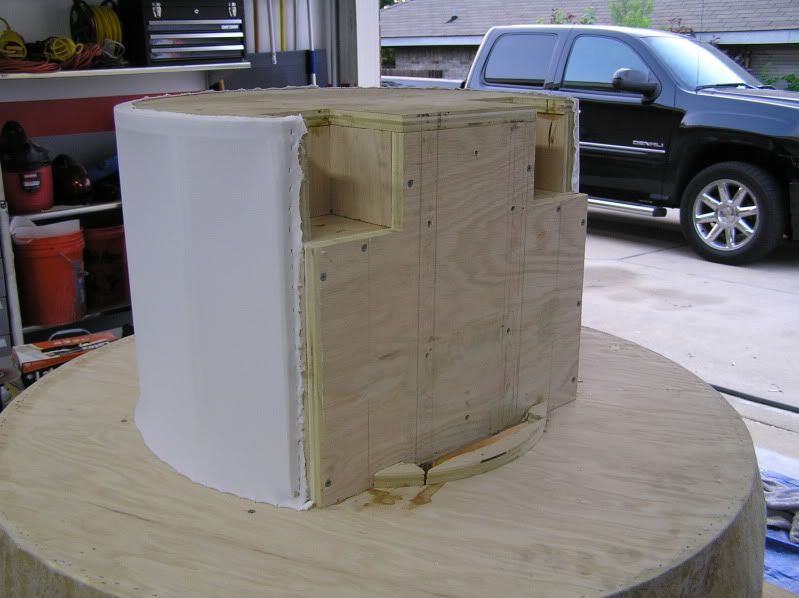
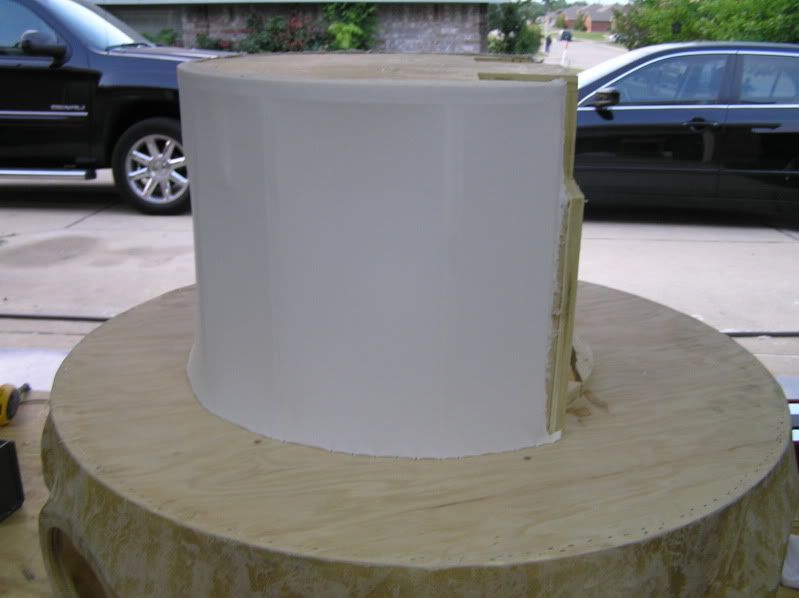
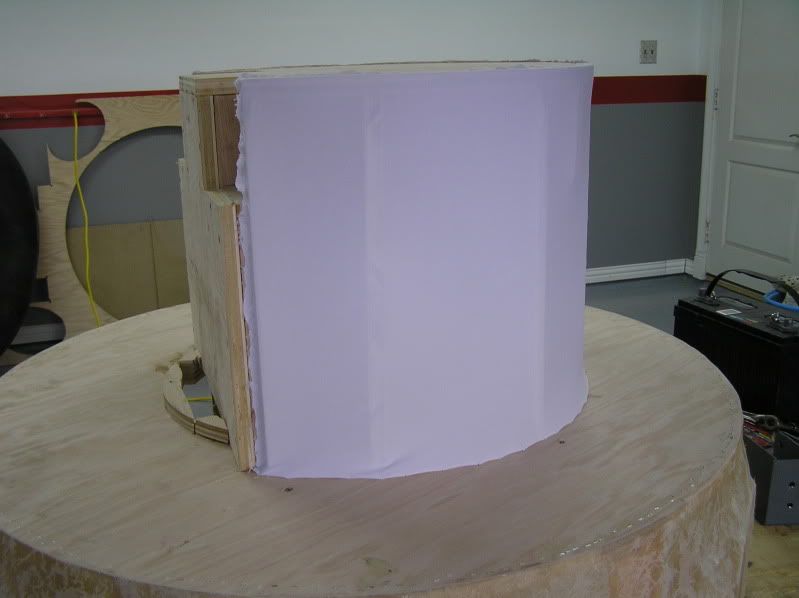
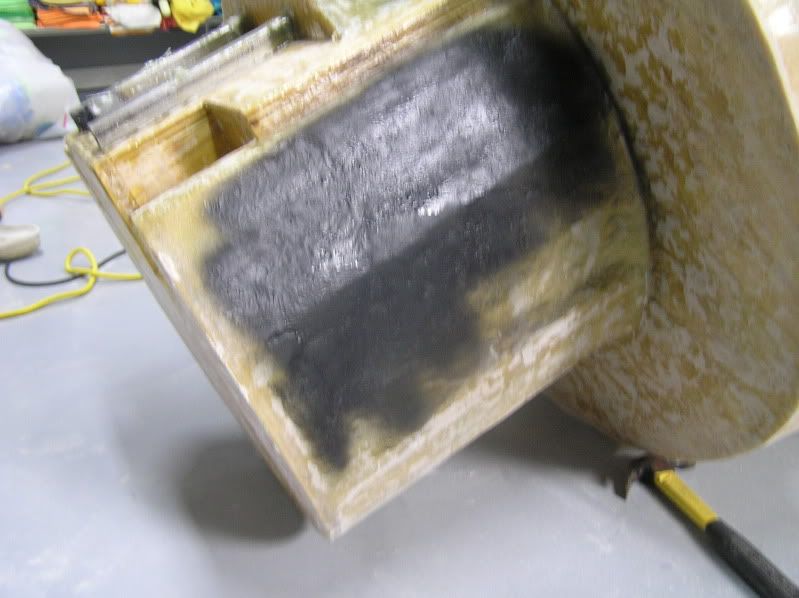
VERSION 4 - Now to the new design, I'm basically combining the barrel with the "mushroom". But this time, the boombox will have wheels and a pull handle. This should eliminate all the issues with carrying the boombox around. Also, I would say 70% of the boombox will be fiberglass in effortsto save weight, unlike the first "mushroom" design which was all wood. The beneifts of the "mushroom" design is that it distributes the weight on the entire tube, not just in the middle like the barrel. This should help it float more stable in the water. I used 3/4 birch plywood, waterproof super duper wood glue, and various length exterior screws. The fabric that I use to stretch across the wood framing is called ponte (pronounced pon-taaaaay). Its 100% polyester, stretches more than fleece, and it does not need as much resin to wet out like fleece does.
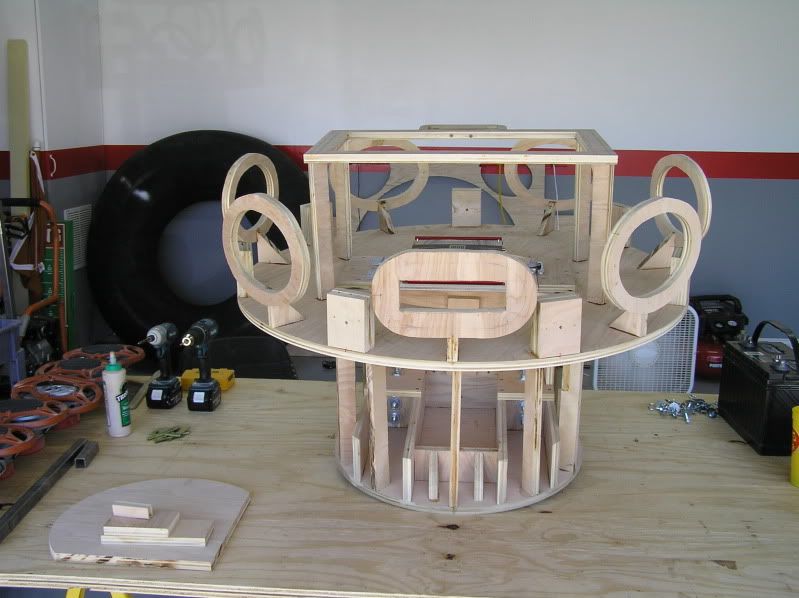
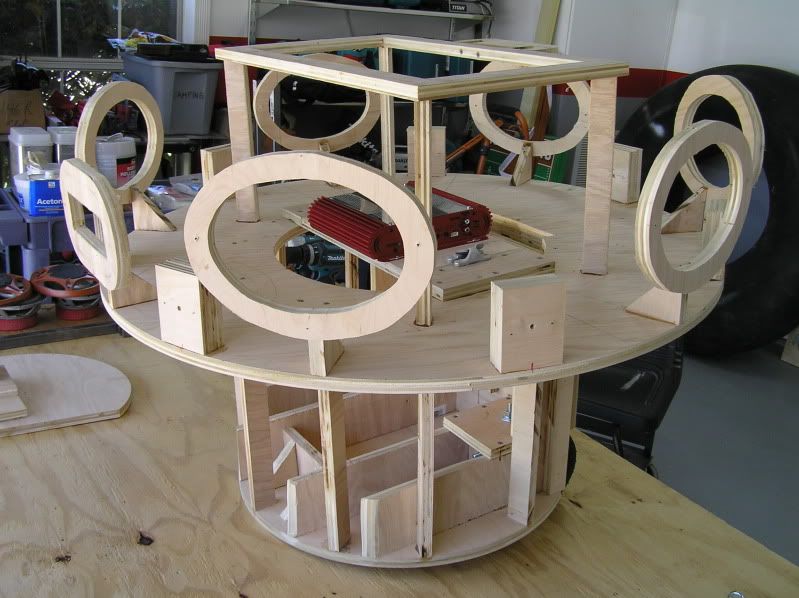
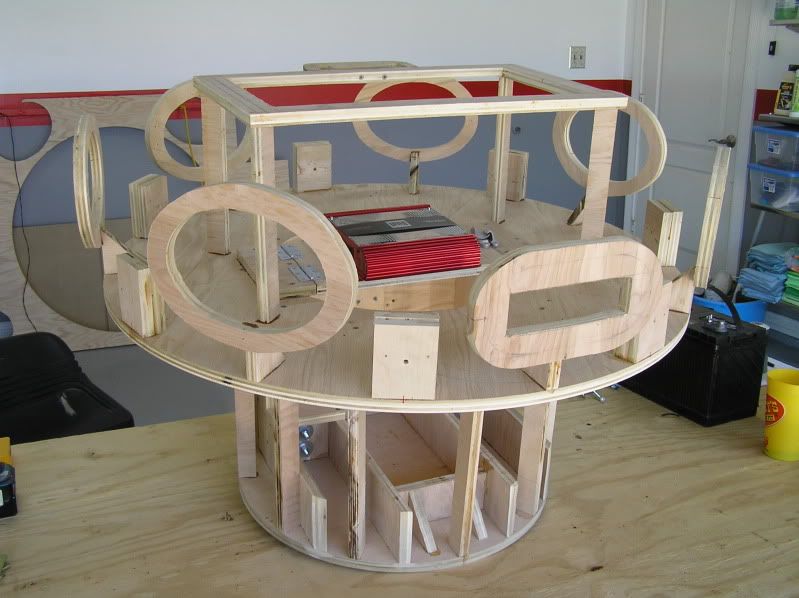
Below are some of the previous designs and their flaws.
VERSION 1 -The first boombox was a simple plastic storage box for tools with holes cut out for speakers and the radio head unit. Simple design, it worked, but far to archaic for my liking. Sorry I have no pics of this one.
VERSION 2 - The next boombox design was a "mushroom" style design. Octagon on top, and battery low inside the middle of the tube. Worked great, but being solid wood, no wheels, it became very tough to carry. At this point, we are still using a car battery, car radio, and NO amp. This design lasted for 2 years.


VERSION 3 - Moving on, last year I decided to go a different route. I used a 30 gallon barrel in hopes of taking the boombox on a diet. It worked great but its too top heavy. At one point I had to save it from toppling over on the river by jumping out of my tube in the middle of a rapid. In this design we ditched the car radio and car battery, instead we used a marine battery, amp, and Ipod.


VERSION 4 - Now to the new design, I'm basically combining the barrel with the "mushroom". But this time, the boombox will have wheels and a pull handle. This should eliminate all the issues with carrying the boombox around. Also, I would say 70% of the boombox will be fiberglass in effortsto save weight, unlike the first "mushroom" design which was all wood. The beneifts of the "mushroom" design is that it distributes the weight on the entire tube, not just in the middle like the barrel. This should help it float more stable in the water. I used 3/4 birch plywood, waterproof super duper wood glue, and various length exterior screws. The fabric that I use to stretch across the wood framing is called ponte (pronounced pon-taaaaay). Its 100% polyester, stretches more than fleece, and it does not need as much resin to wet out like fleece does.


Last edited by JDW1479; Jun 1, 2011 at 08:41 PM.
#4
We used a solar powered panel for one year on the old octagon boombox, but it only supplied 5 watts of power and like 0.0325 amps, and those numbers are during full sun. Solar panel is not worth it.
Trending Topics
#10
Got the first layer of Bondo on.....Man that stuff sucks....what a mess
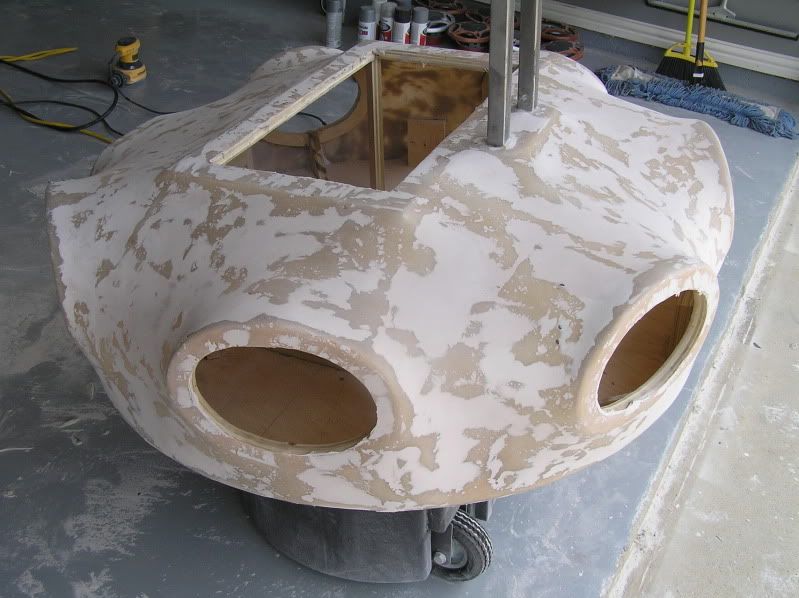
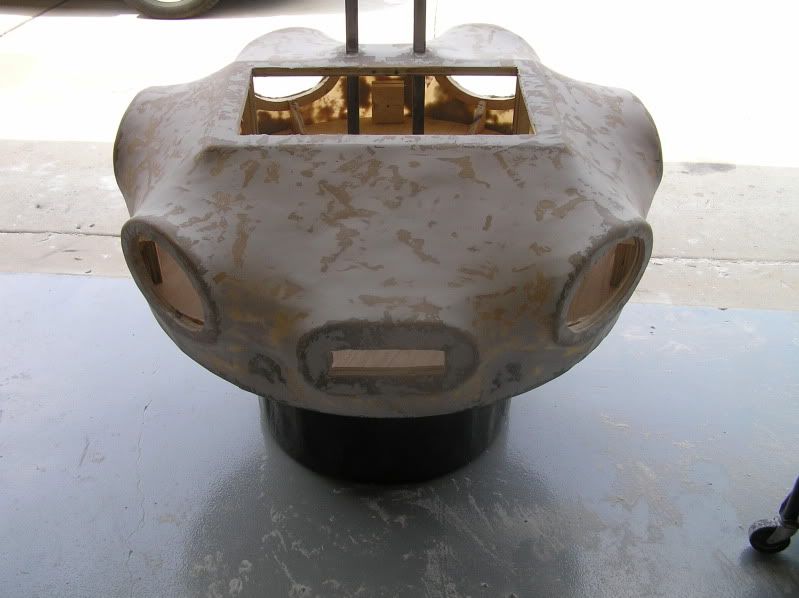
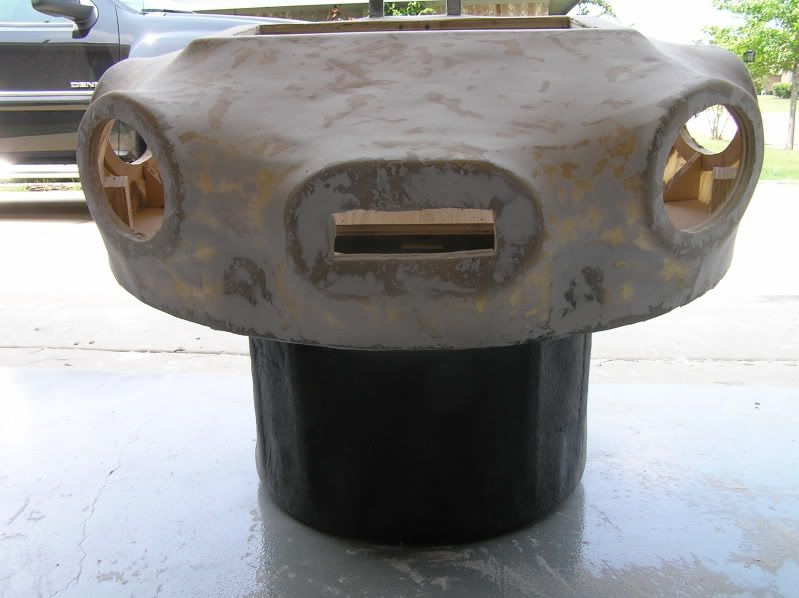
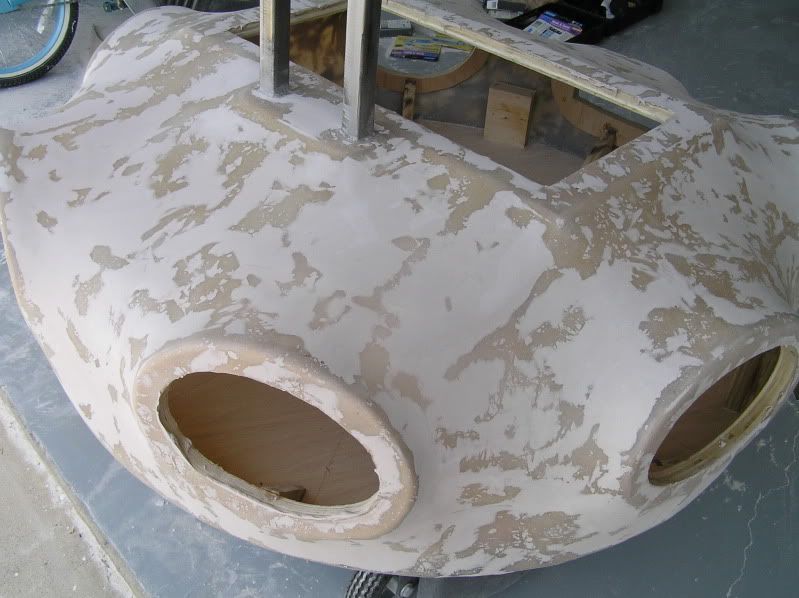
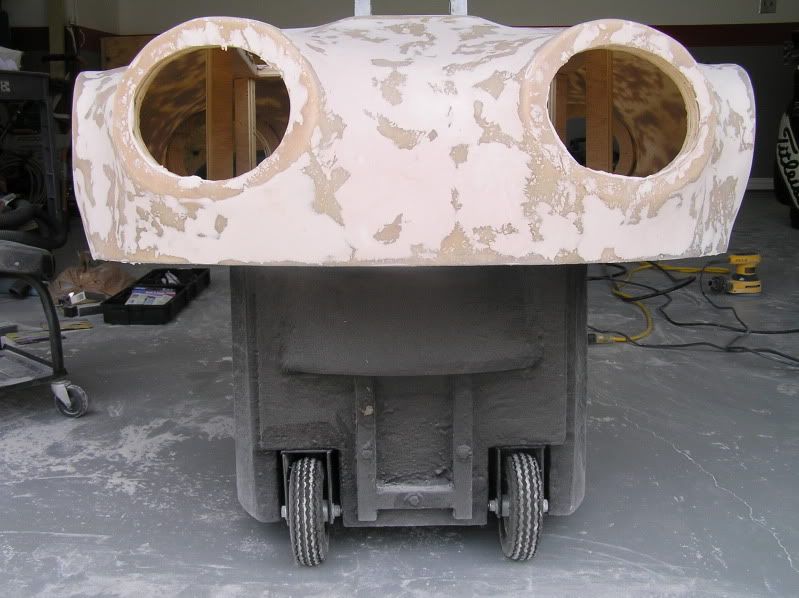
And now the second layer of Bondo...things are getting smoother. Only got half of the second layer done until the warden called me inside.
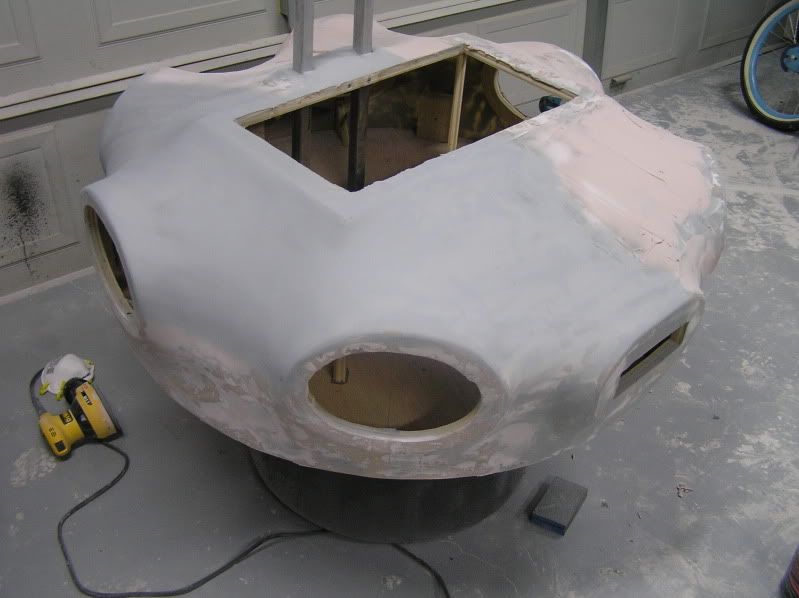
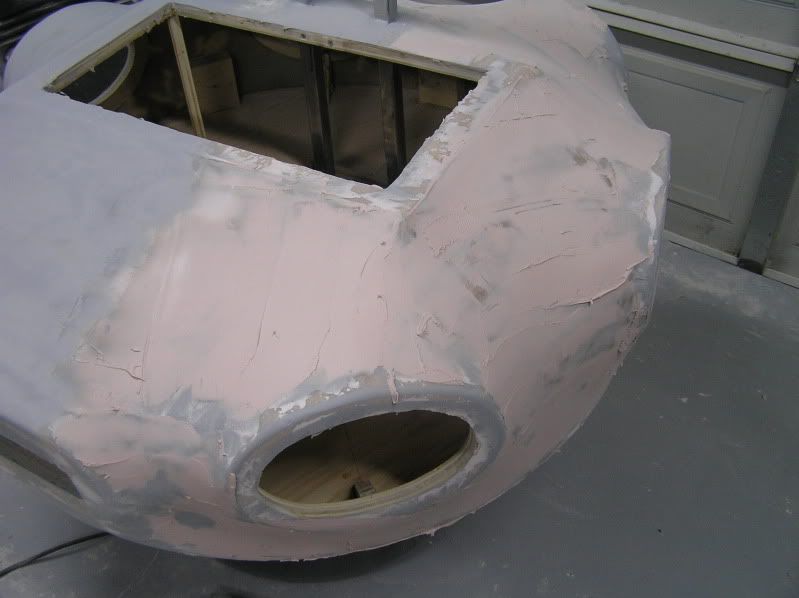


And now the second layer of Bondo...things are getting smoother. Only got half of the second layer done until the warden called me inside.


#11
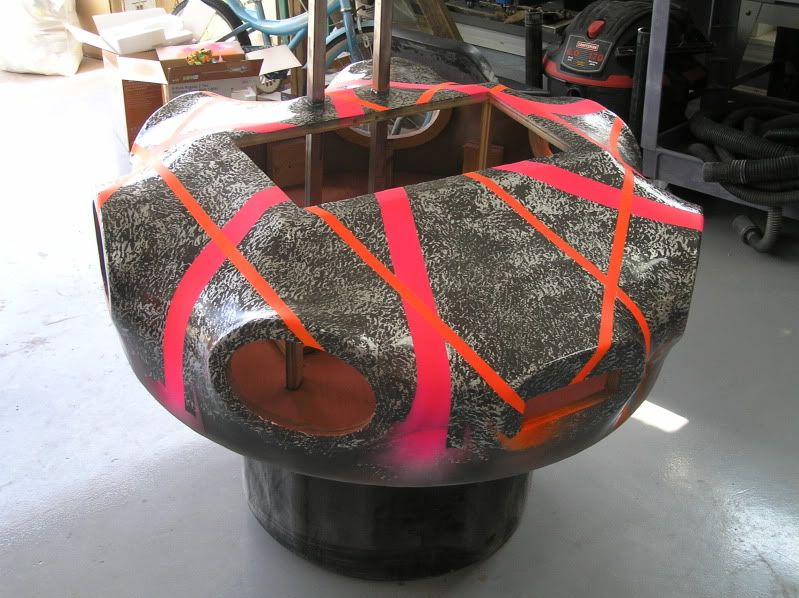
Got her all sanded and primed, 3 layers of bondo, 2 layers of putty, 4 layers of high build primer, and lots of sanding.
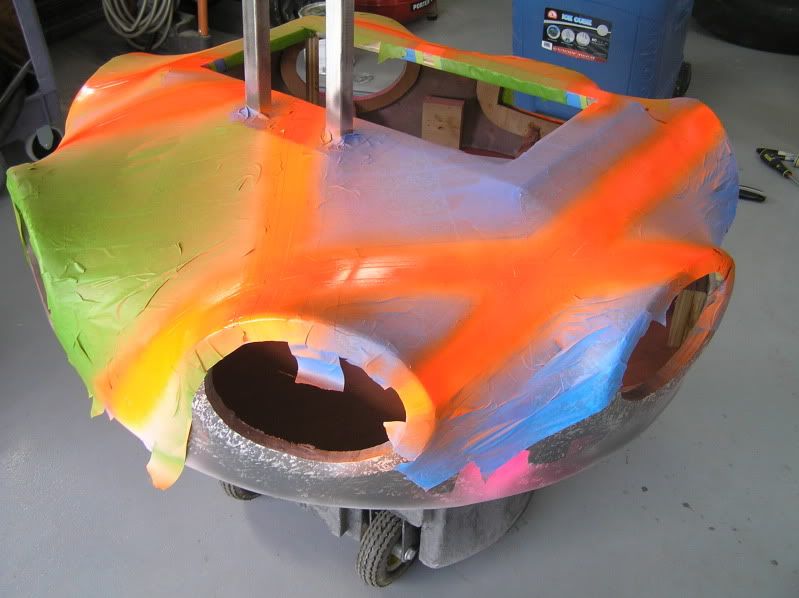
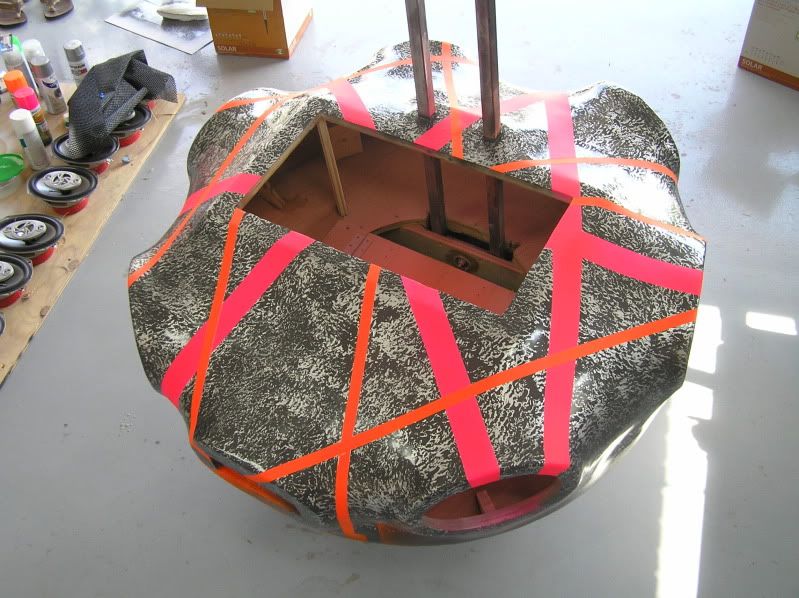
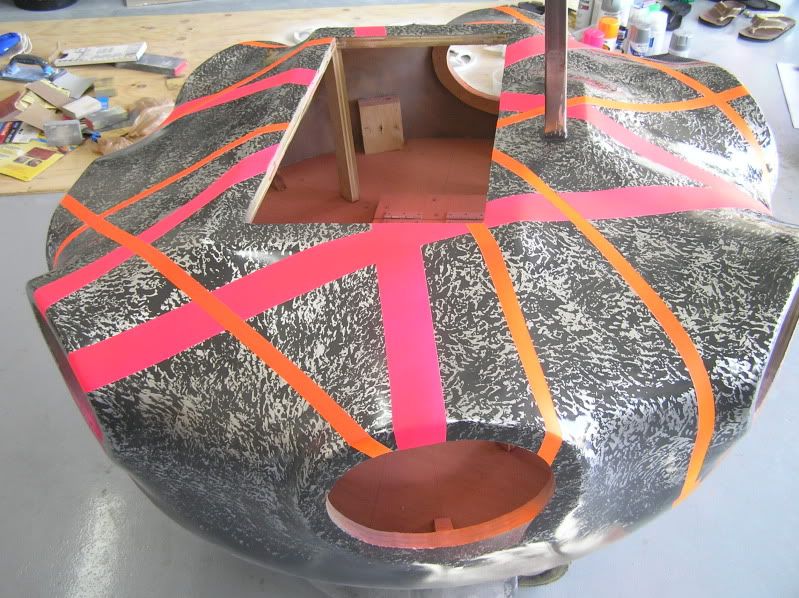
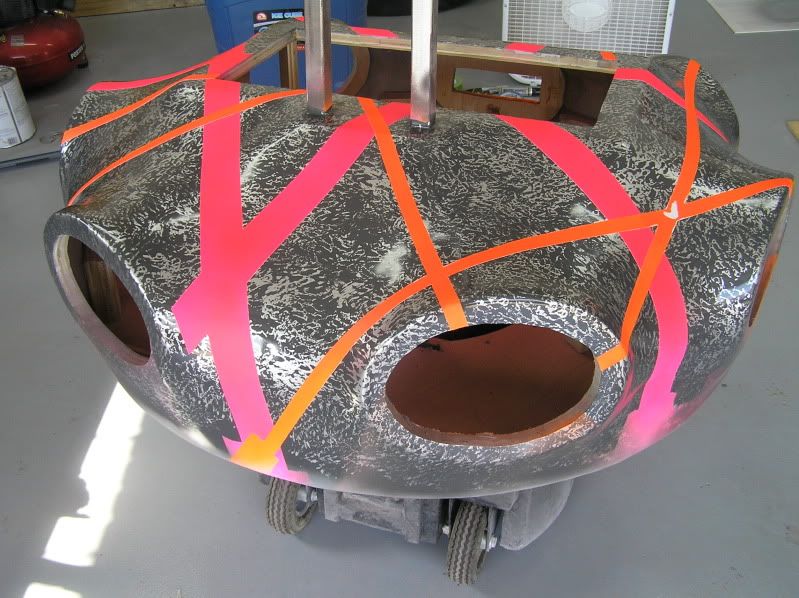
I start off painting the top with a dark grey, then I went over it with a metallic silver and a sea sponge to get a textured look. Then I went it with the flourescent stripes. Almost like a disco ball.
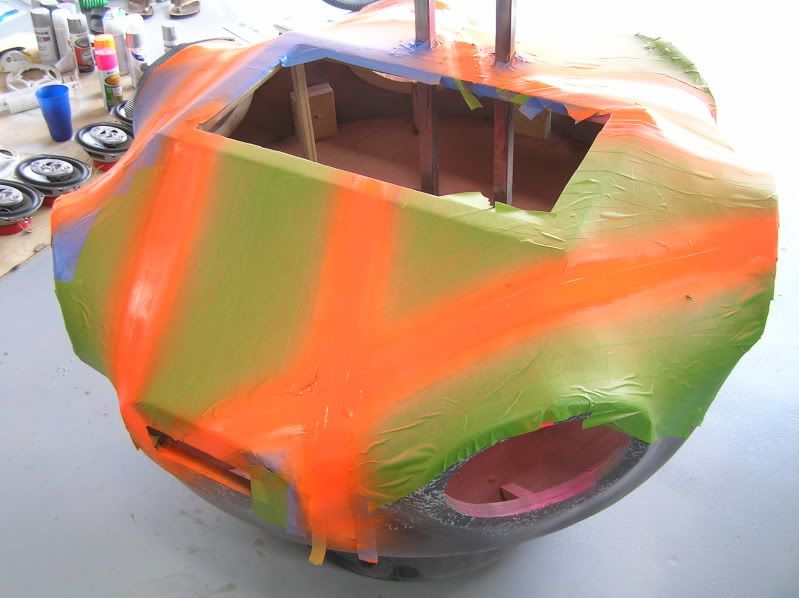
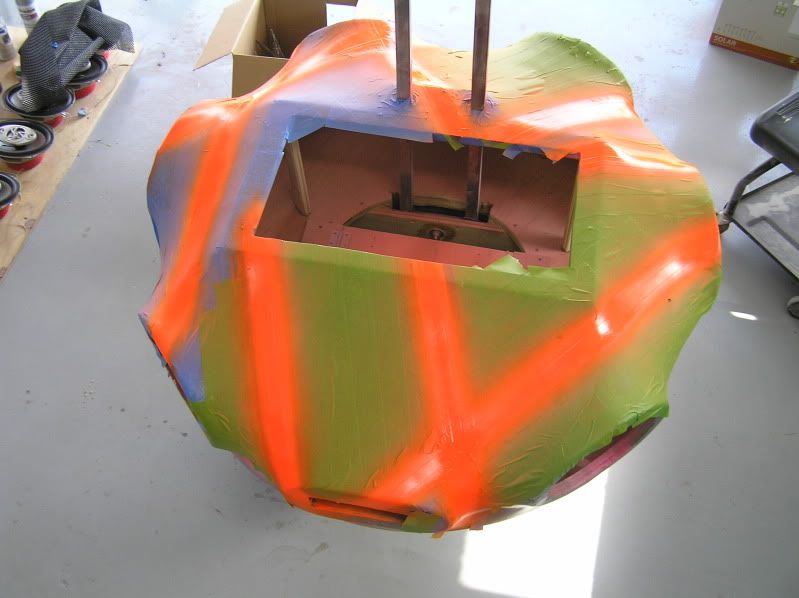
First I started with a flat white undercoat underneath the flourescent, to give it pop and brighten it up. First started with pink stripes, then layer orange stripes.
Enjoy!
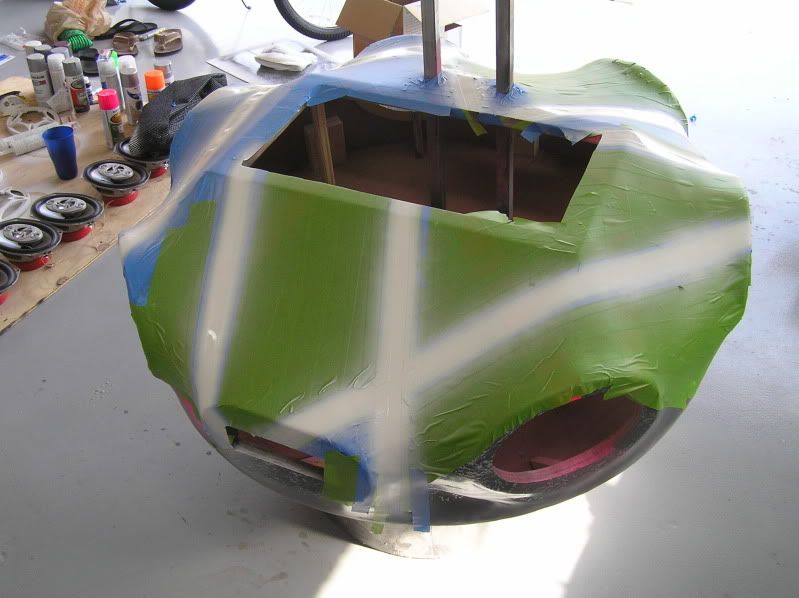
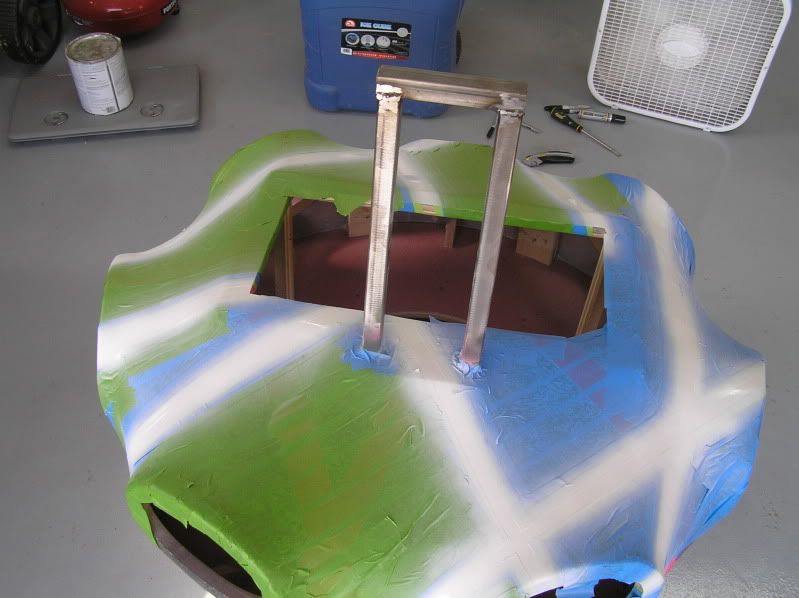
Now on to the flourescent pink
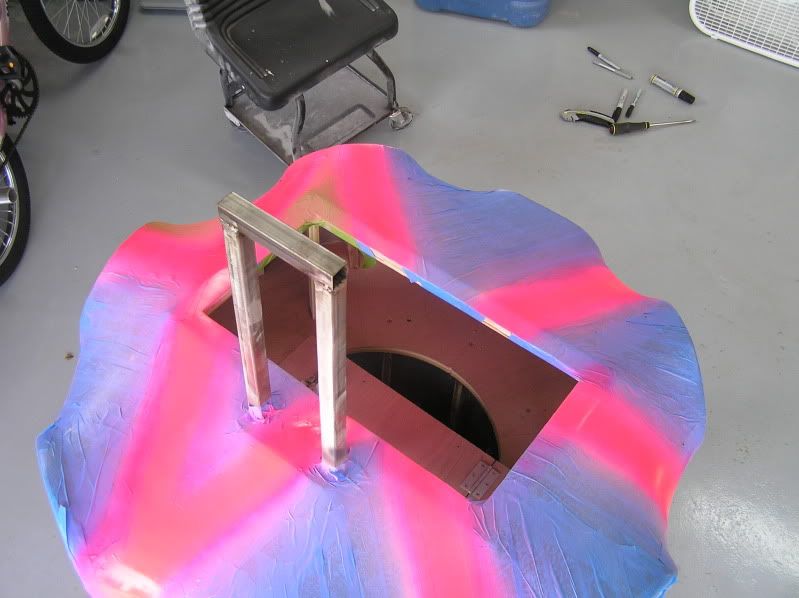
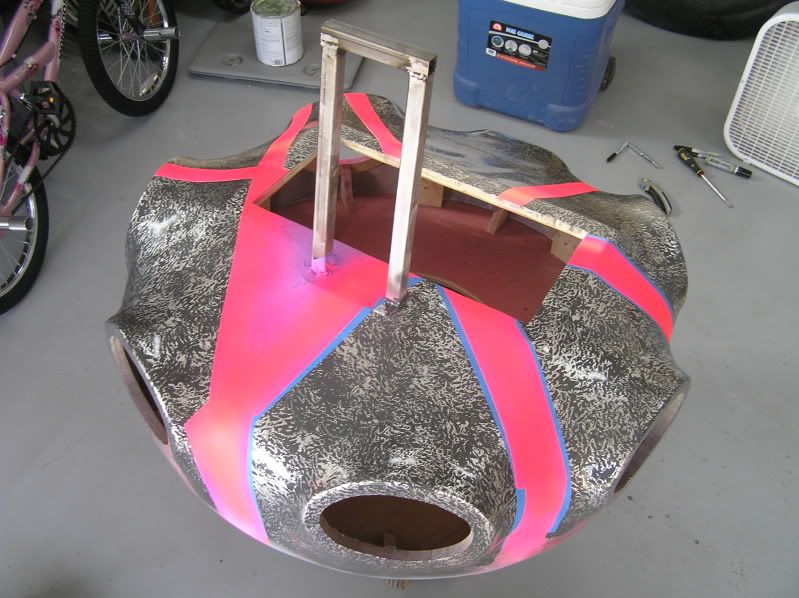
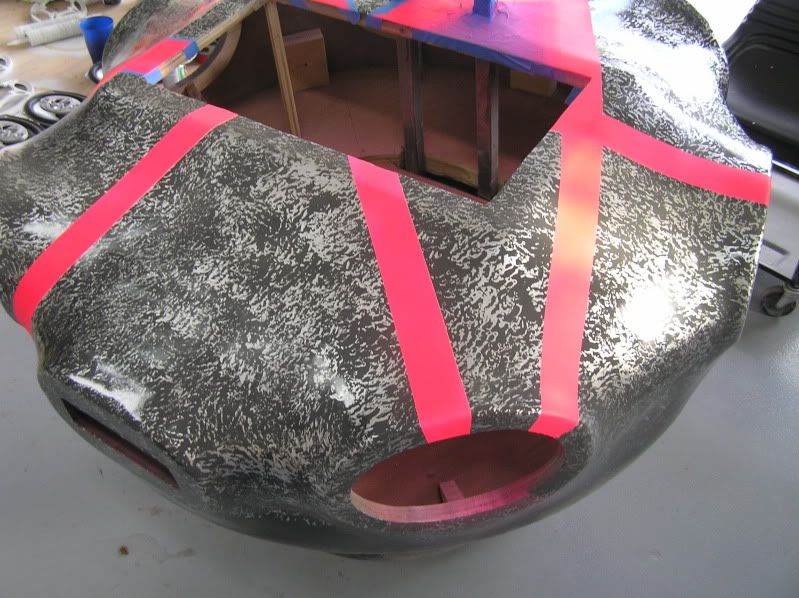
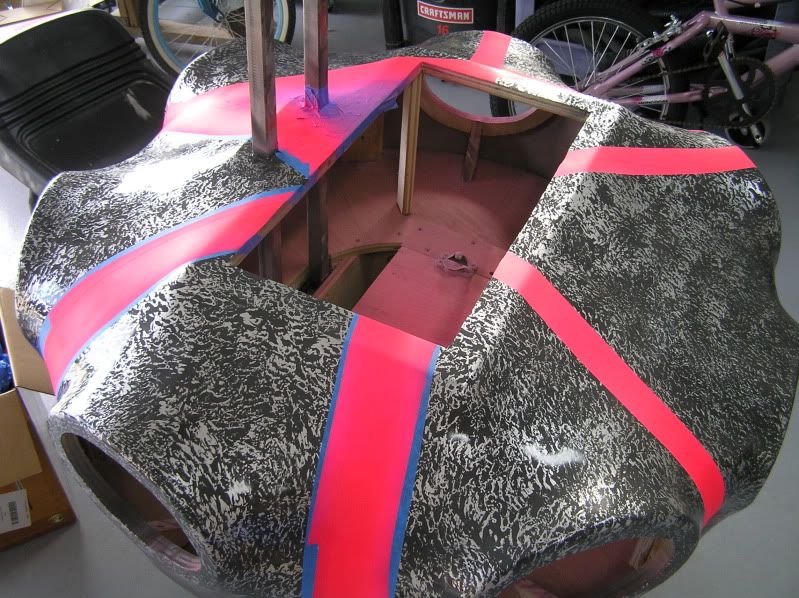
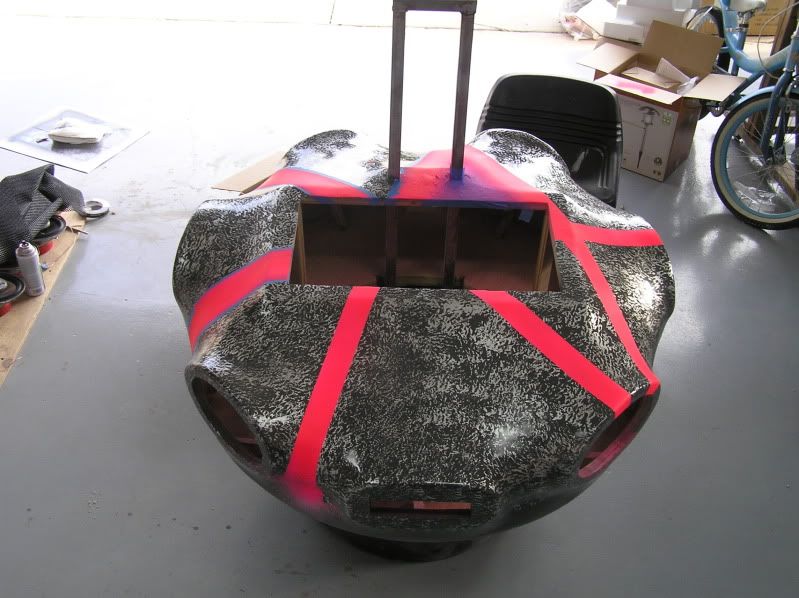
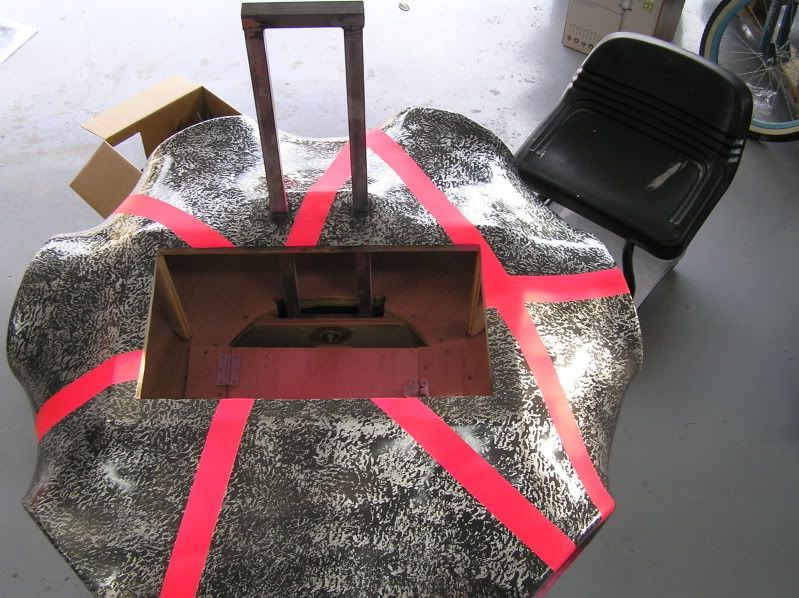
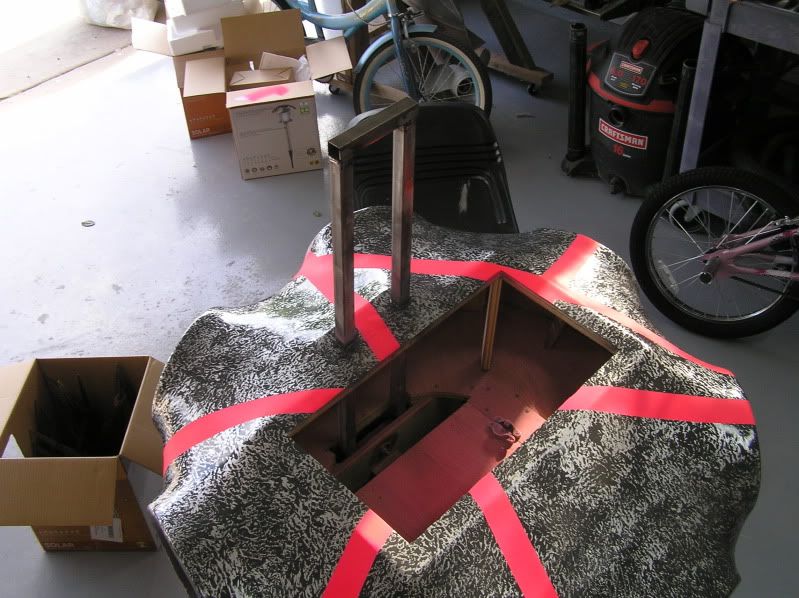
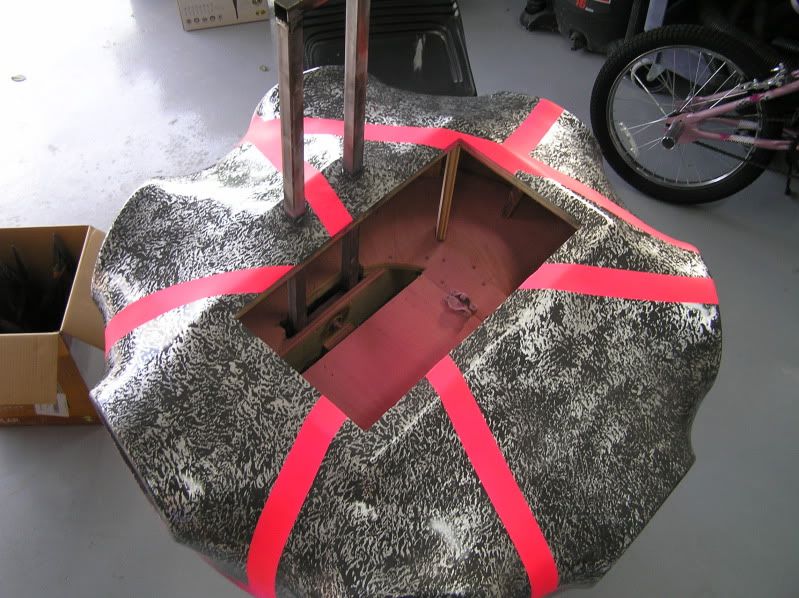
I start off painting the top with a dark grey, then I went over it with a metallic silver and a sea sponge to get a textured look. Then I went it with the flourescent stripes. Almost like a disco ball.
First I started with a flat white undercoat underneath the flourescent, to give it pop and brighten it up. First started with pink stripes, then layer orange stripes.
Enjoy!


Now on to the flourescent pink


#13
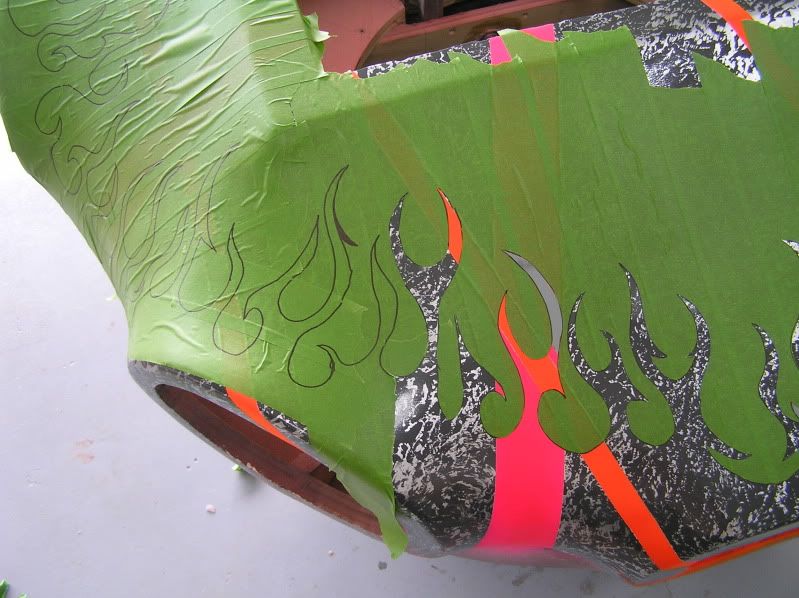
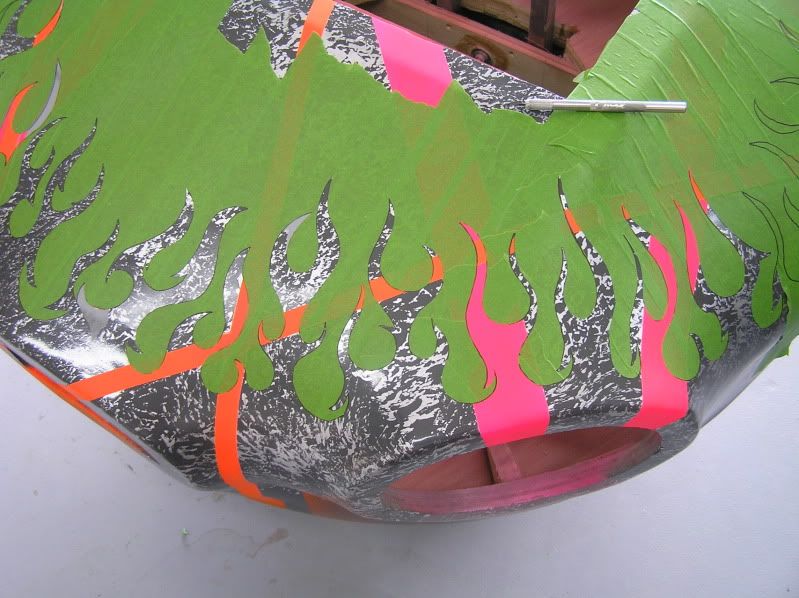
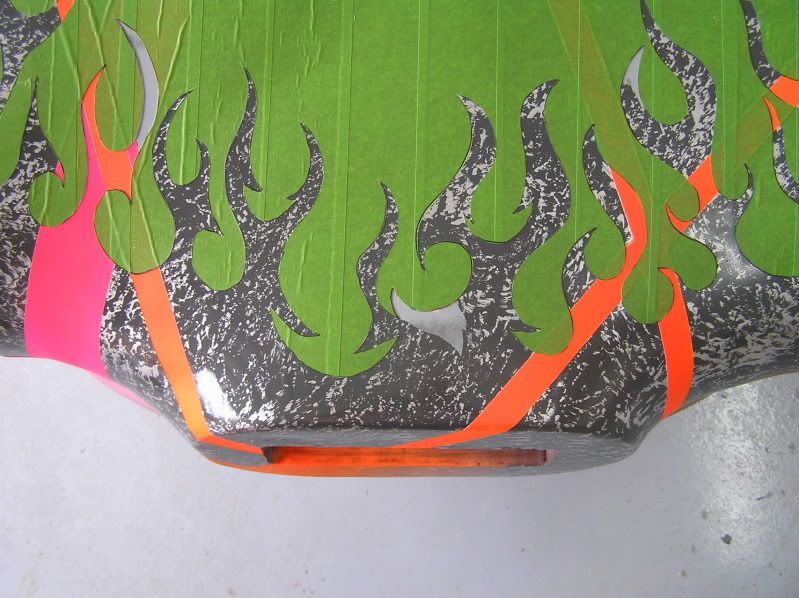
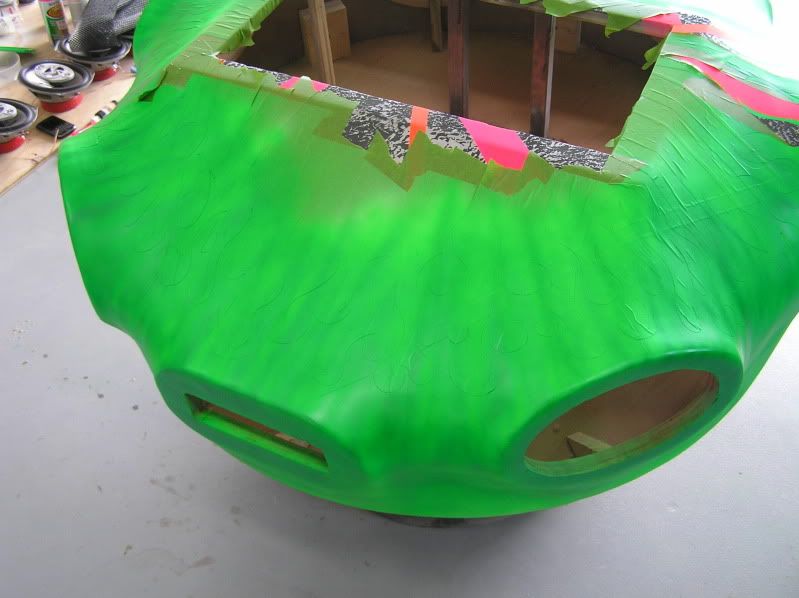
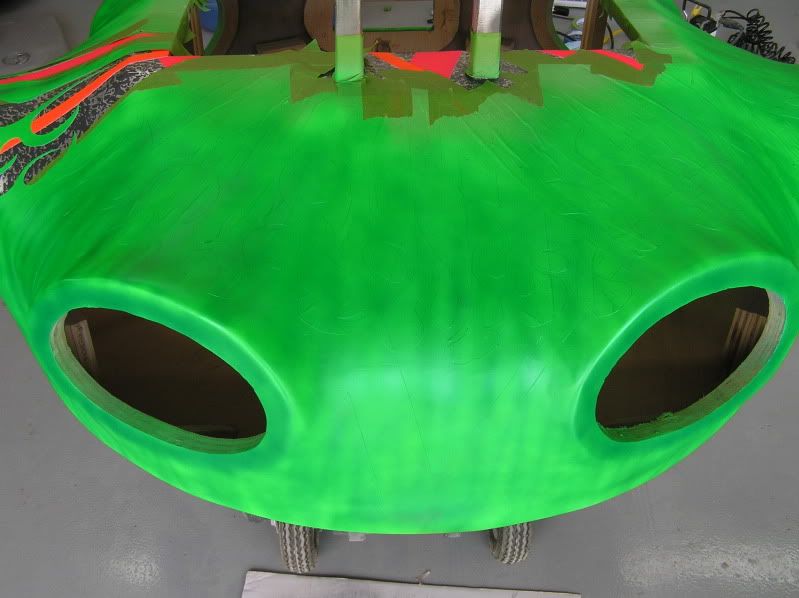
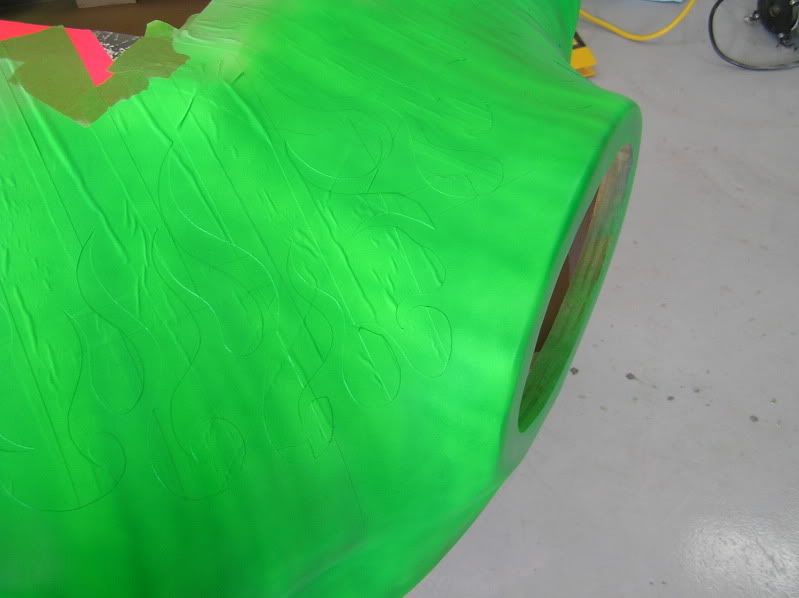
If your wondering what will be at the bottom, there will be flourescent green flames around the speakers and around the bottom edge. Everything will end up getting drop shadows to add a 3-D effect.
Hopefully I get all the flames done to today.
Once all the painting is complete, then its on to the wiring.
Hopefully I get all the flames done to today.
Once all the painting is complete, then its on to the wiring.
#15
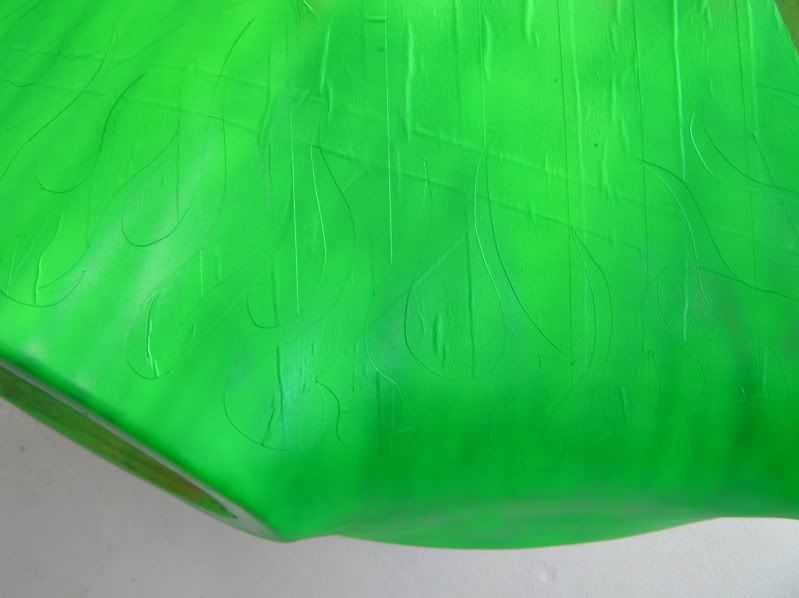
Well, I got the green flames masked and painted. Also, I added a little dark green pearl to give it that streakyness. After the green pearl, my airbrush to a crap on me, so I went and got a Badger Anthem 155-7, suppose to be a real solid airbrush. But the different from my old one to this one is that I was going from a single action to a dual action airbrush. I was not use to it and it somewhat shows in my attenpt at the drop shadows, which I can always go back and touch them up.
After I pinstripe the flourescent stripes, I will layer on as many coats of clear as two rattle cans will give me. Then its on to the wiring. Enjoy.
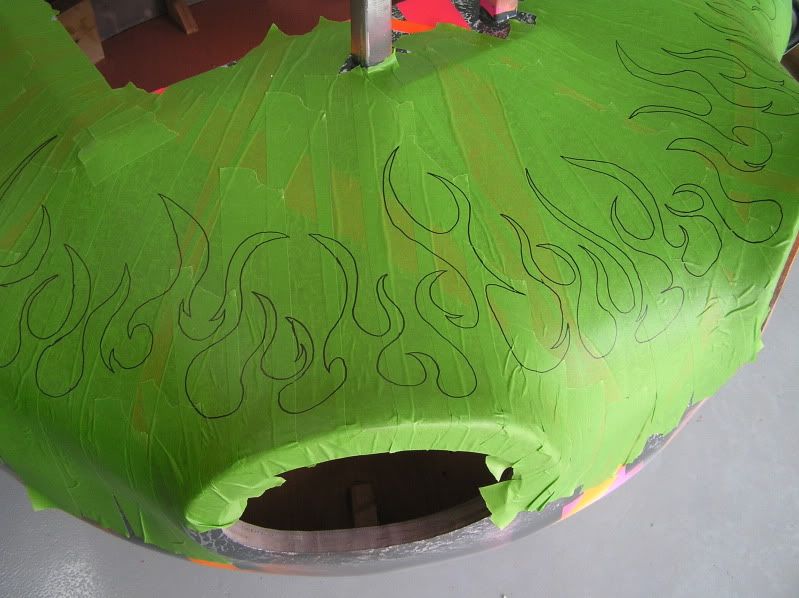
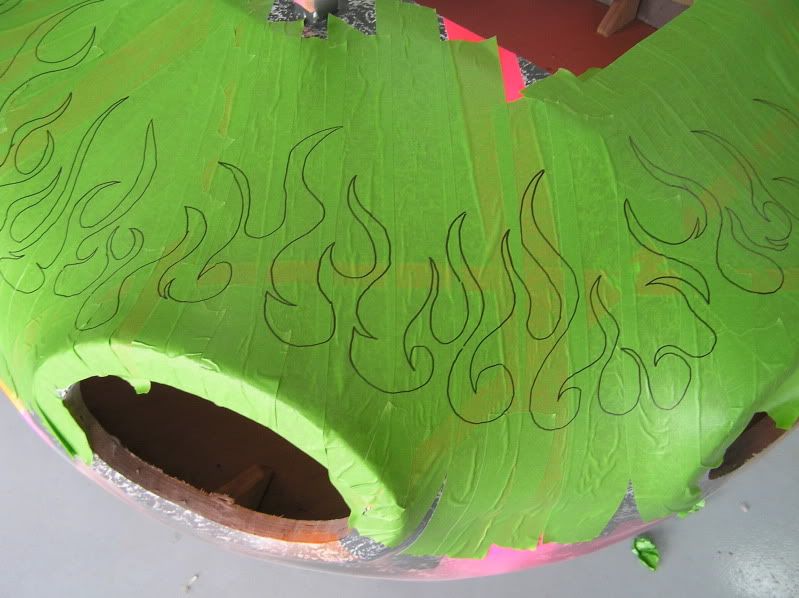
After I pinstripe the flourescent stripes, I will layer on as many coats of clear as two rattle cans will give me. Then its on to the wiring. Enjoy.


