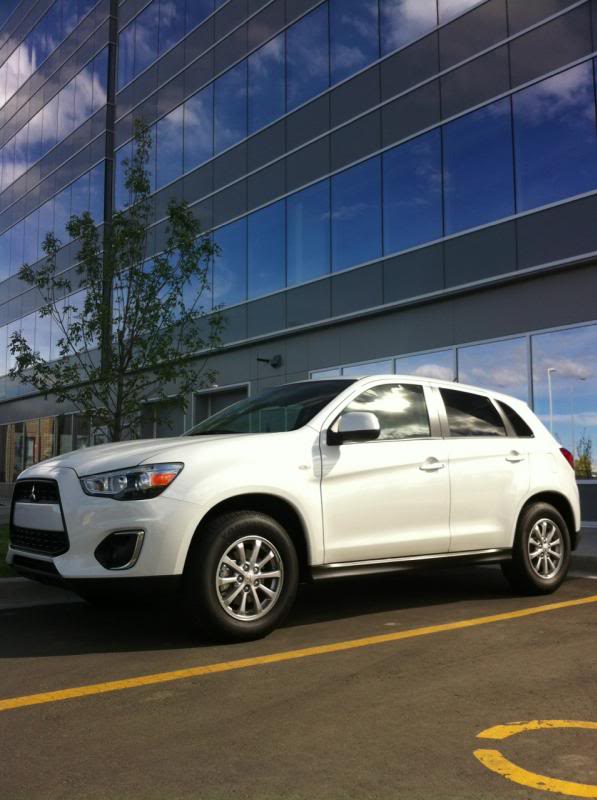
infected's 2013 RVR SE AWD
#1
infected's 2013 RVR SE AWD
Background: My name is Terence, and this is my 2013 White Pearl RVR SE AWD. I've always followed Japanese automobile manufacturers, but never thought I'd own a Mitsubishi. It all started when I was on a conference call at work one day and watched a trailer back into my car as I stood by the window. I was given an Outlander for a rental and really built an appreciation for the functionality and practicality of Mitsubishi over the next 6 weeks.
After returning the Outlander, my girlfriend and I immediately began our hunt for a new daily driver. Although the Outlander met all our requirements, it was still larger than we had hoped. Then I realized the RVR packed a very similar interior based off a smaller platform. On September 21 of 2013, we picked up our new crossover!!
Table of Contents:
Page 1:
1. New Car off the Lot
2. License Plate Rattle
3. WeatherTech FloorLiner DigitalFit
4. Securing Passenger DigitalFit Mat
5. Bridgestone Blizzak DM-V1 Winter Tires
Page 2:
6. Pioneer Headunit Prep
7. Radio Wiring Harness
8. Removing the Factory Headunit
9. Disassembly of the Stock Radio Panel
10. Metra Radio Panel Assembly
11. Pioneer AVH-X2500BT Install
12. Wiring a Mic and Reverse Backup Camera
13. Flashlight
Page 3:
14. Ralli Art Oil Cap
15. LM Strut Caps
16. Trunk Liner
Page 4:
17. Stubby Antenna
18. Takeda Stage-2 PRO DRY S Air Intake
19. TCR Strut Tower Bar
20. JDM Mitsubishi RVR Entry Kick Plates
21. Ralli Art Spark Plug Cover
Page 5:
22. Aomis Window Deflectors
23. Trunk Liner V2
24. First Oil Change
25. Ralli Art Radiator Cap
26. Remin Wood Trim Kit
27. Chrome Interior Door Pull Surrounds
28. Cusco Battery Tie Down
29. Mud Guards
30. VVME 35W 5000K HID Low Beams
Page 6:
31. DRL Relocate
32. Aftermarket LED Tail Lights Install
33. Aftermarket LED Tail Lights Review
34. Spring Cleaning (LED License Plate Lights/Remove Visors and Stubby Antenna)
35. Sound Proof Front Doors
Page 7:
36. ASX Front Lip
37. Debadge
38. Sound Proof Glove Box
39. Front Window Tint
40. Sound Proof Rear Doors
41. Trunk Emblem
42. LED Rear Park Lights
Page 8:
43. ASX Rear Lip
44. Exhaust Finisher
45. Carbon Fiber Engine Cover
46. Rear Park Light Trim
Page 9:
47. Ralli Art AT Pedals
Page 10:
48. SSR Type C Wheels
Page 11:
49. New Lift Gate and Paint
50. Curt Class III Hitch
51. Pioneer TS-A1674R Speakers
52. Go Rhino 360B Hitch Step
Page 12:
53. OEM Roof Rack & Thule Cargo Box
Page 13:
54. Front Driver Shock Warranty
55. OEM Rear Spoiler Kit
56. Valeo Fog Lights
57. Blackvue DR-3500FHD Dash Cam
Page 14:
58. Remote Engine Starter Kit
Page 15:
59. More Sound Proofing
60. Glasses Holder
Page 16:
61. Bazooka BTA8100 Bass Tube Subwoofer
62. Shark Fin Antenna
63. Tweeter Speaker Rings
64. Refinished SSR Type C Wheels and Pirelli P4 Plus Tires
65. Eurolite 3000K Fog Lights
Last edited by infected; Apr 15, 2016 at 02:01 PM. Reason: Update Table
The following users liked this post:
SoCalSHO (Feb 1, 2019)
#3
2. License Plate Rattle
One of the first things I noticed while picking up the vehicle was the nasty license plate rattle when closing the rear hatch.
I used a piece of rubber tubing and sliced it with a blade along the full length on one side. It tucks nicely behind the license plate frame and keeps a good distance between the license plate from rubbing against the paint or rattling when closing the hatch.
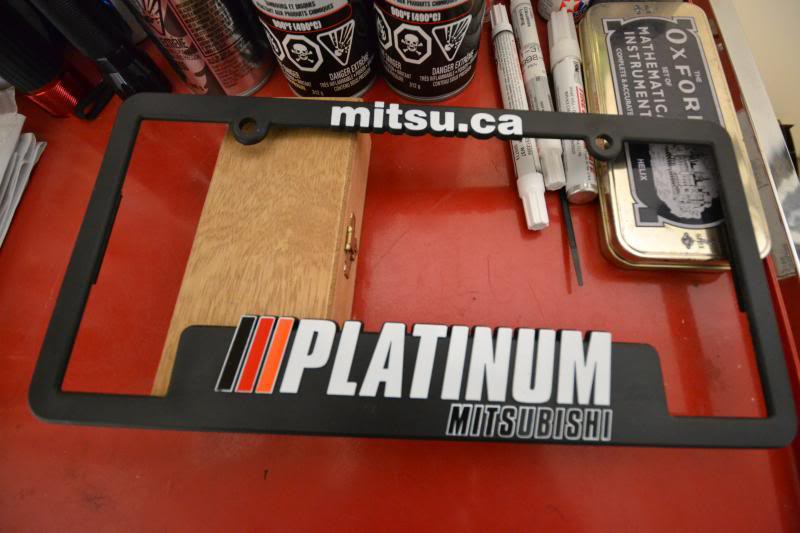
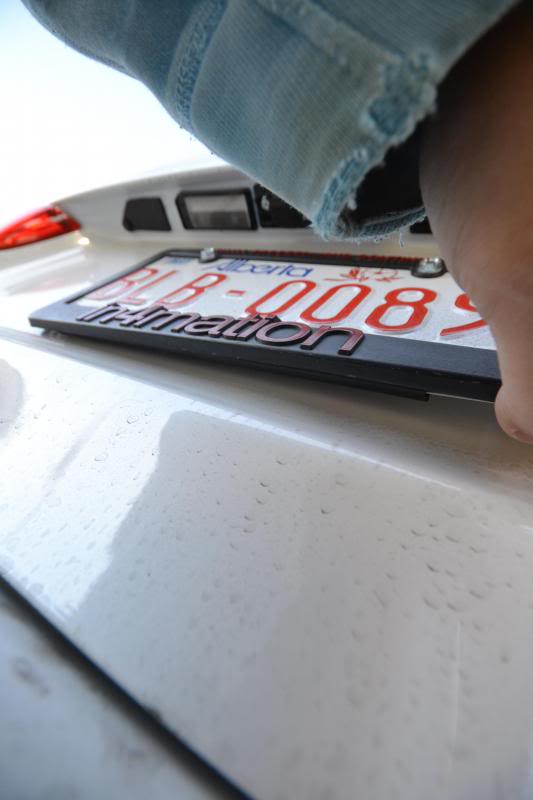
I used a piece of rubber tubing and sliced it with a blade along the full length on one side. It tucks nicely behind the license plate frame and keeps a good distance between the license plate from rubbing against the paint or rattling when closing the hatch.


#4
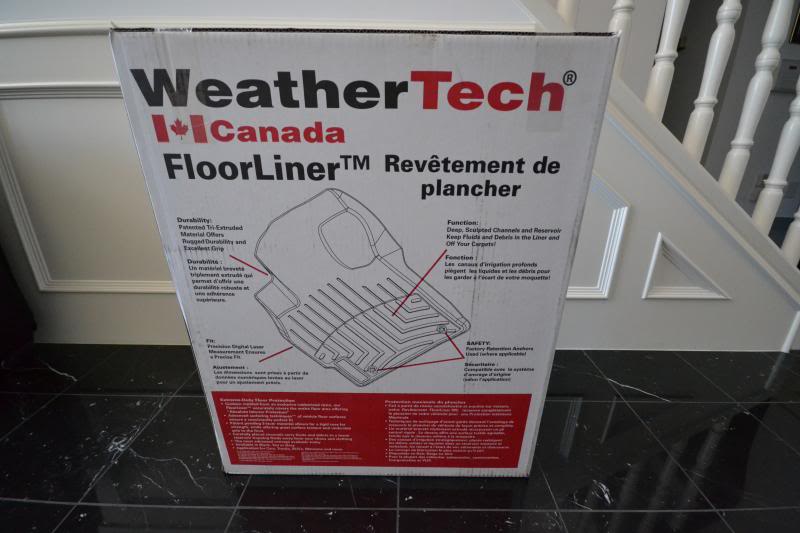
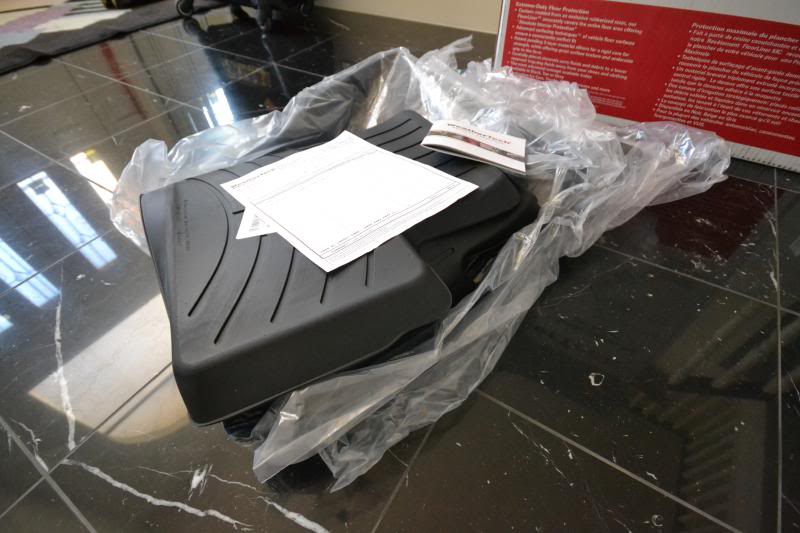
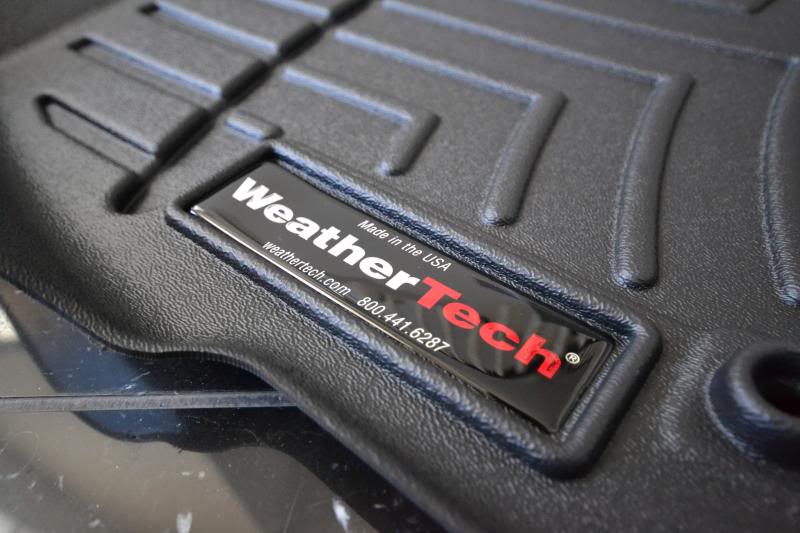
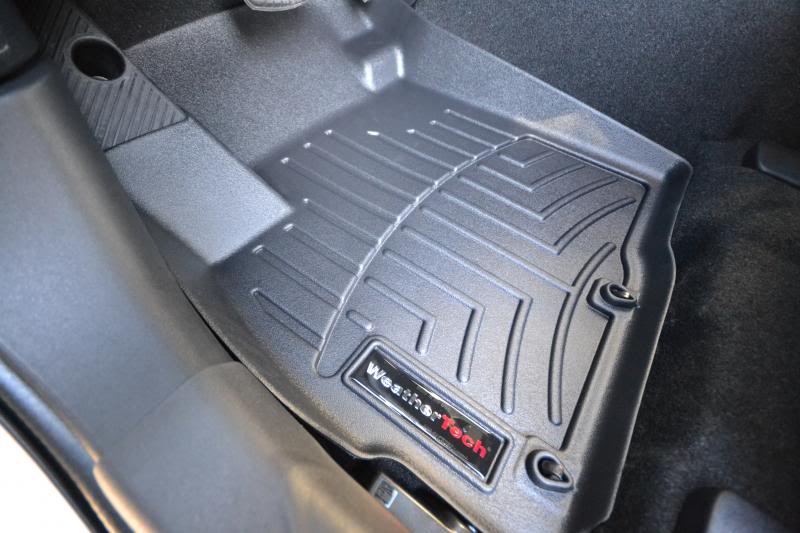
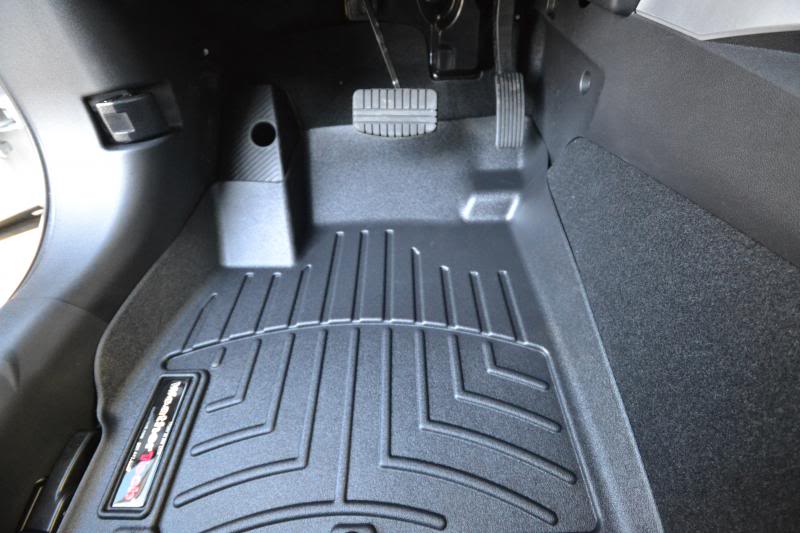
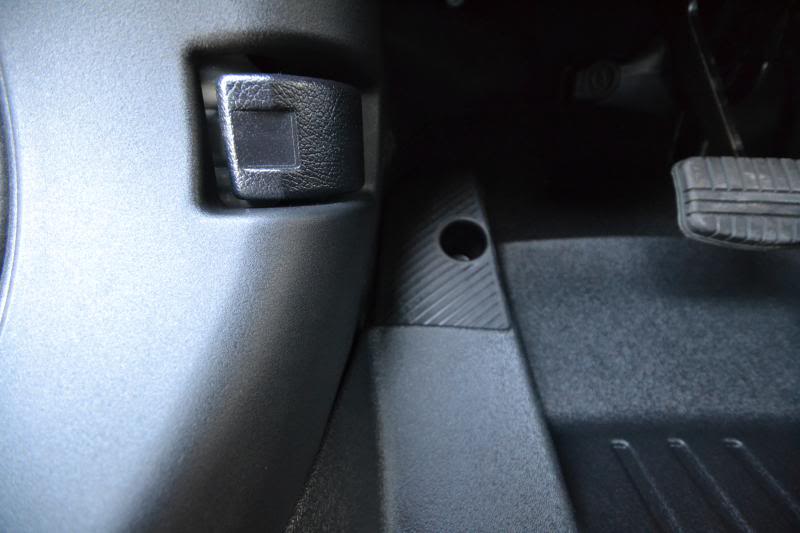
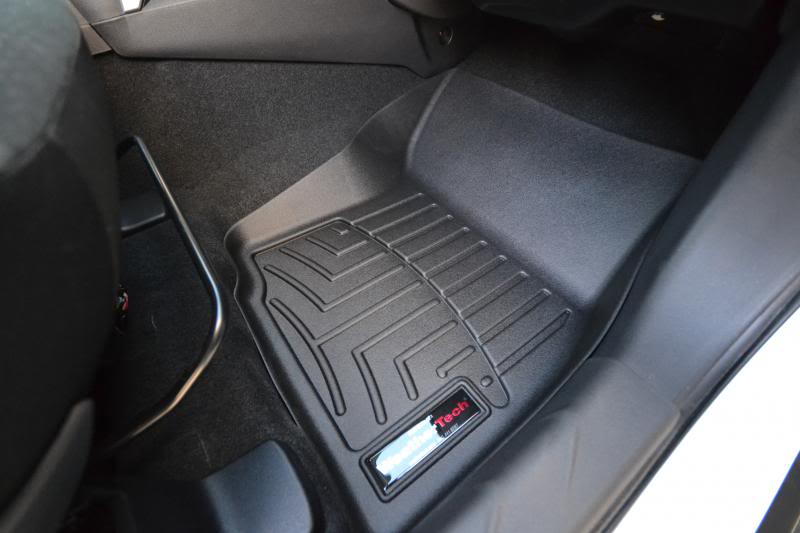
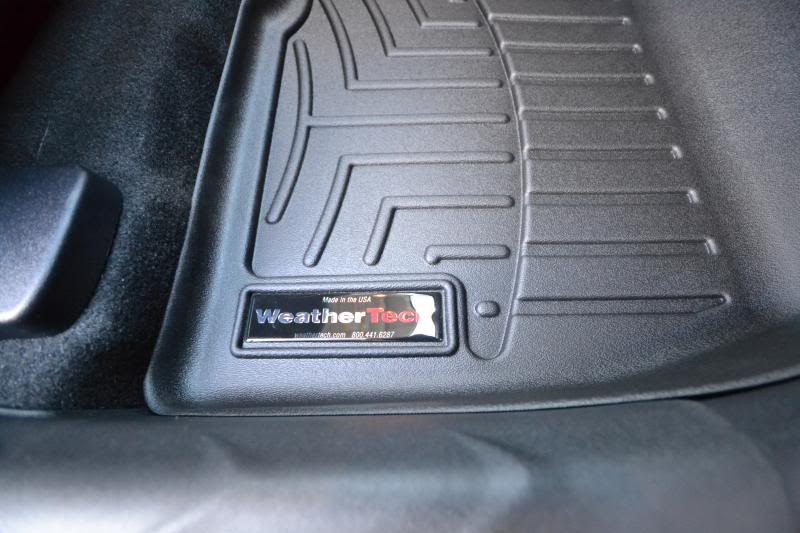
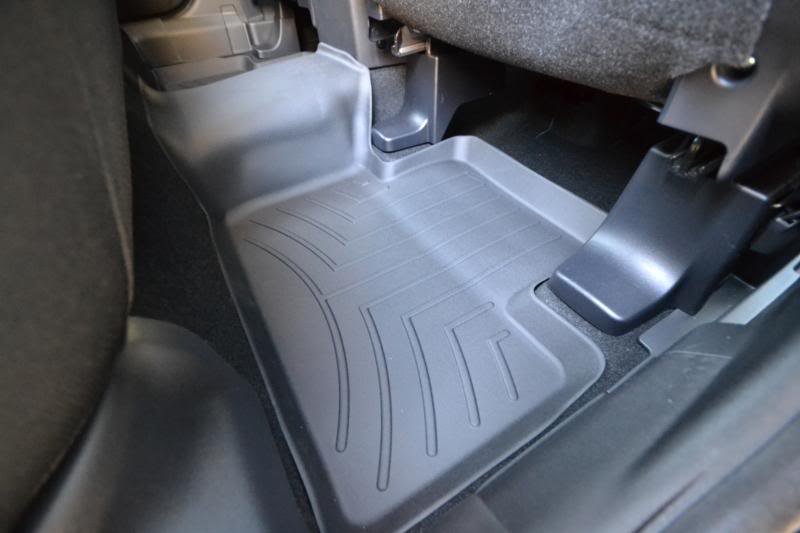
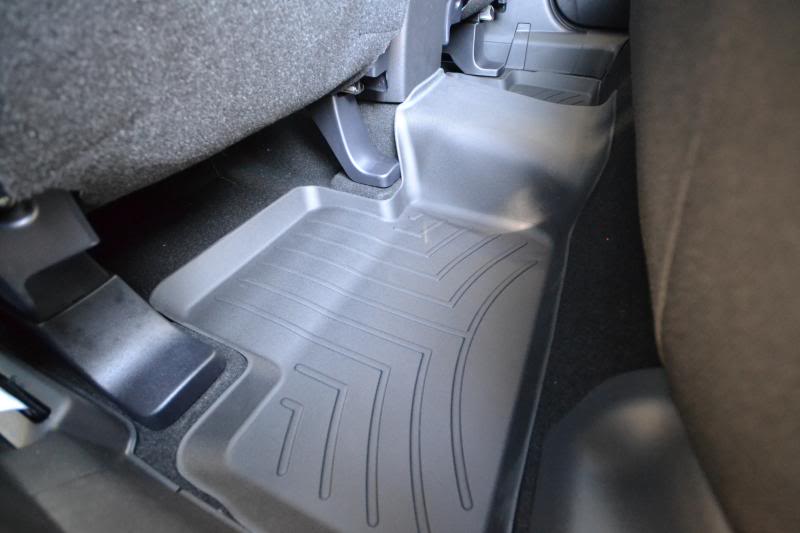
3. WeatherTech FloorLiner DigitalFit
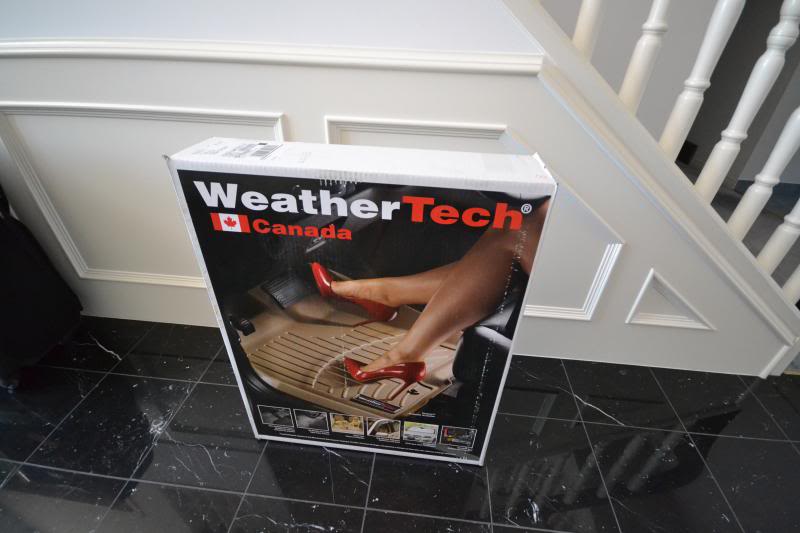
With winter quickly approaching, my initial priority is to have the RVR well prepared for the first snowfall.
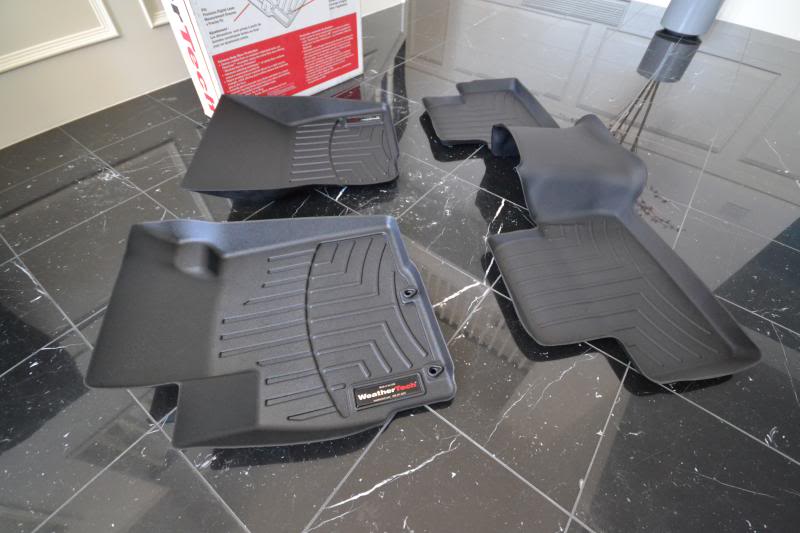
I've always heard good things about WeatherTech and their DigitalFit mats. OEM's seem to lack a high enough ledge to keep all the slush and water contained from my previous experiences.
PROS:
-The DigitalFit mats are very lightweight and easy to handle
-The DigitalFit mats have a nice and tall side ledge all around, which should prove more than sufficient to hold its contents
CONS:
-Fitment is 99% for the most part.
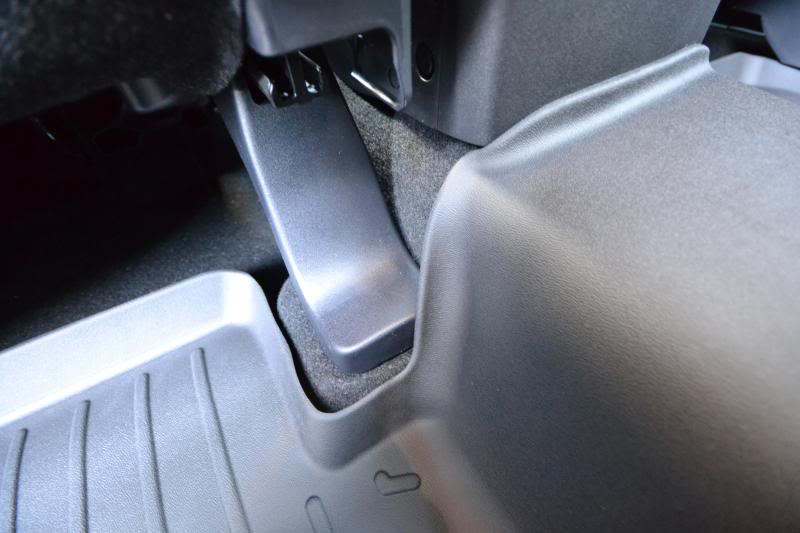
-The driver mat could have a higher guard towards the firewall to cover the footrest. The way it is now only covers half of the factory footrest. I'm pretty sure there will be some seepage behind the mat when ice and snow melts.
-The passenger mat slides forward and back by about 1-2" if pushed against while getting out of the vehicle.


#5
CONS:
-Fitment is 99% for the most part.
-The driver mat could have a higher guard towards the firewall to cover the footrest. The way it is now only covers half of the factory footrest. I'm pretty sure there will be some seepage behind the mat when ice and snow melts.
-The passenger mat slides forward and back by about 1-2" if pushed against while getting out of the vehicle.
#6
I've been really trying to hold off as long as possible on the floor liners. I have had them on every single vehicle I've owned and loved it. It has saved me at least once on each vehicle and I'm going to have to get these before the snow hits.
#7
I agree, I'm slightly paranoid about the ice and snow getting under the mat from the footrest. Otherwise I'm happy with the weathertech mats. For the passenger side mat, I attached a couple pieces of velcro to the underside and it doesn't slide anymore. For the price of these mats you shouldn't have to do that for a snug fit but oh well it works.
The Digital Fit are sooooooo nice.
Trending Topics
#8
I agree, I'm slightly paranoid about the ice and snow getting under the mat from the footrest. Otherwise I'm happy with the weathertech mats. For the passenger side mat, I attached a couple pieces of velcro to the underside and it doesn't slide anymore. For the price of these mats you shouldn't have to do that for a snug fit but oh well it works.
#9
I ended up using the hook side of the velcro. I just used some pre-cut strips I had laying around. I put a couple on each side, a couple on the bottom. Its only been a couple months but its held up so far.
#10
4. Securing Passenger DigitalFit Mat
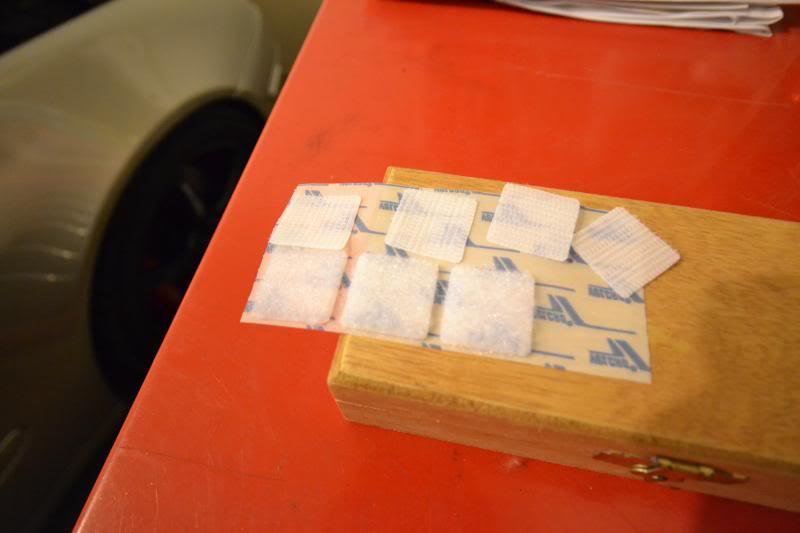
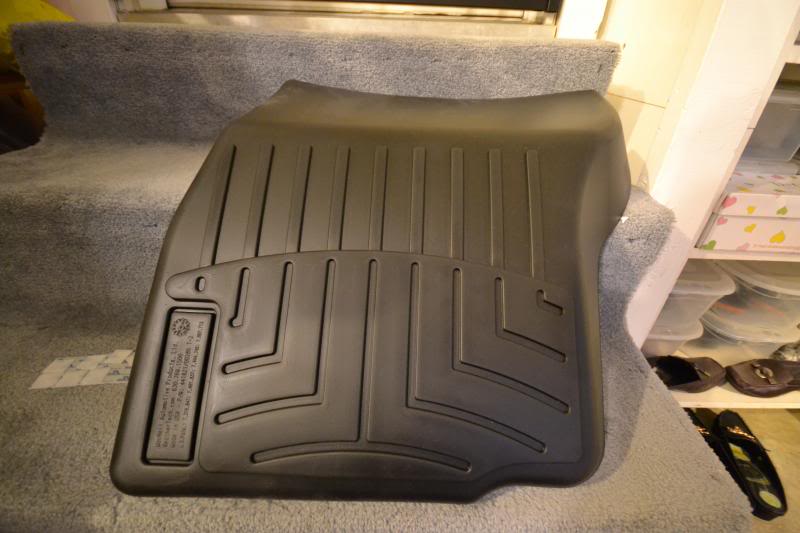
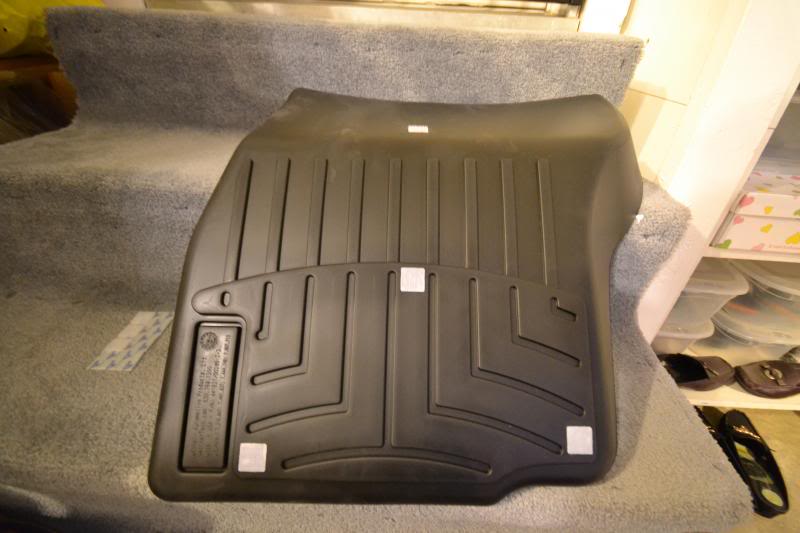
To follow up on my complaint of the passenger DigitalFit mat sliding forward and back when exiting the vehicle, I tried haven07's suggestion of using velcro strips on the underside of the mat to secure it with the carpet.
I had some small tabs of velcro laying around the house, and the hook or 'rough' side clings incredibly well to the factory carpet. There are certain 'low' areas on the underside of the DigitalFit mat that has more surface contact with the carpet than other areas. I randomly selected 4 points of contact (that was all the velcro I had on hand). The velcro does in fact hold the mat much firmer in place than before. I am very satisfied with the results.
Thanks to haven07!


#13
5. Bridgestone Blizzak DM-V1 Winter Tires
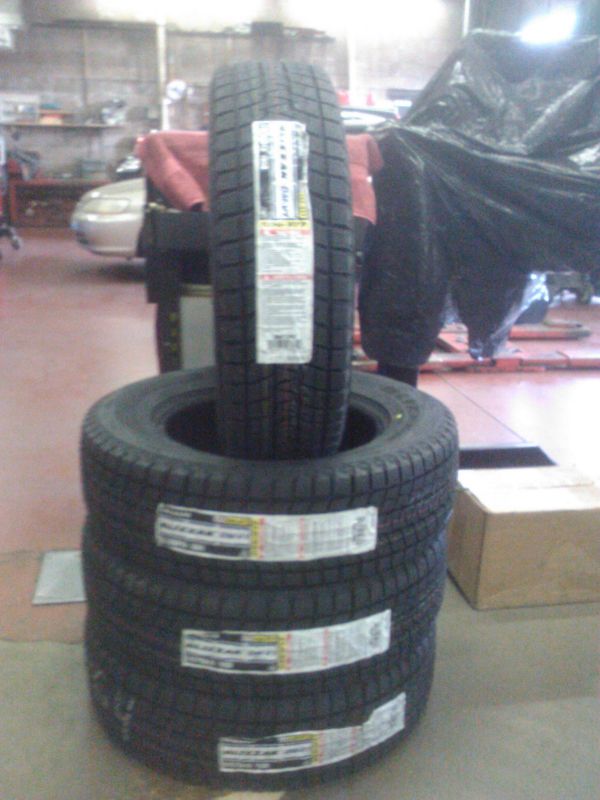
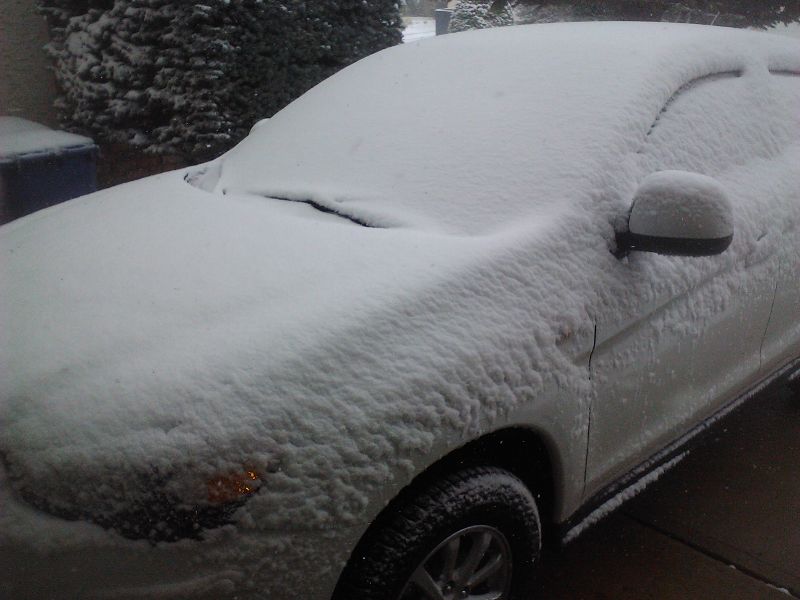
Snow has hit hard in the North so I picked up a new set of winter tires to kick-off the season. Tire Rack currently has the Blizzak DM-V1's ranked at #1 for light truck and SUV winter tires. Along with my previous experiences with other Blizzak models, this was a no brainer.
I have the Yokohama Geolanders in storage in the meantime; may pick up a new set of rims for the Summer months when the time comes. It's just my personal preference to use OE rims in the winter for fitment/quality.
OE sizing at 215/70/16
A couple pictures that weren't shot by myself. I just returned from a long vacation so I am pretty excited to try these out tomorrow morning on the drive to the office.


Last edited by infected; Nov 3, 2013 at 10:19 PM. Reason: Sizing included.
#14
Evolved Member
Joined: Jan 2013
Posts: 2,740
Likes: 24
From: Out towards the countryside of Dallas, TX (USA)
I've never really paid too much attention to winter tires (especially being here in DFW) and once you seen one snow tire "you've seen them all" sort of thing, but this is the first time I've notice them (from your pics) to be quite "directional" on the treads...
Am I behind the times on winter tire technology/designs?
Am I behind the times on winter tire technology/designs?
#15
I've never really paid too much attention to winter tires (especially being here in DFW) and once you seen one snow tire "you've seen them all" sort of thing, but this is the first time I've notice them (from your pics) to be quite "directional" on the treads...
Am I behind the times on winter tire technology/designs?
Am I behind the times on winter tire technology/designs?

Last edited by infected; Nov 4, 2013 at 03:57 PM. Reason: Stats


