When you click on links to various merchants on this site and make a purchase, this can result in this site earning a commission. Affiliate programs and affiliations include, but are not limited to, the eBay Partner Network.
The cylinder head has come off and I found some shocking results. I'll do my best to explain what's going on.
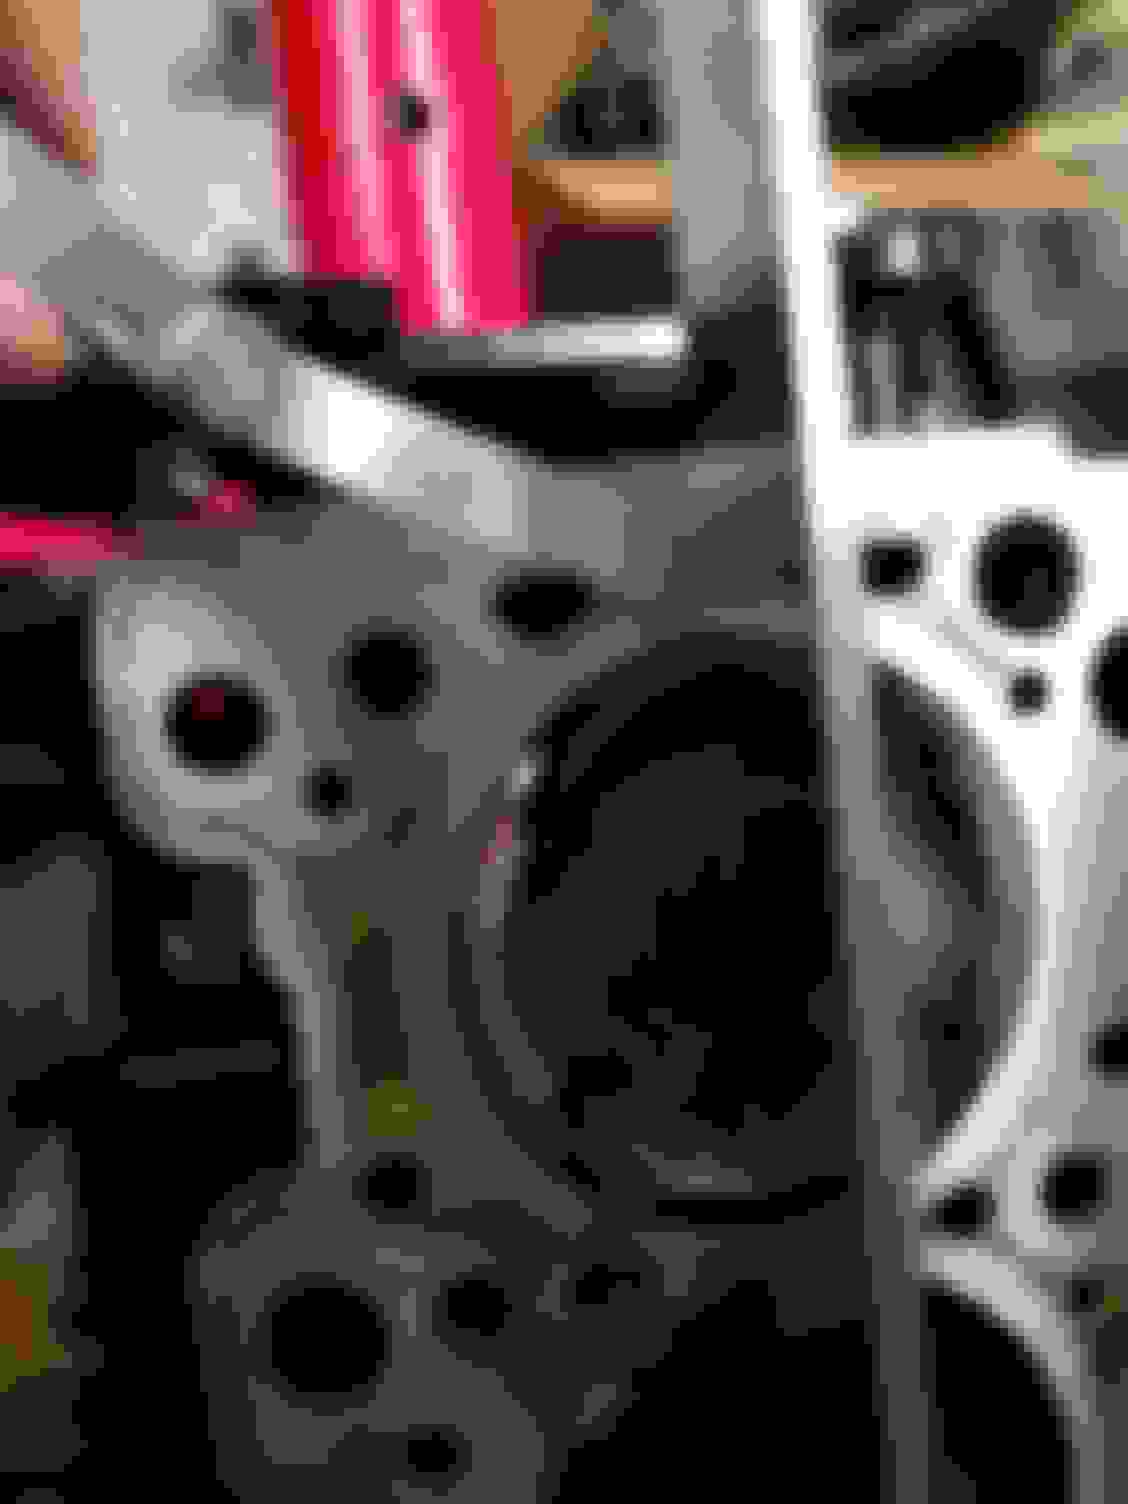
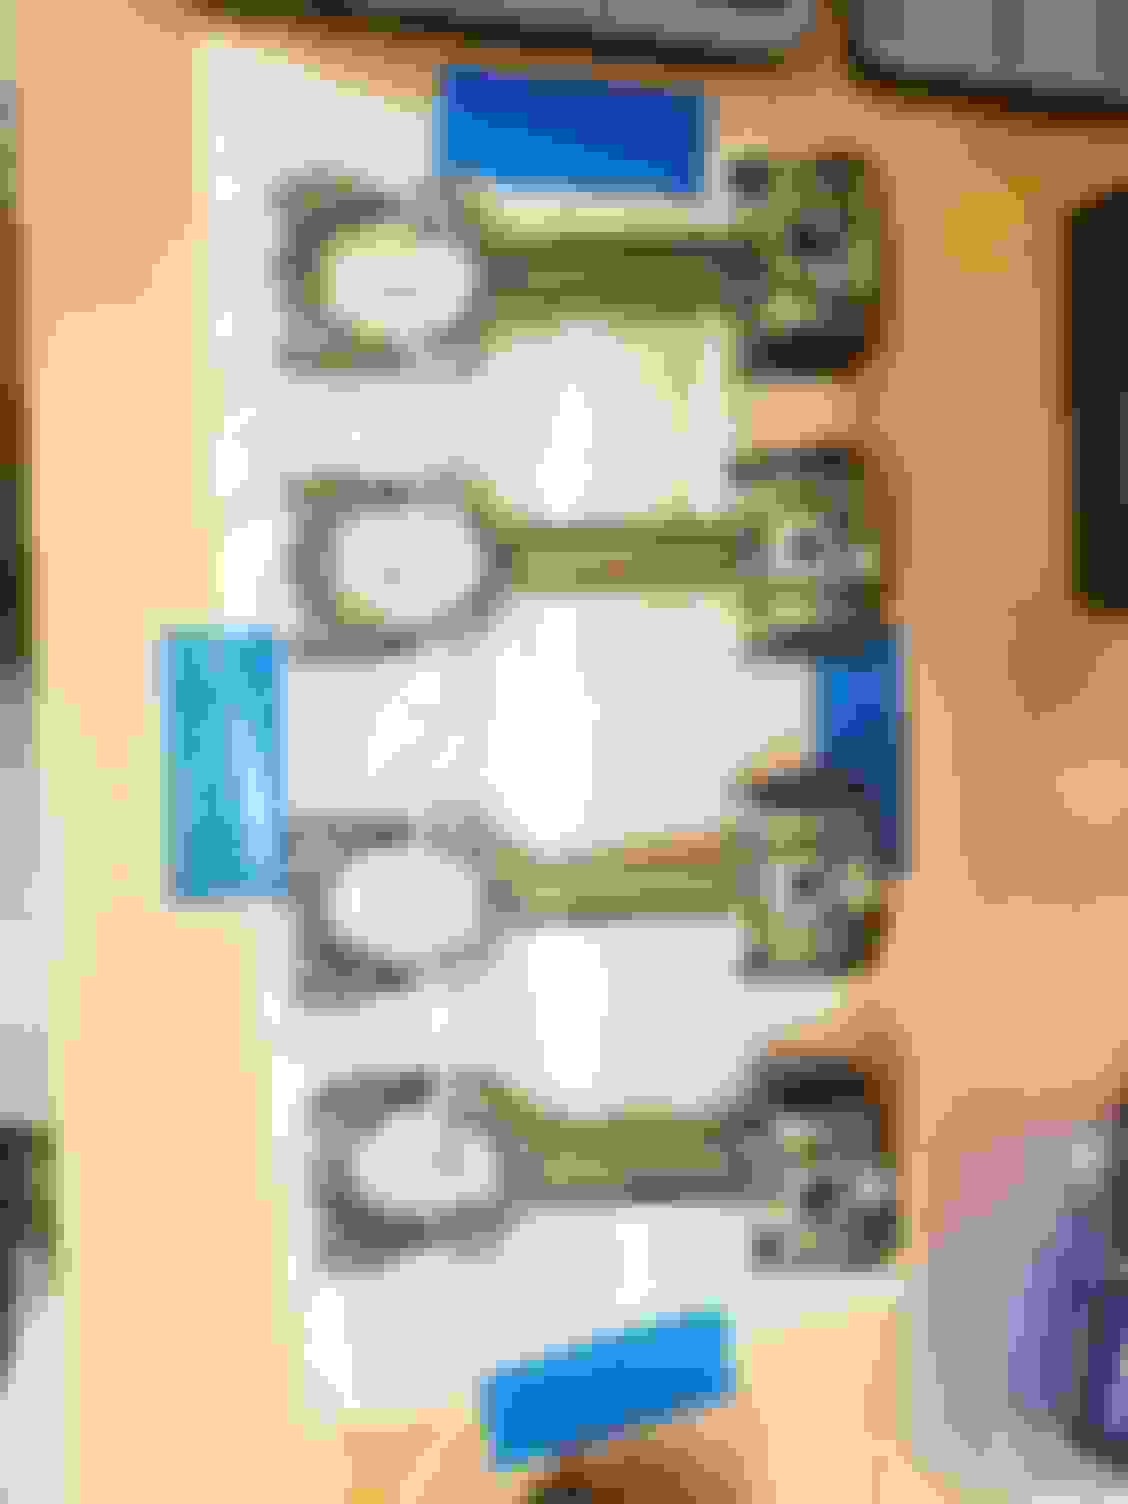
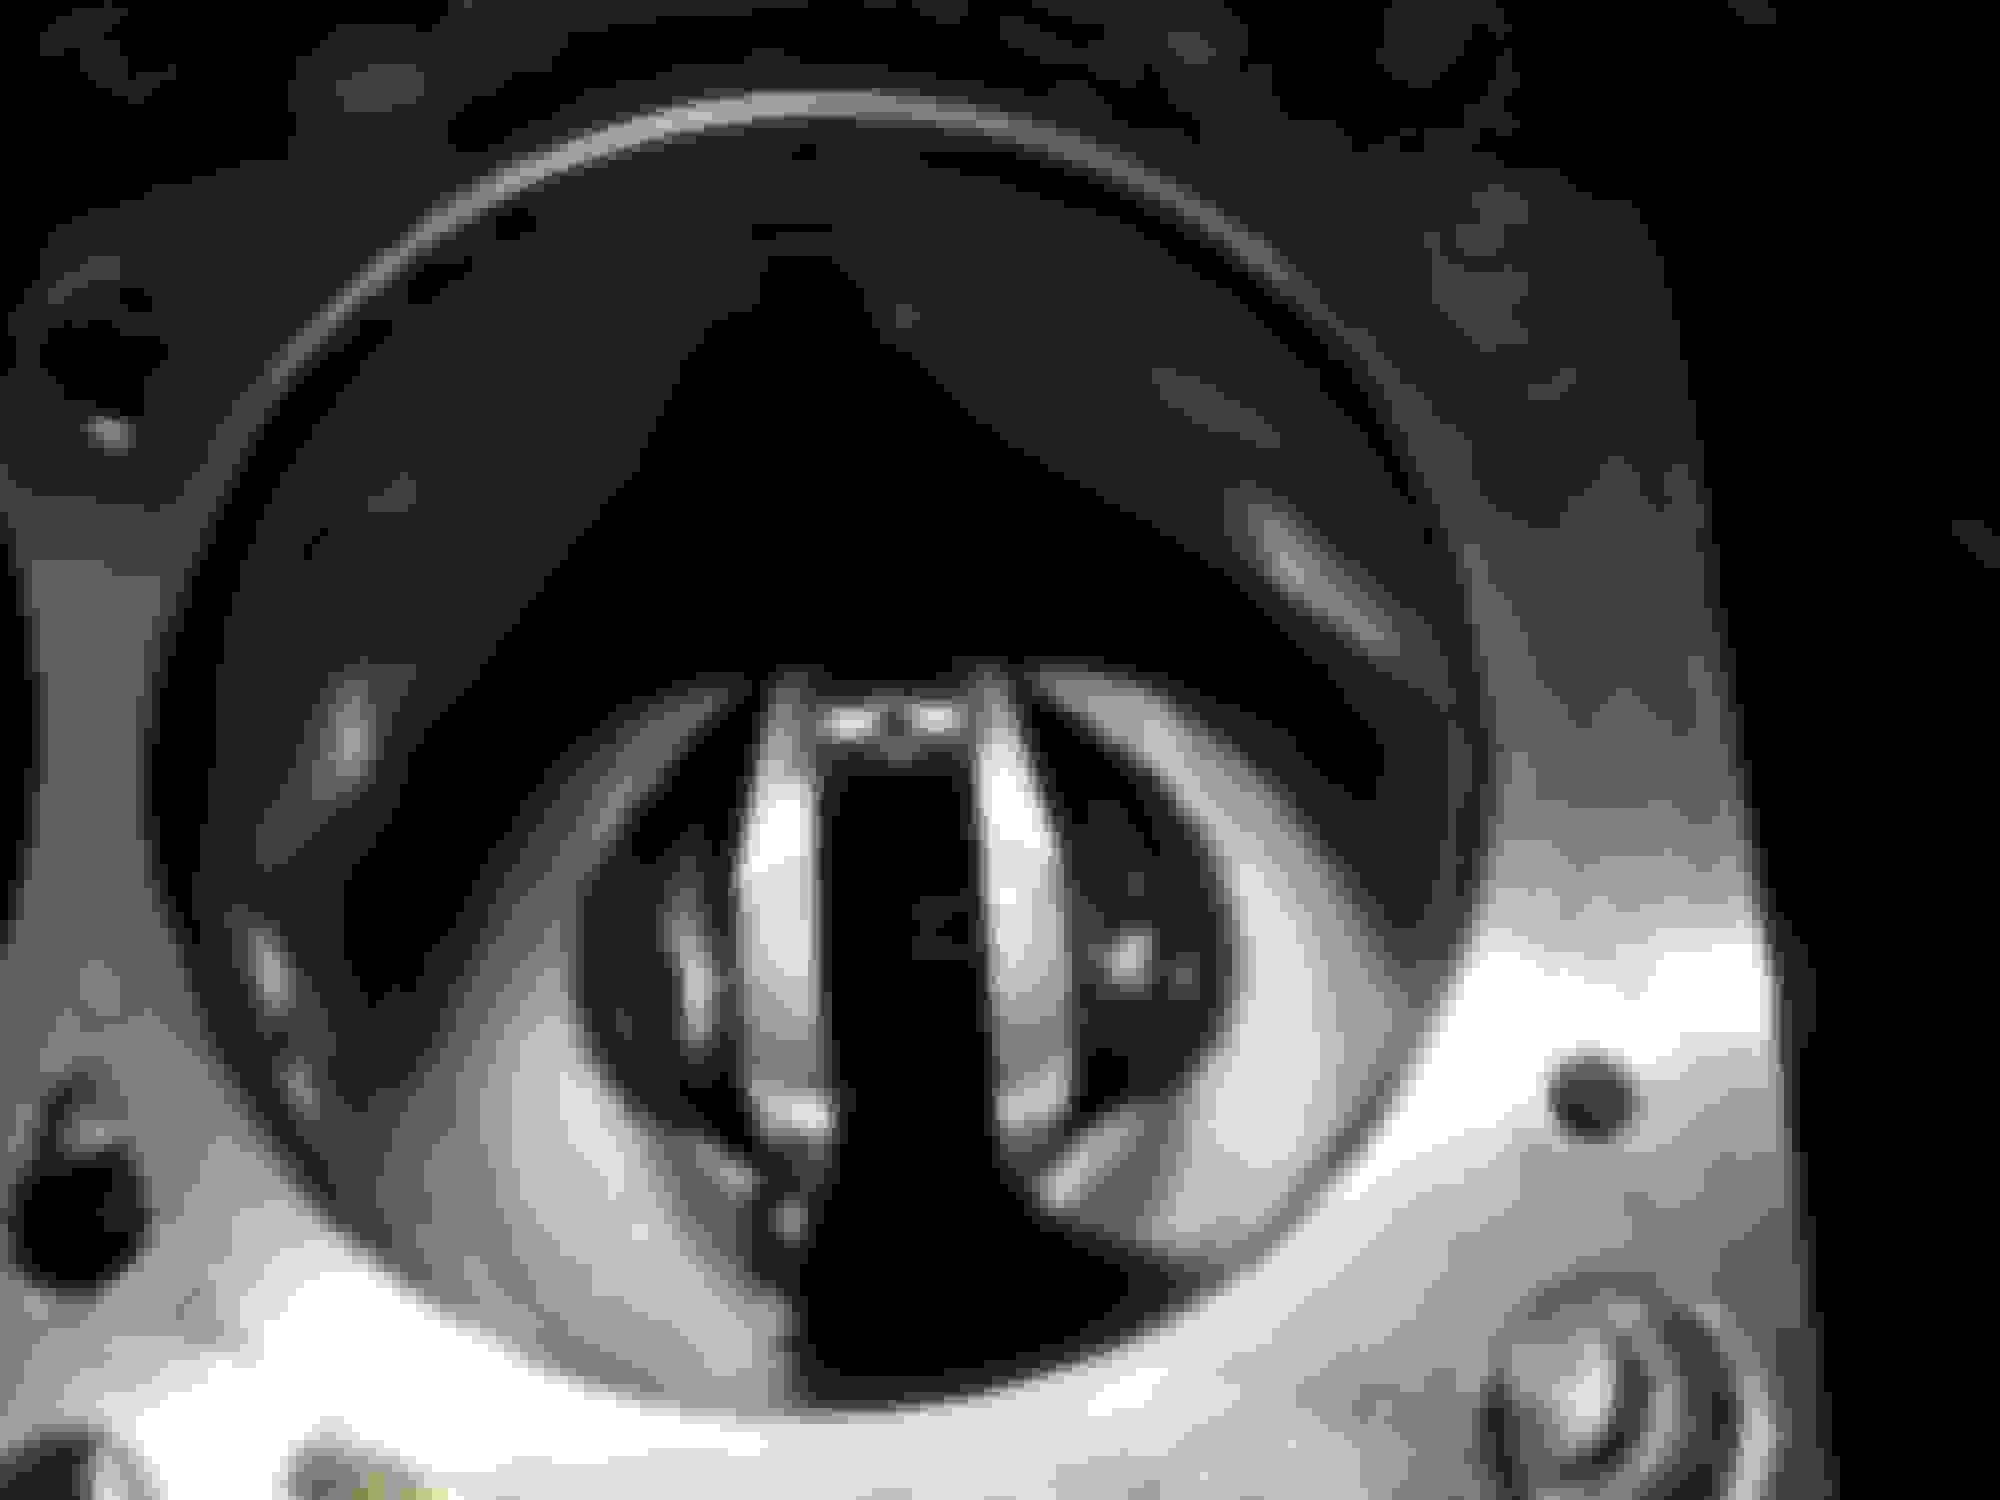
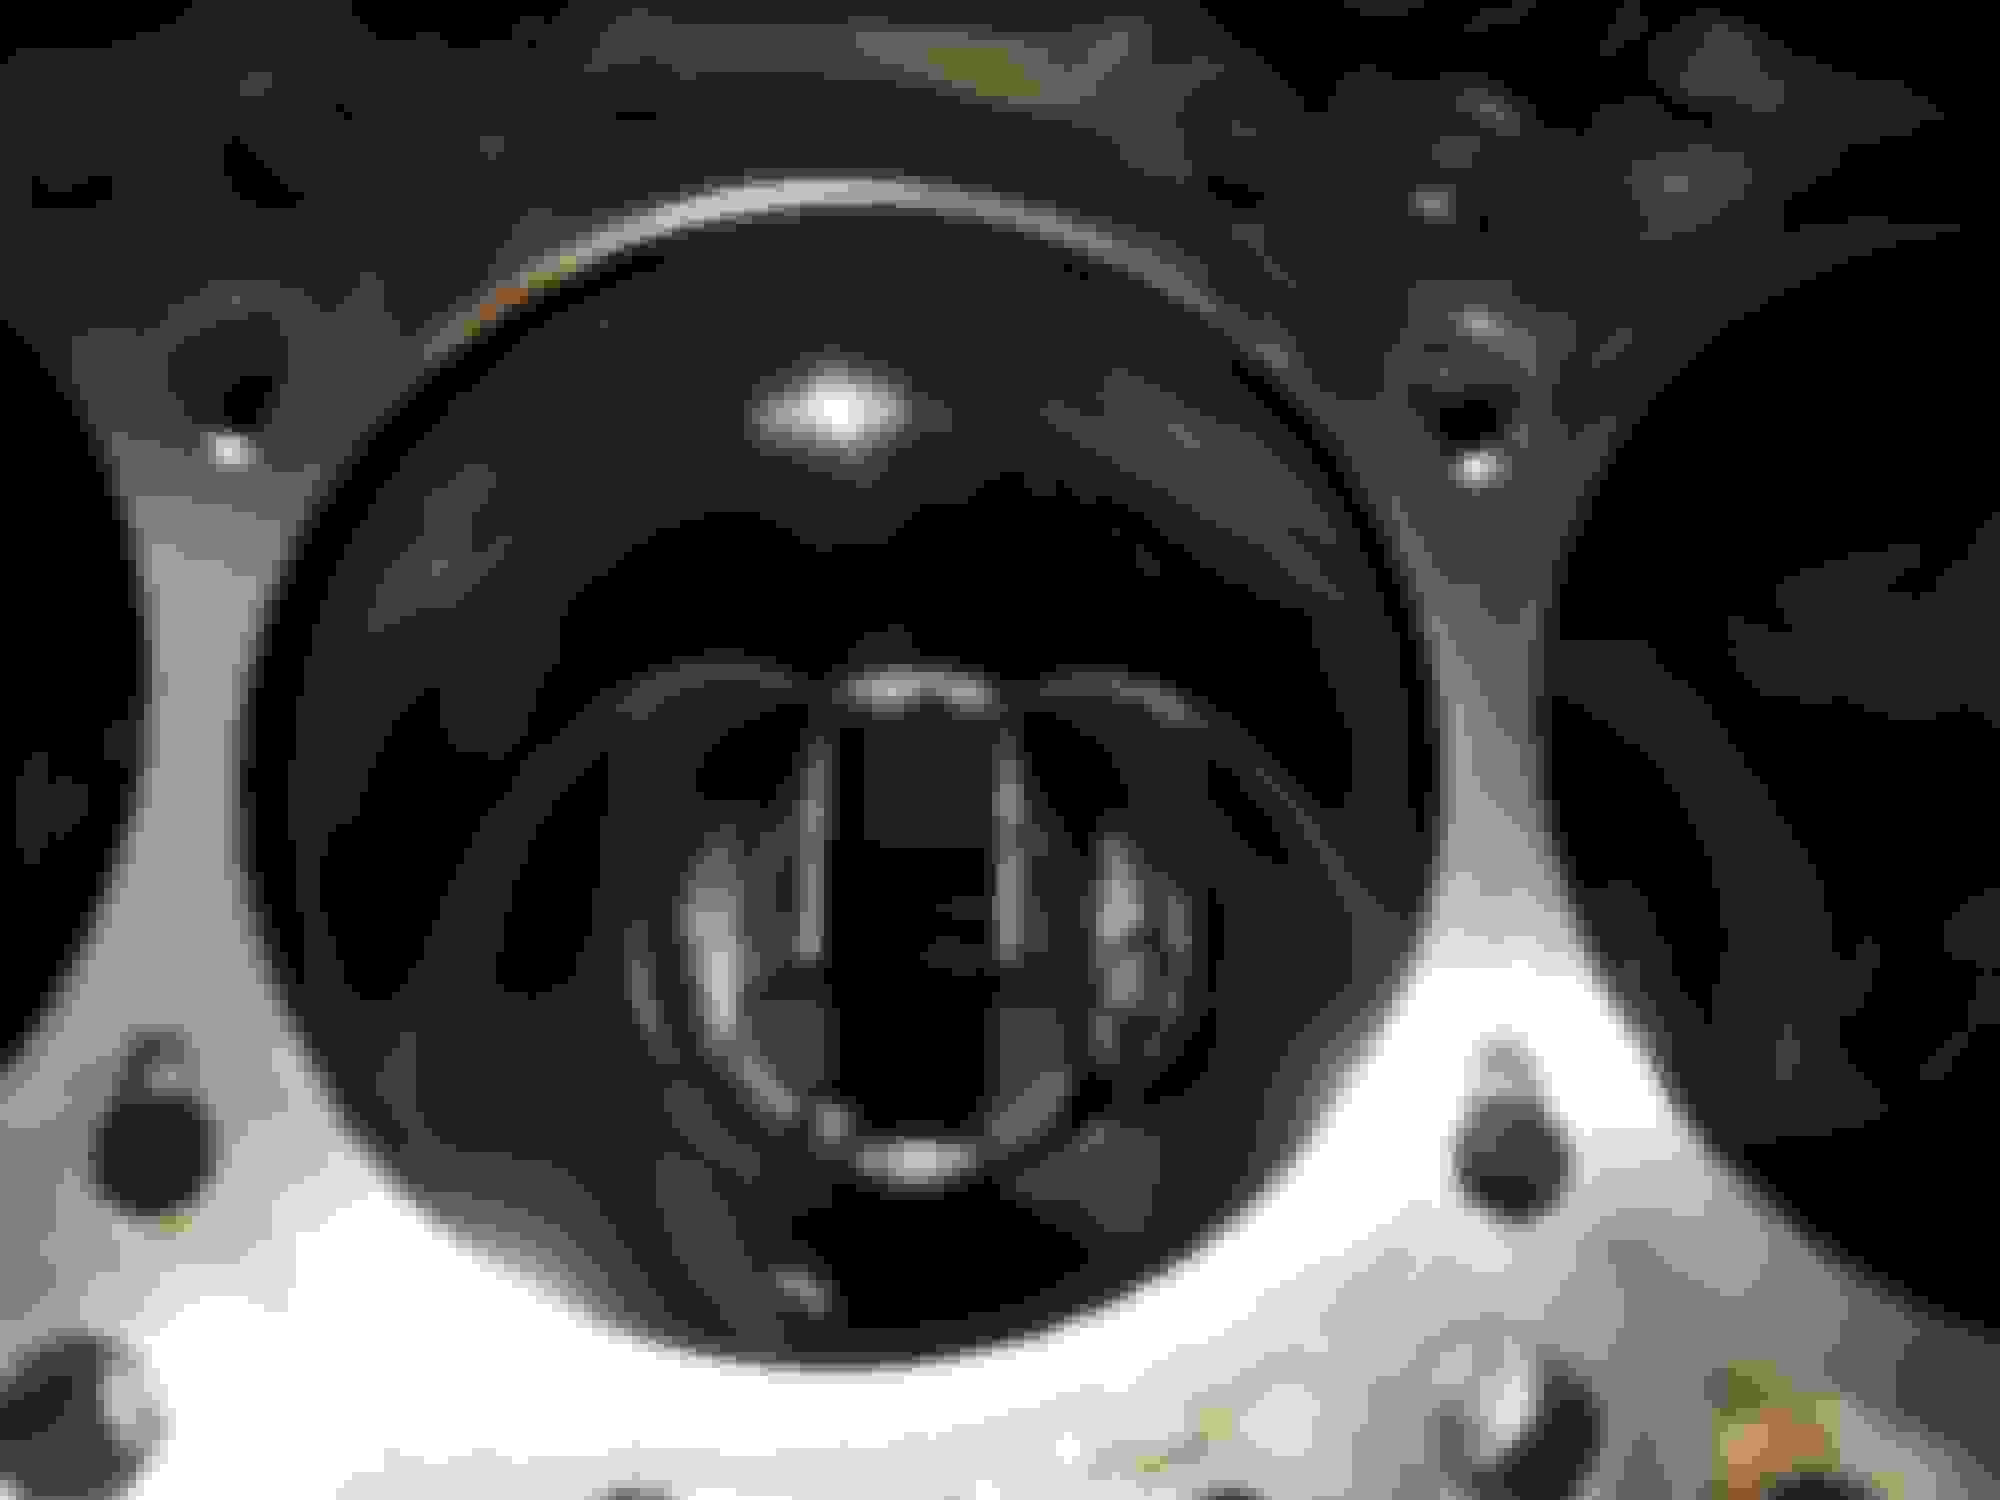
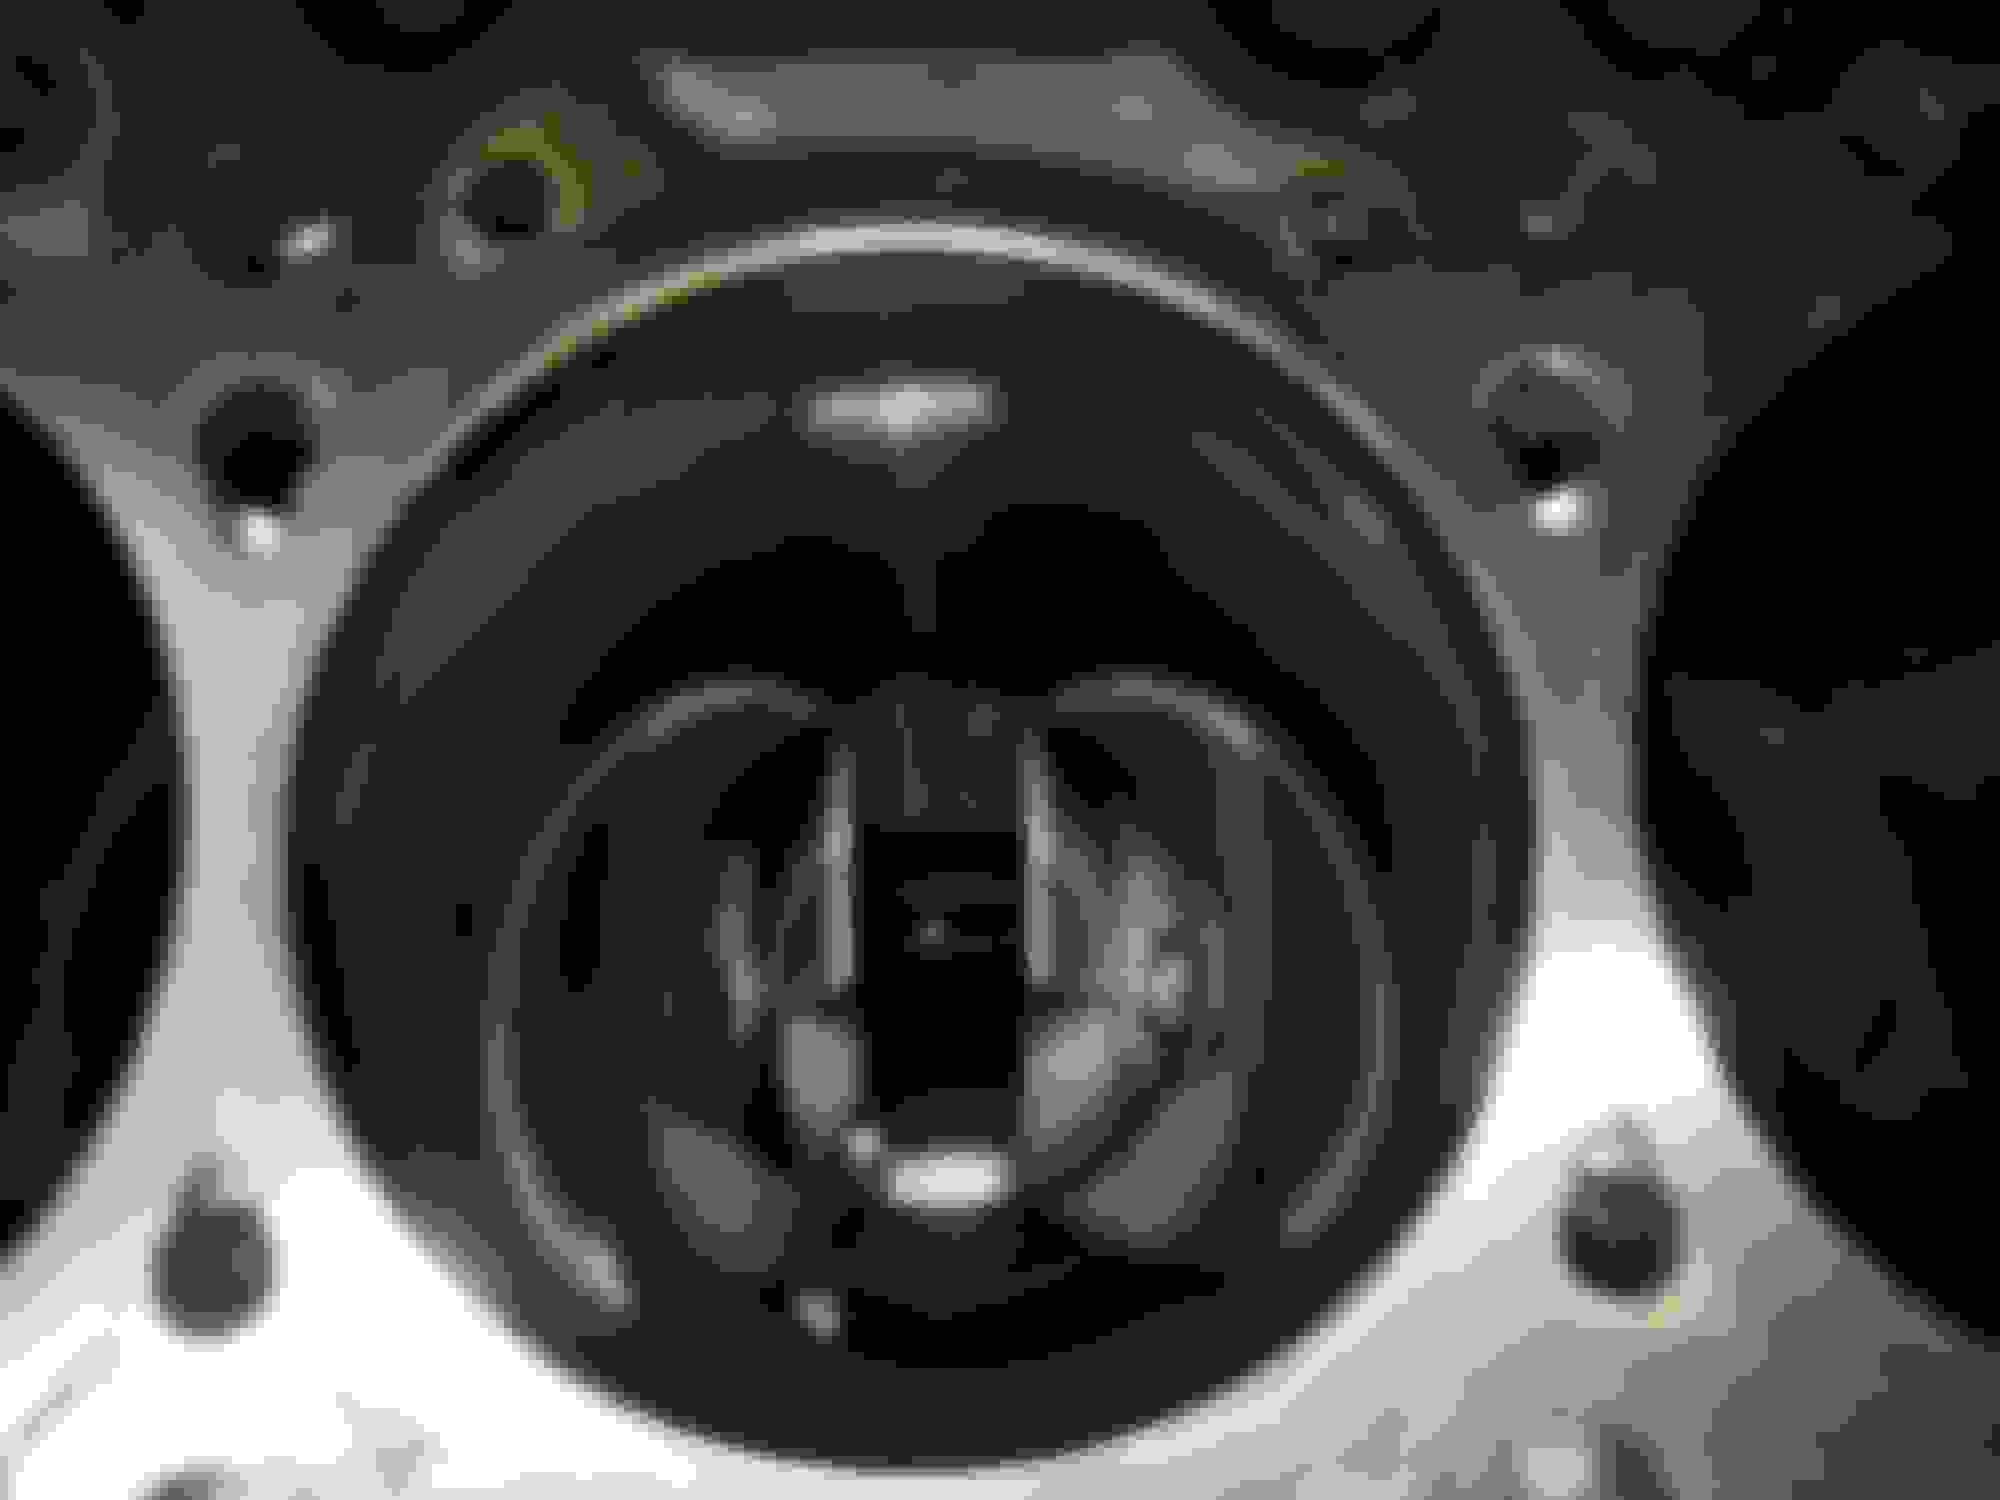
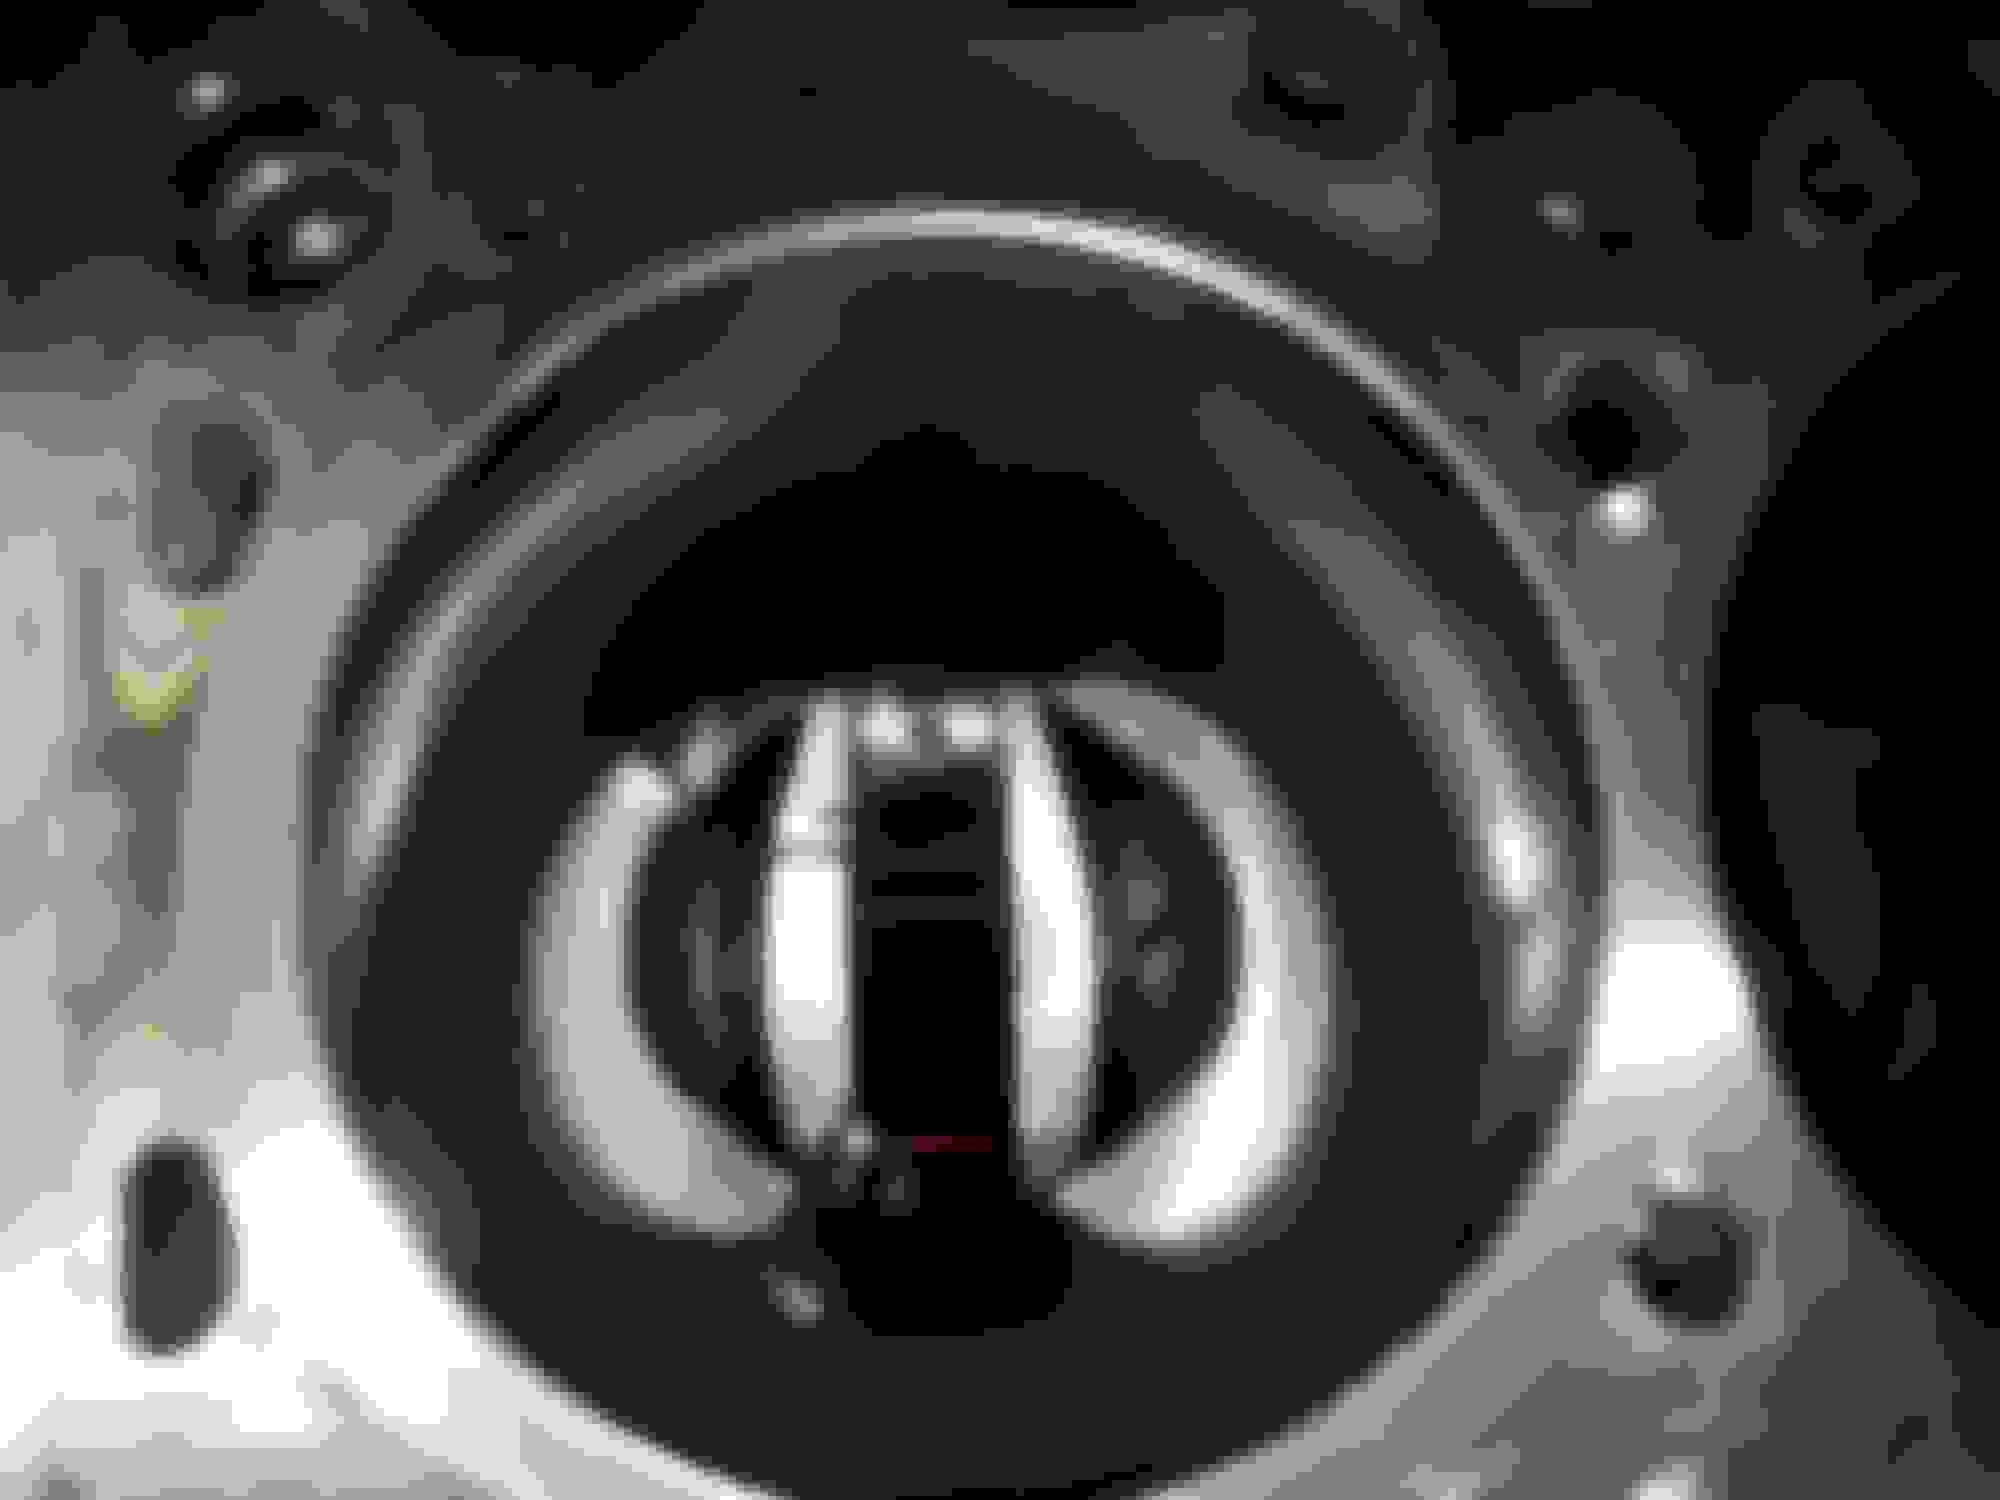
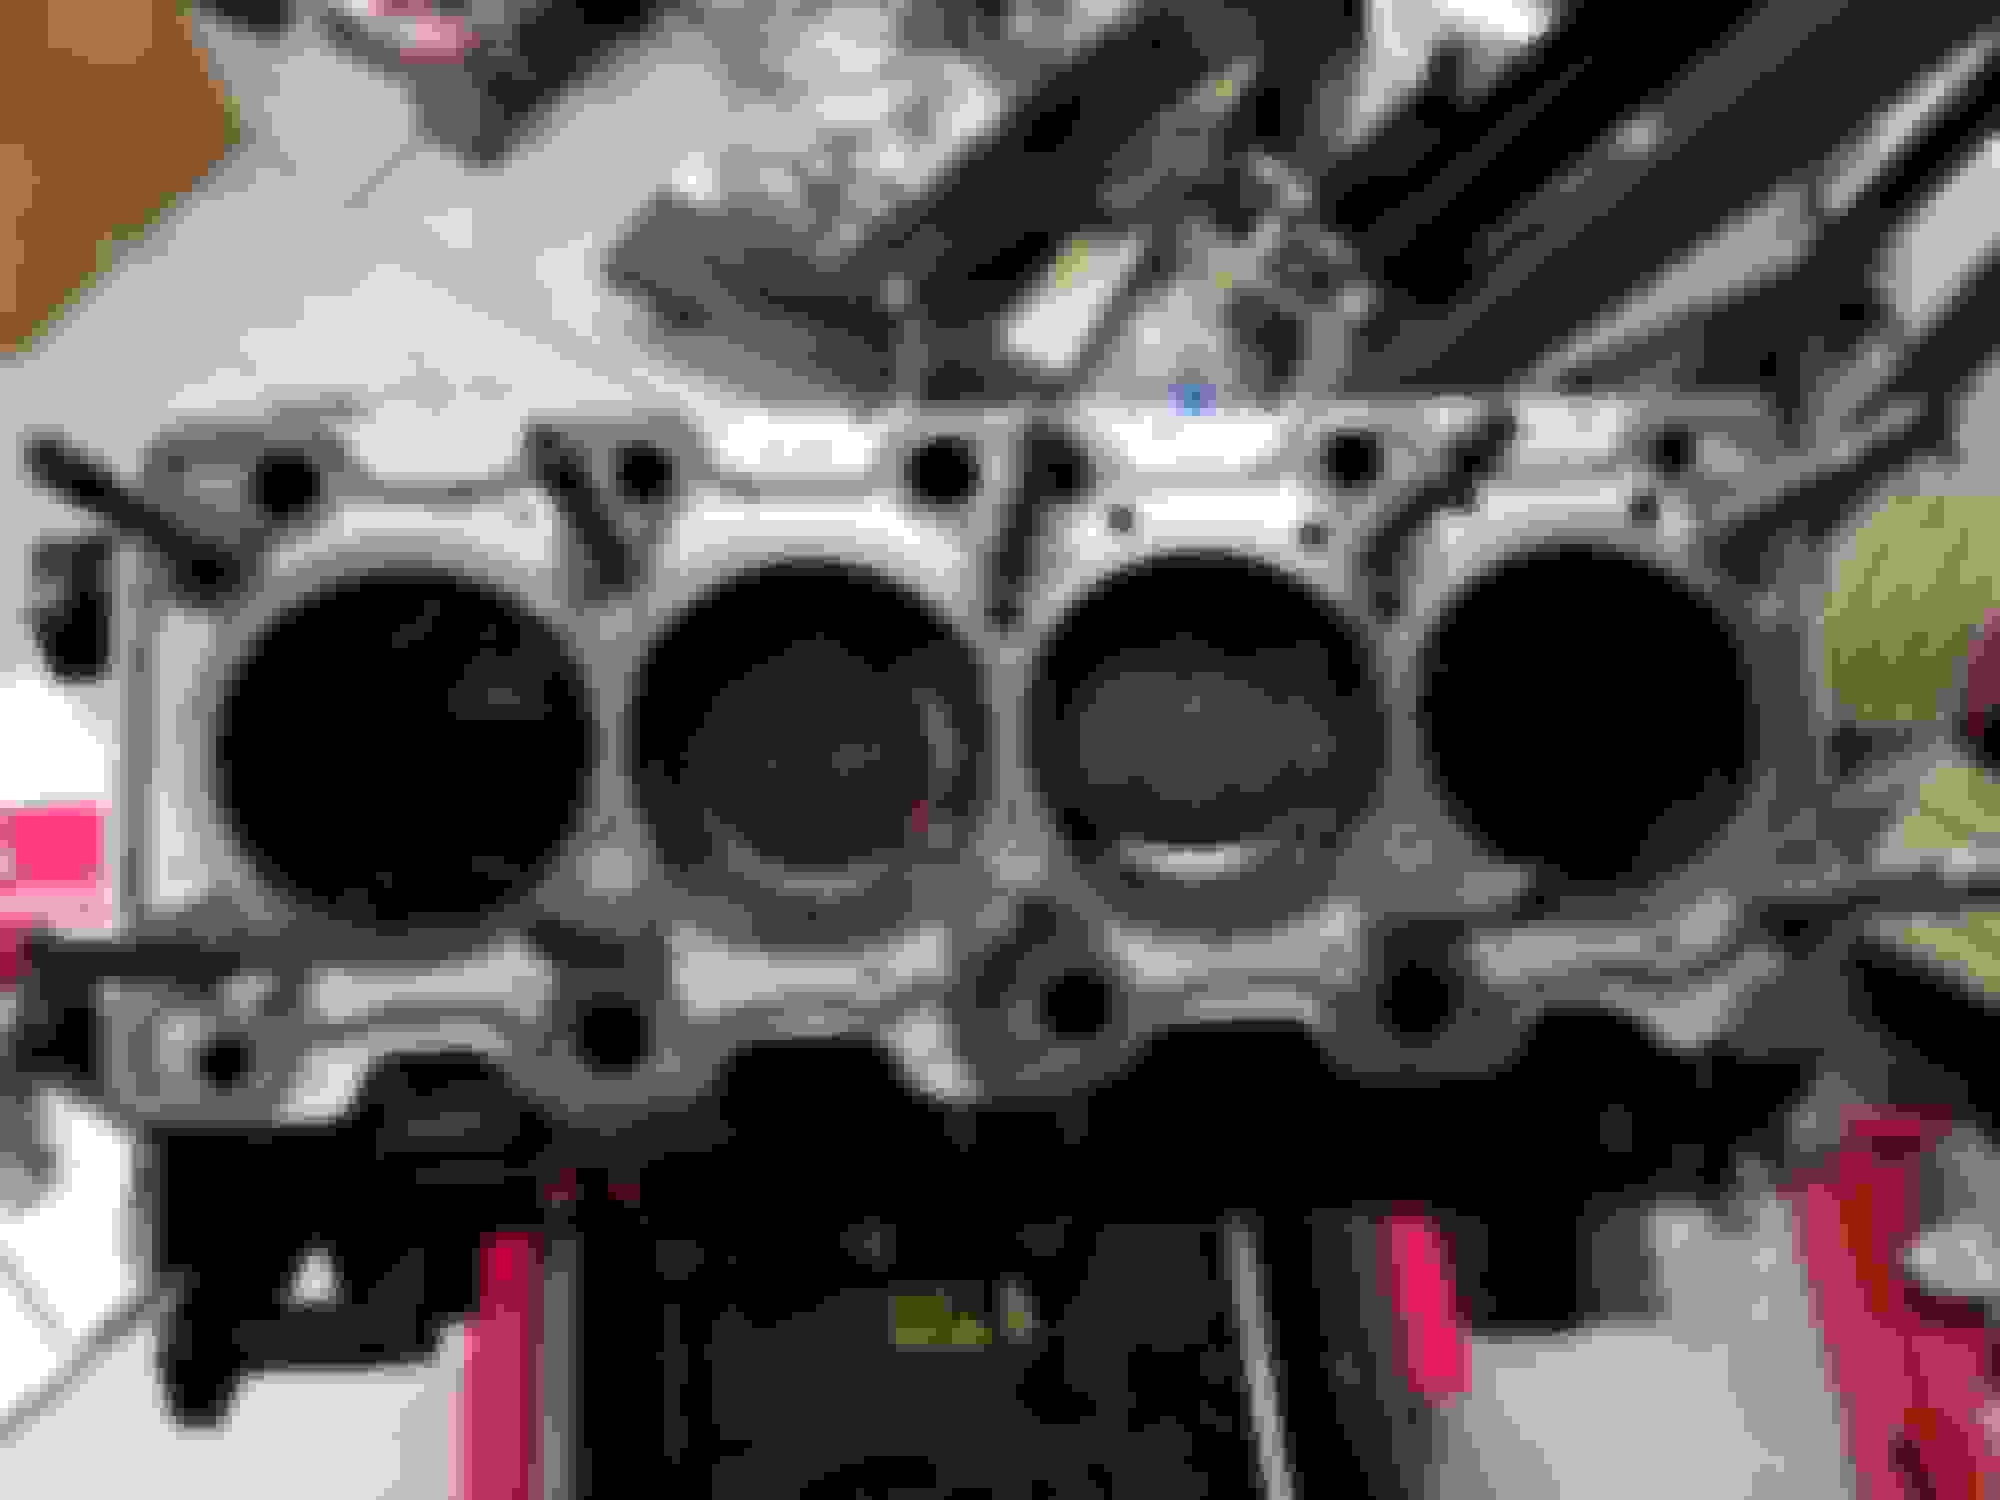
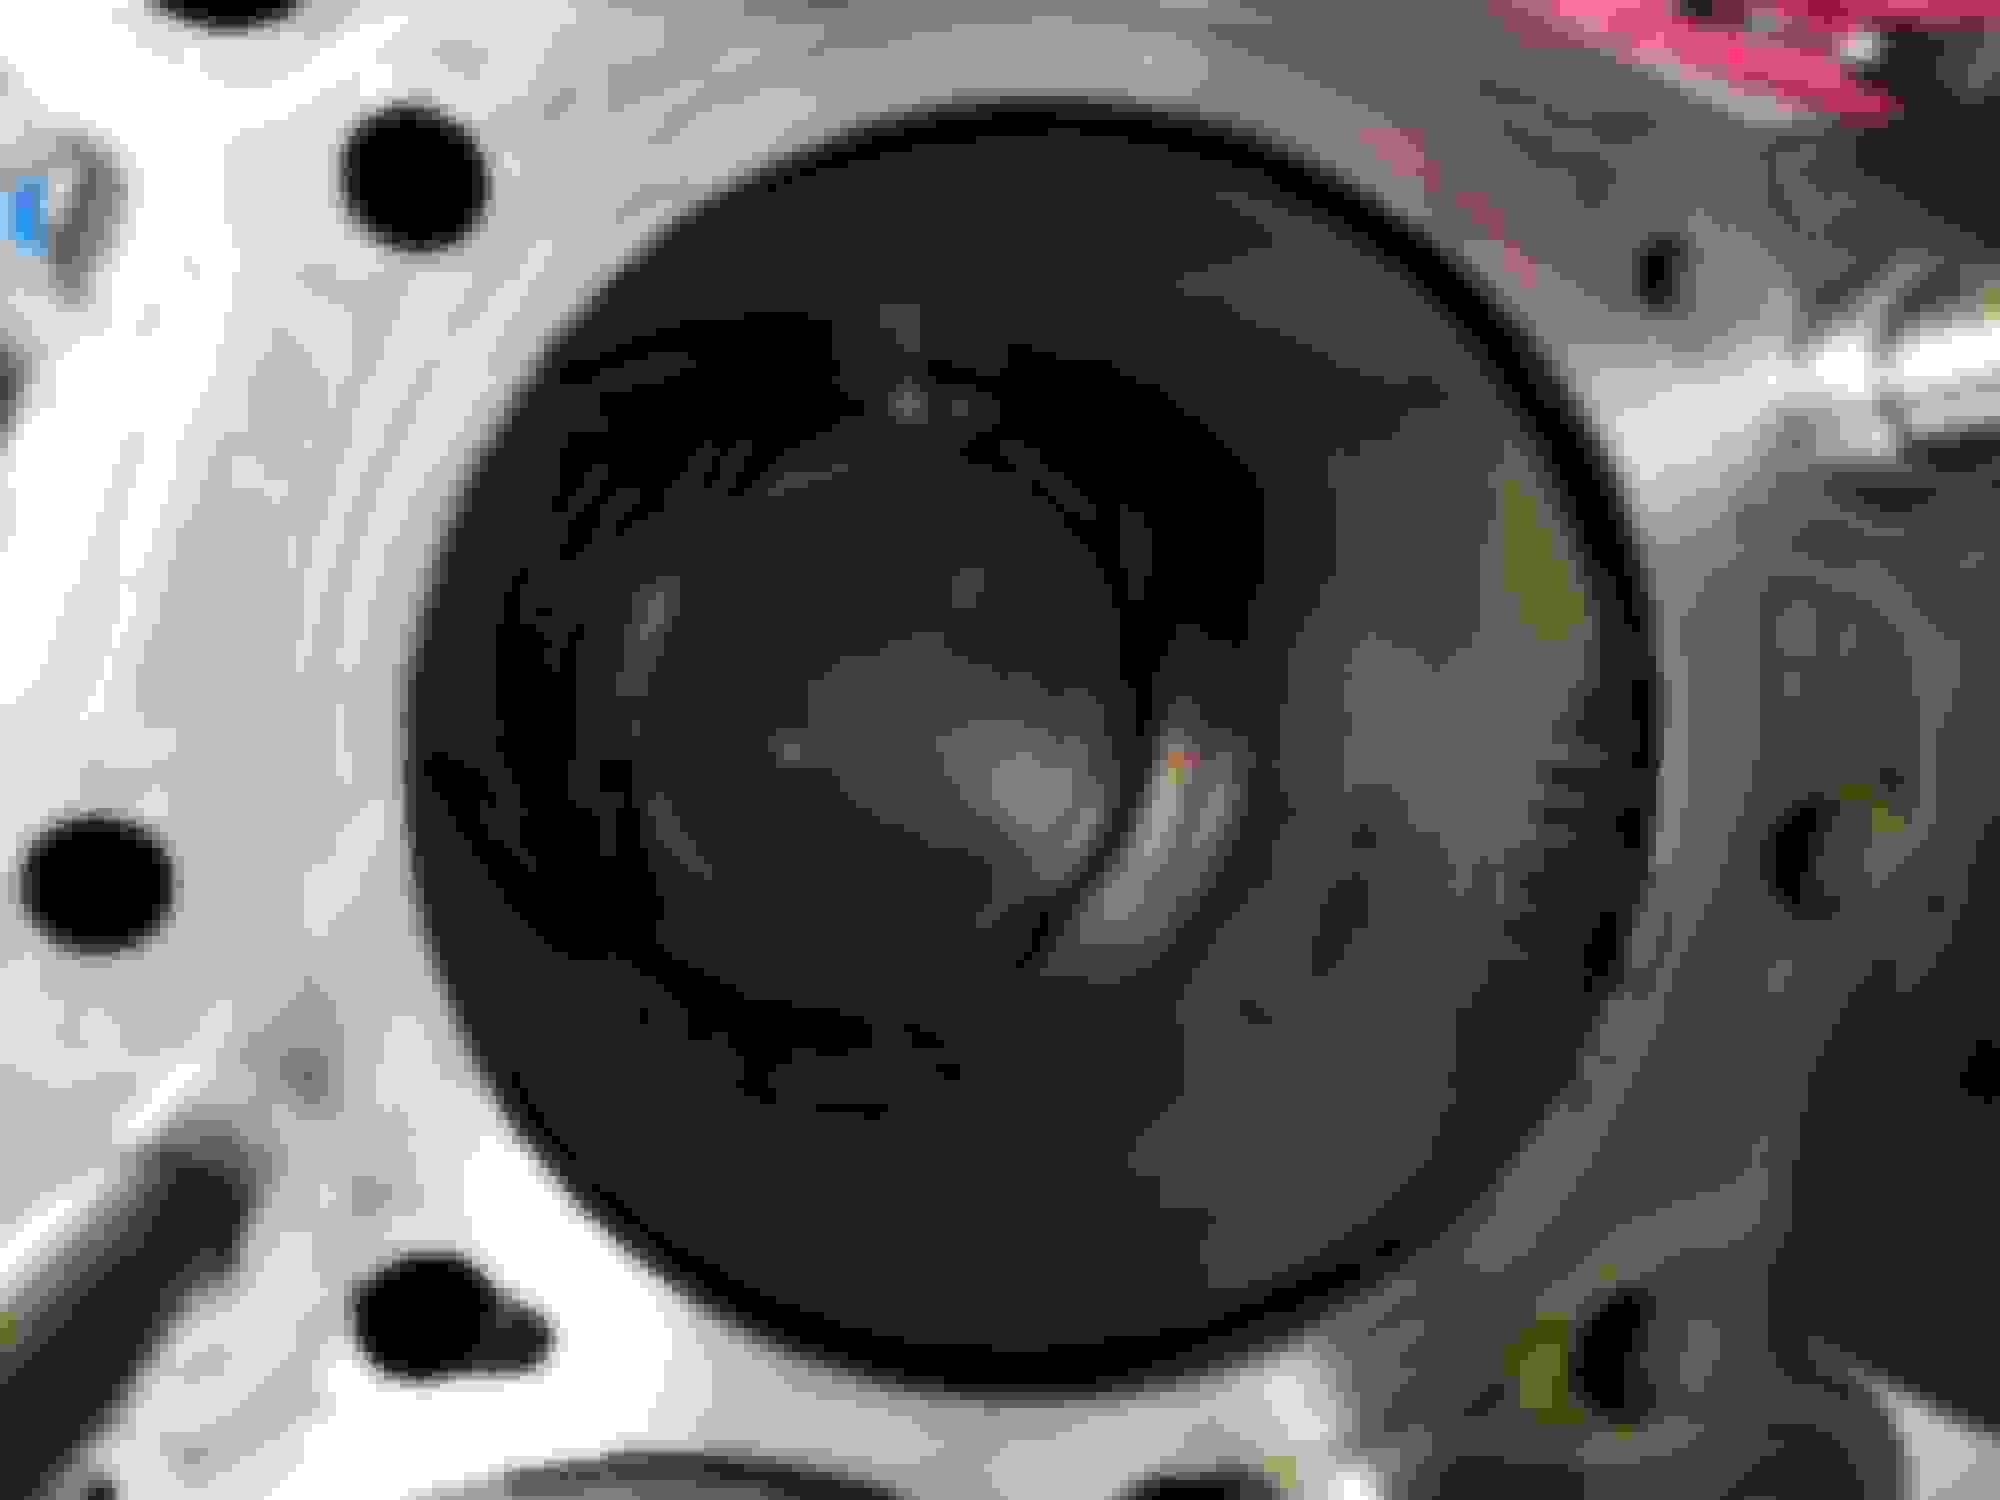
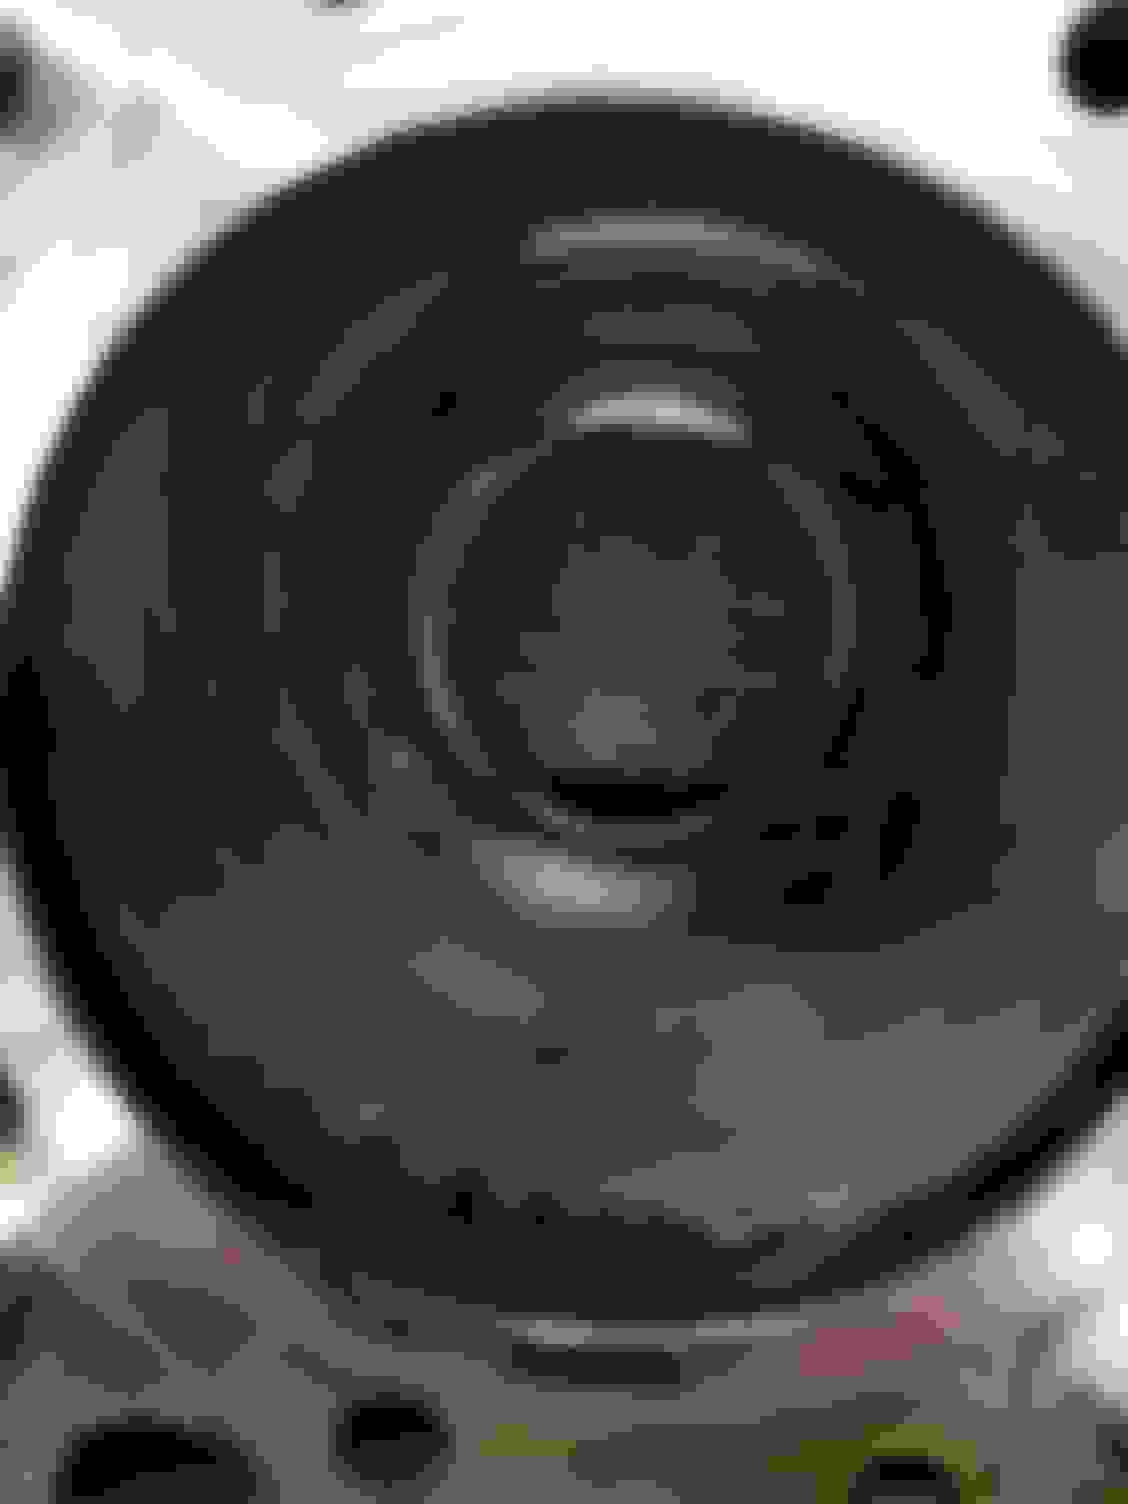
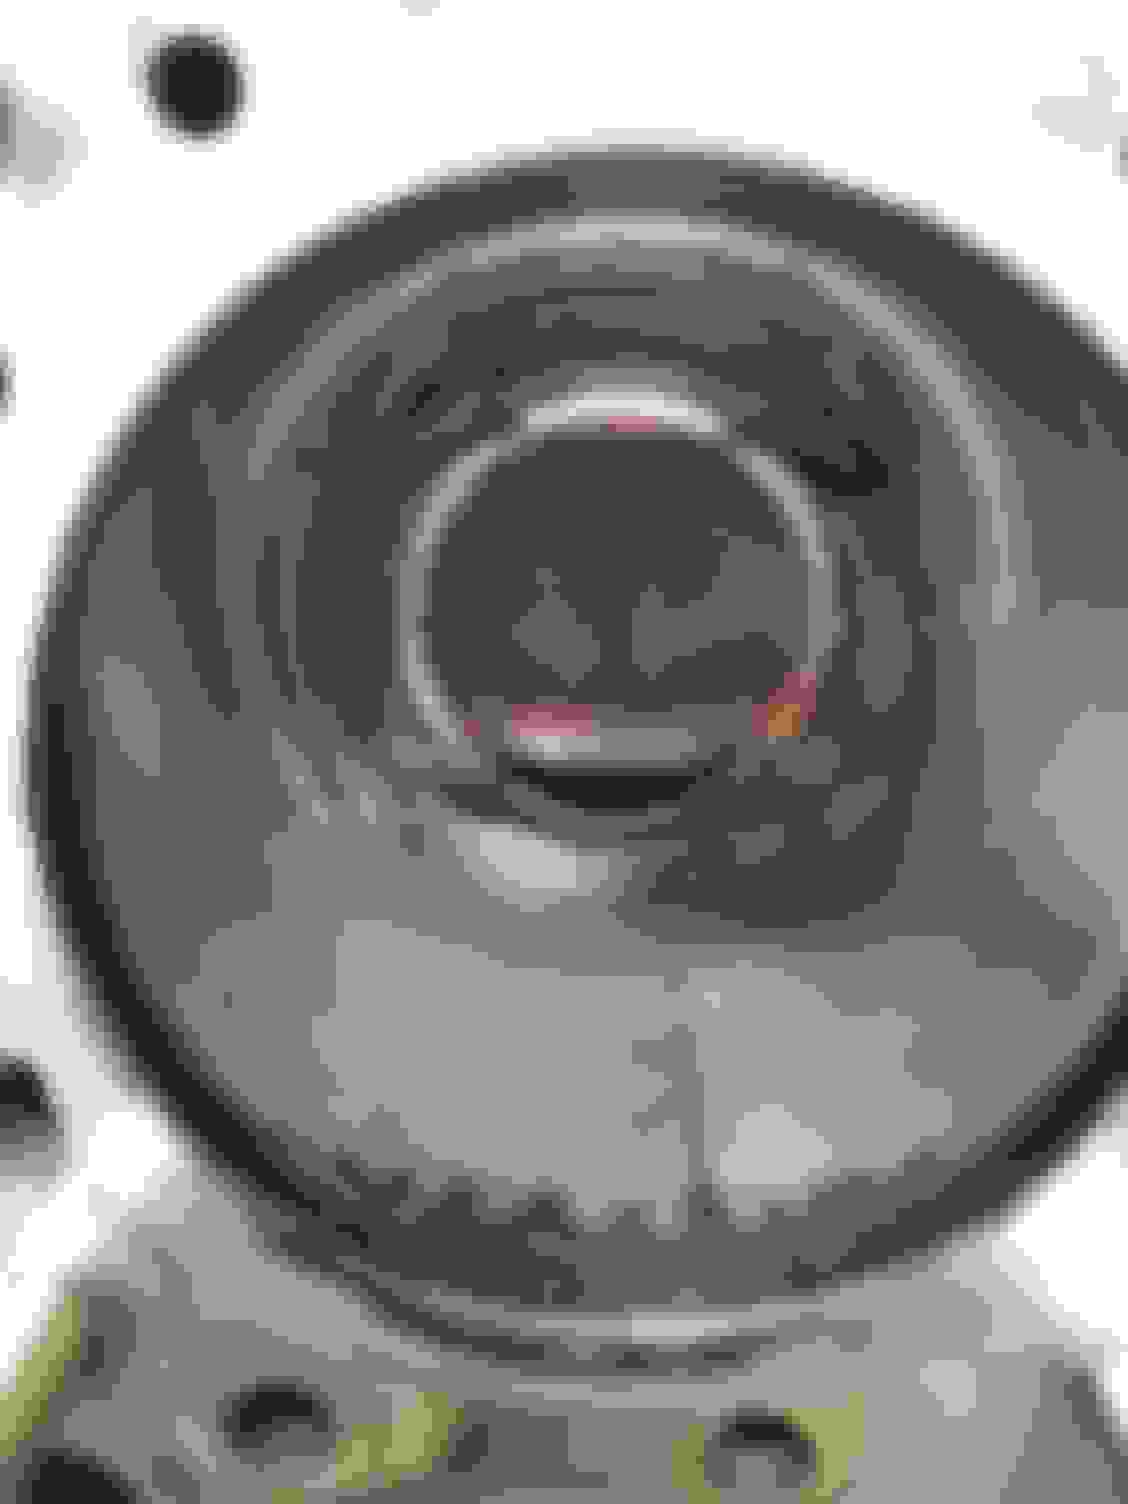
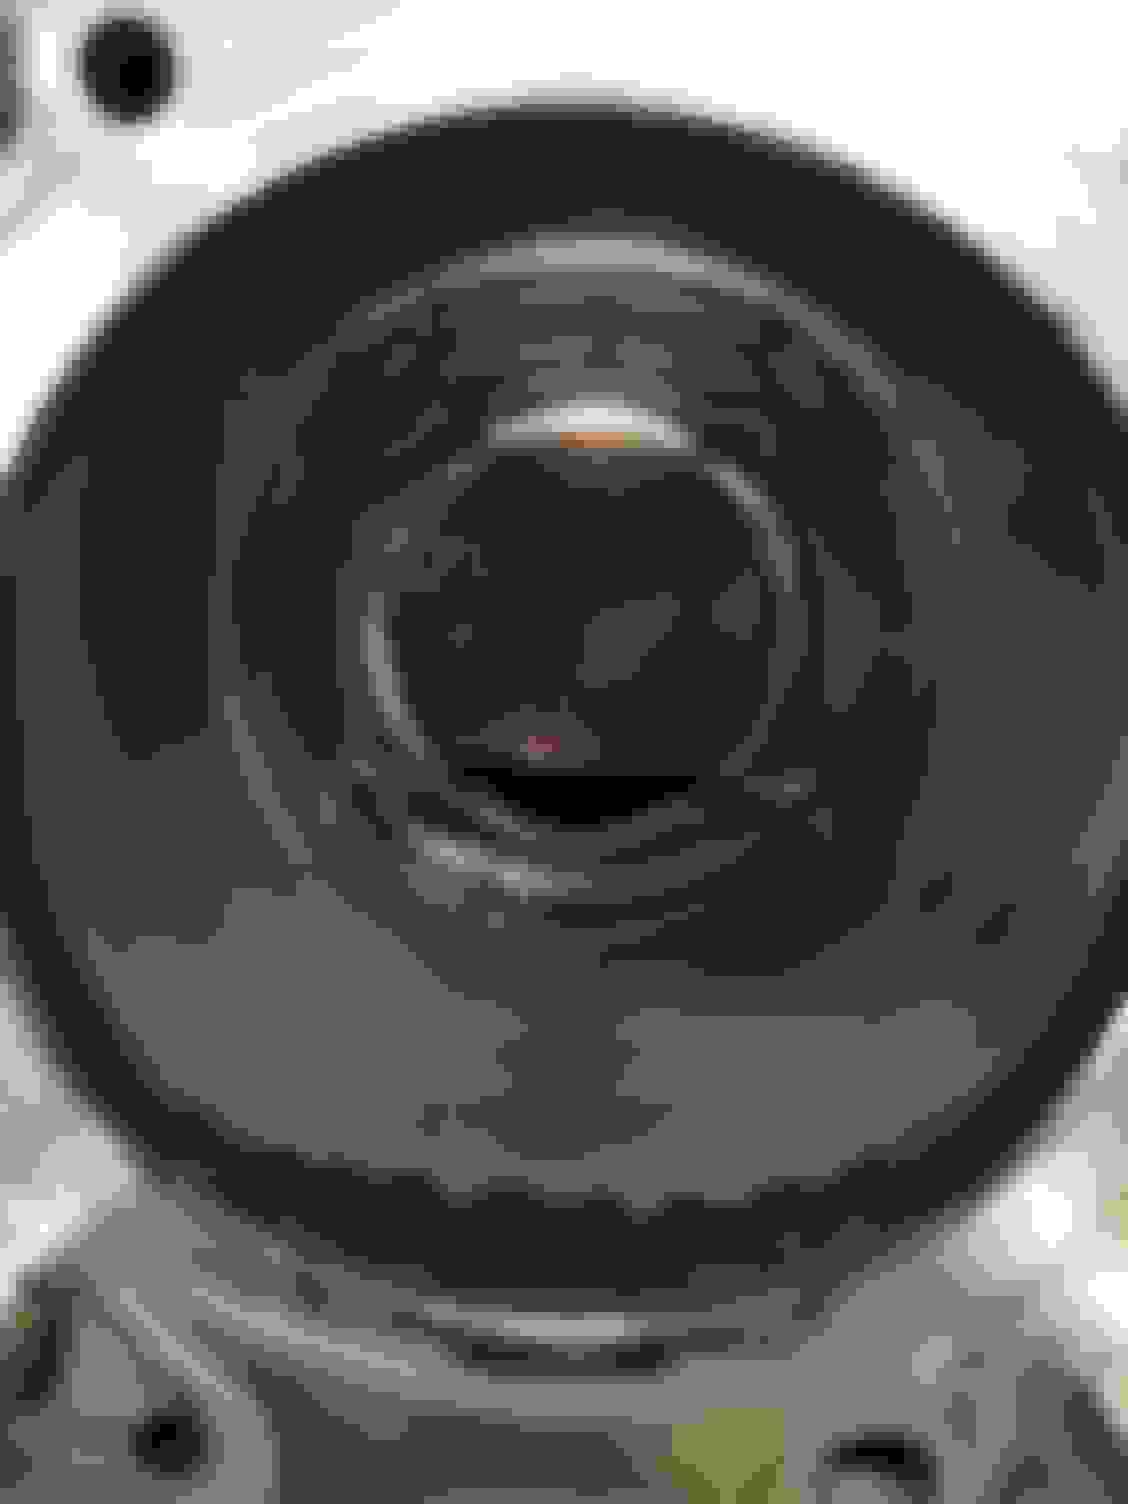
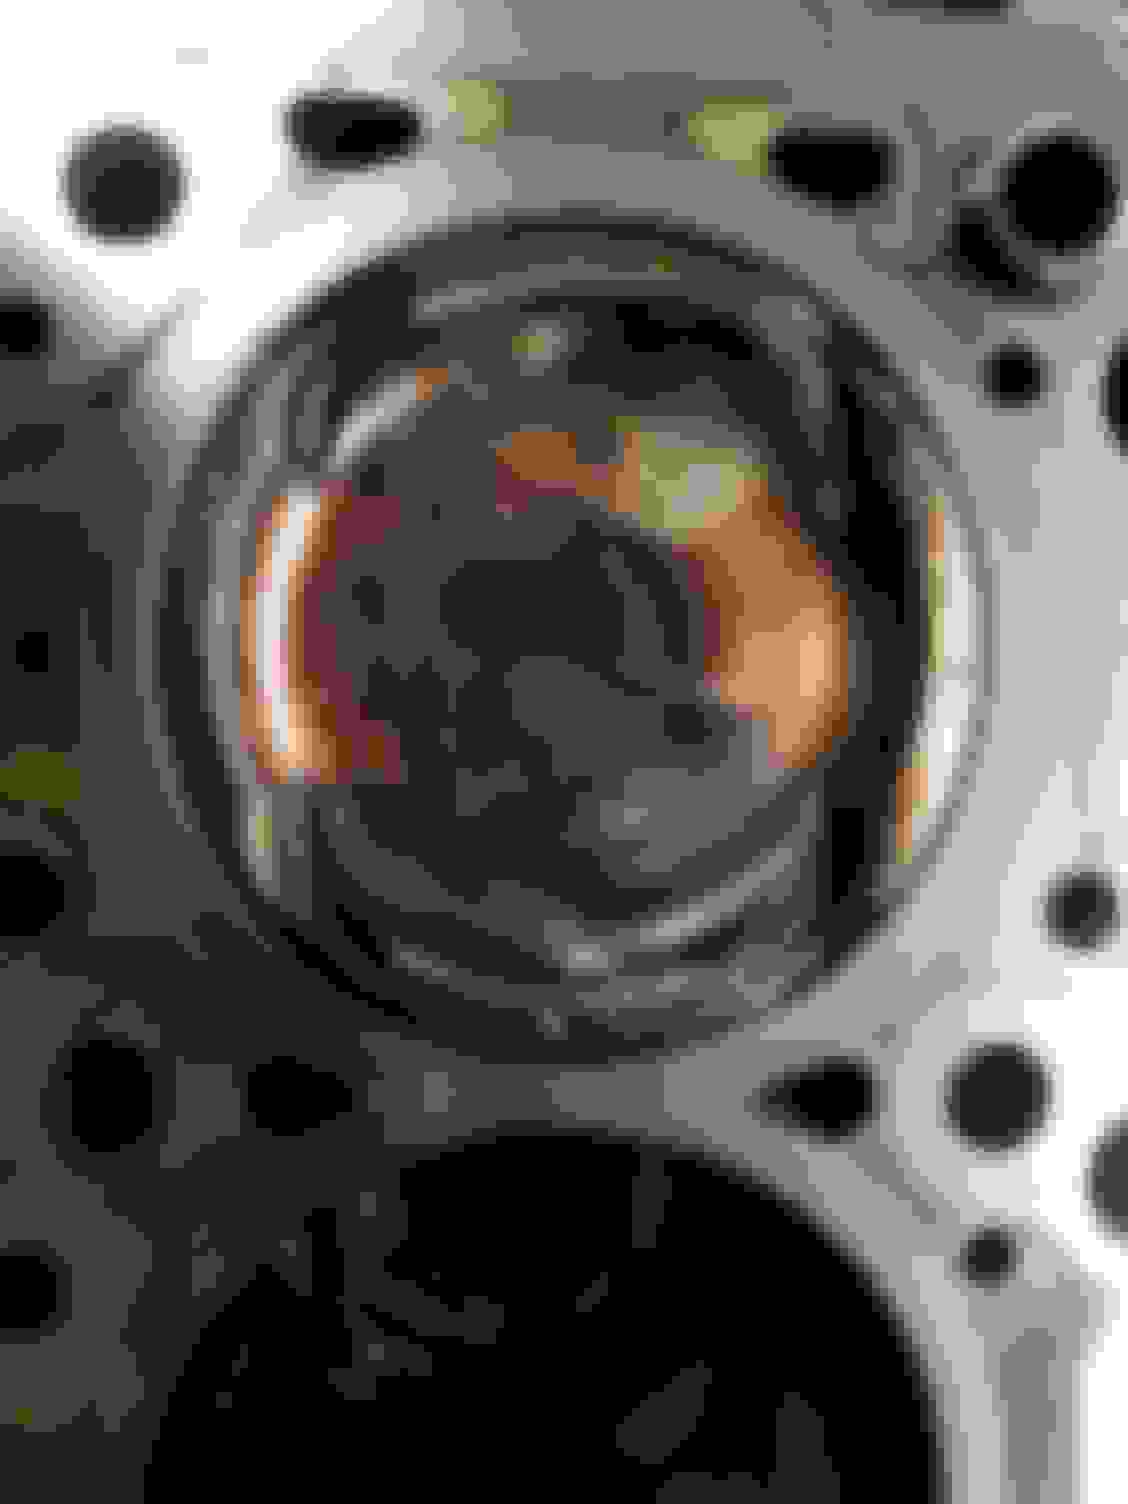
I took the head off and began to inspect the block. I did find some damage. It looks like the #4 piston took a hit at some point. It could have been a large piece of carbon or foreign material, but there is a corresponding mark on the cylinder head. There is also a light score on the opposite side of the #4 cylinder from where I found the mark. I think it came from the damn spark plug insulator breaking off. I don't see any other damage as of yet, just thick carbon over the pistons for now.
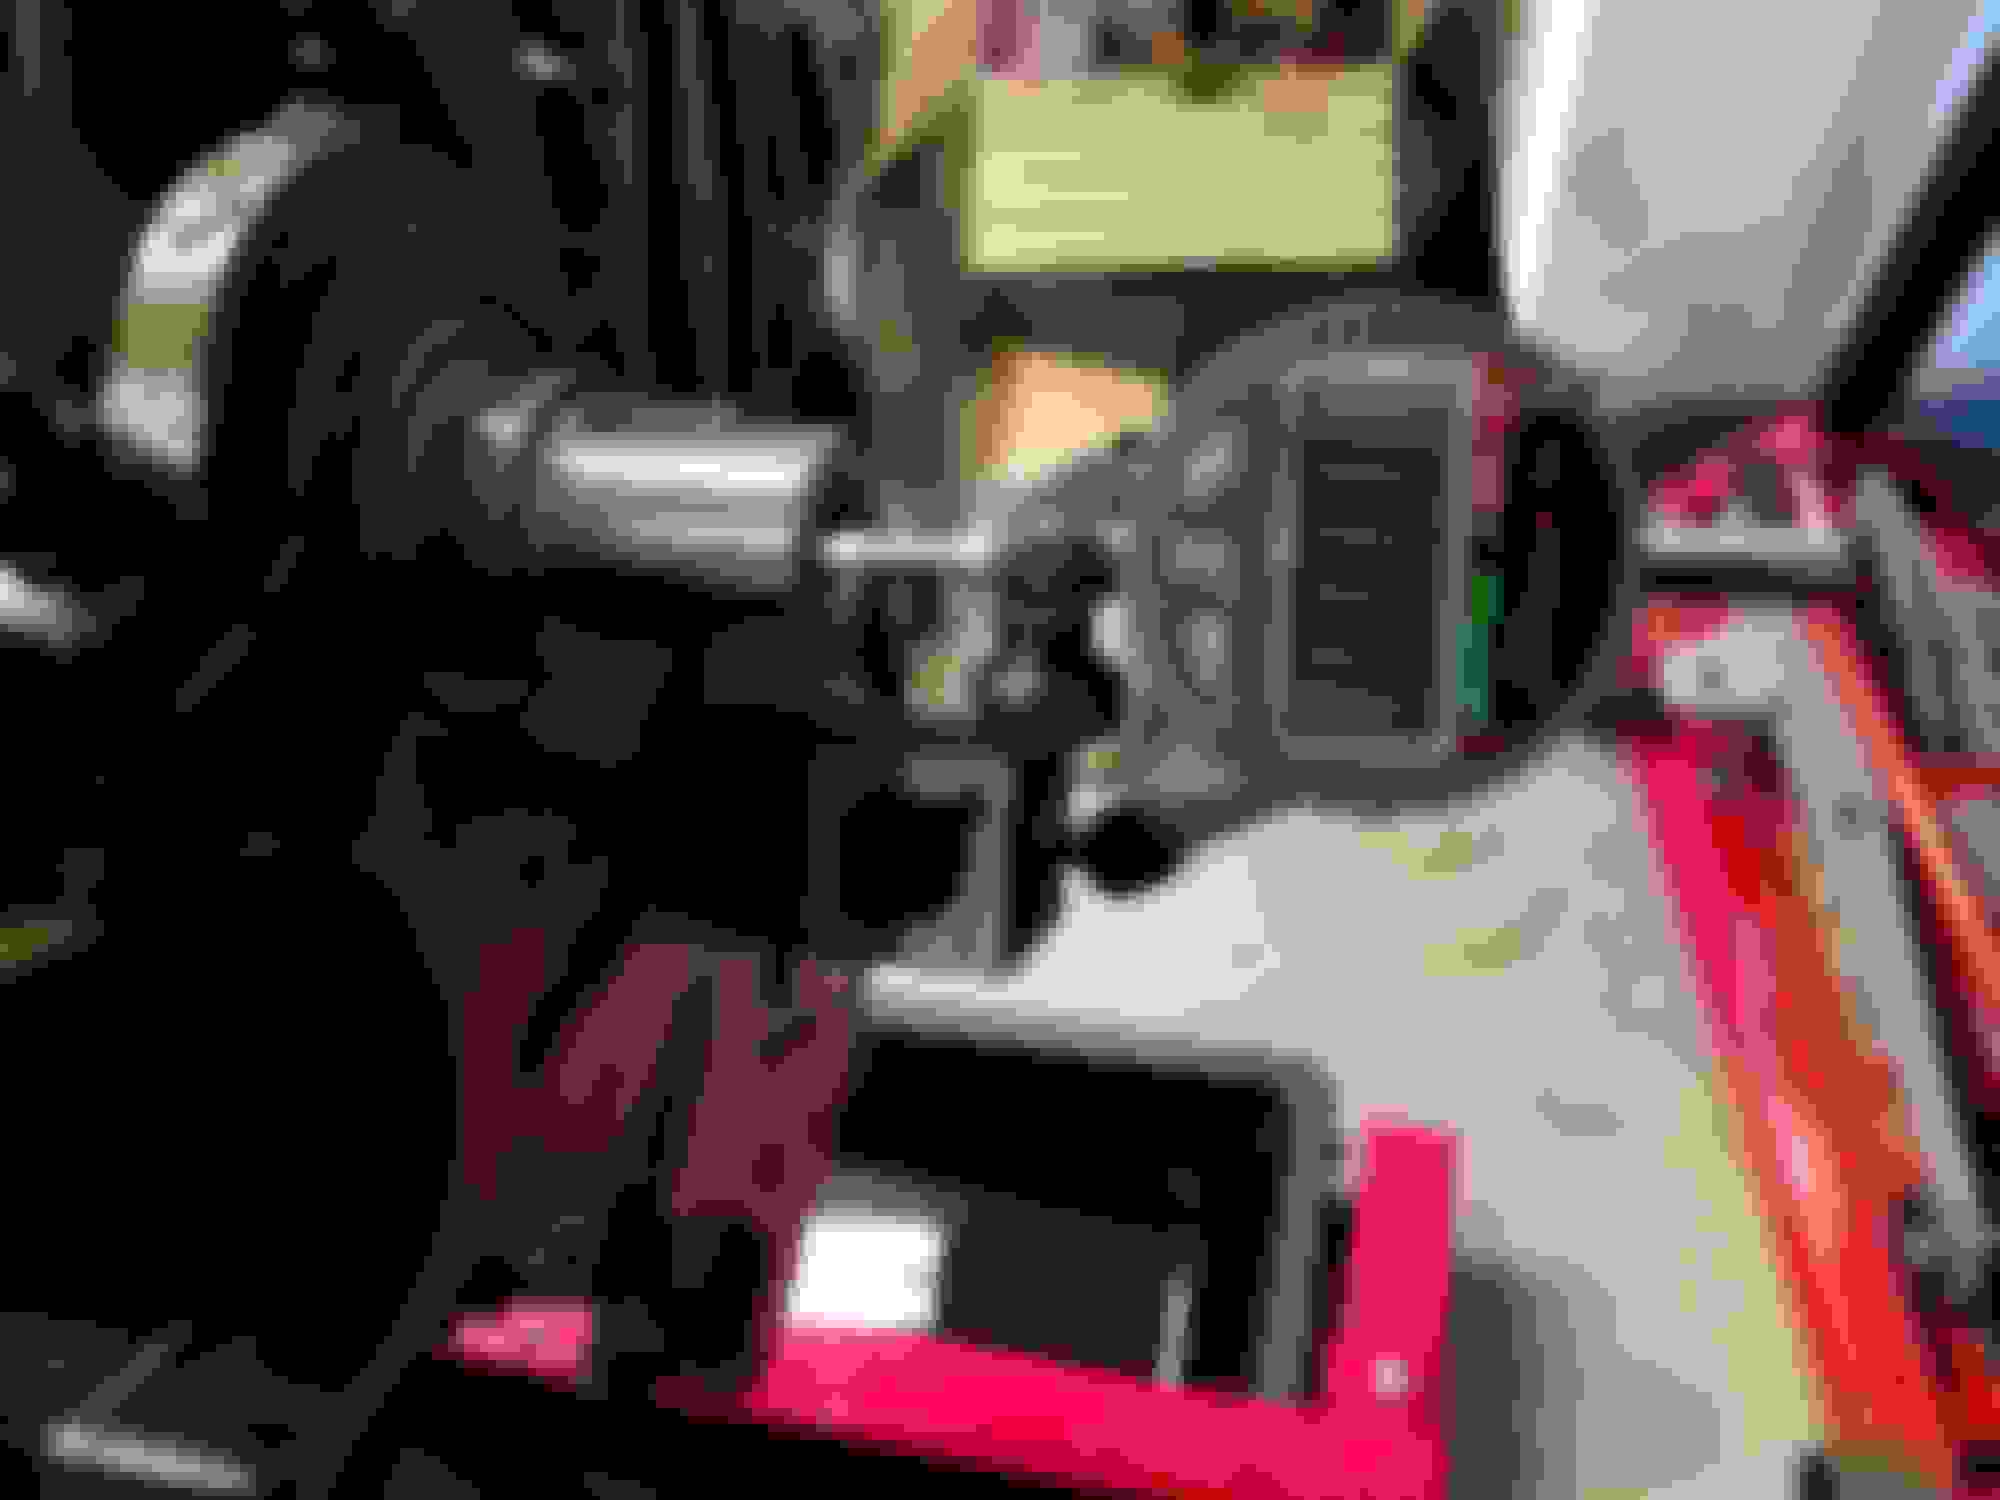
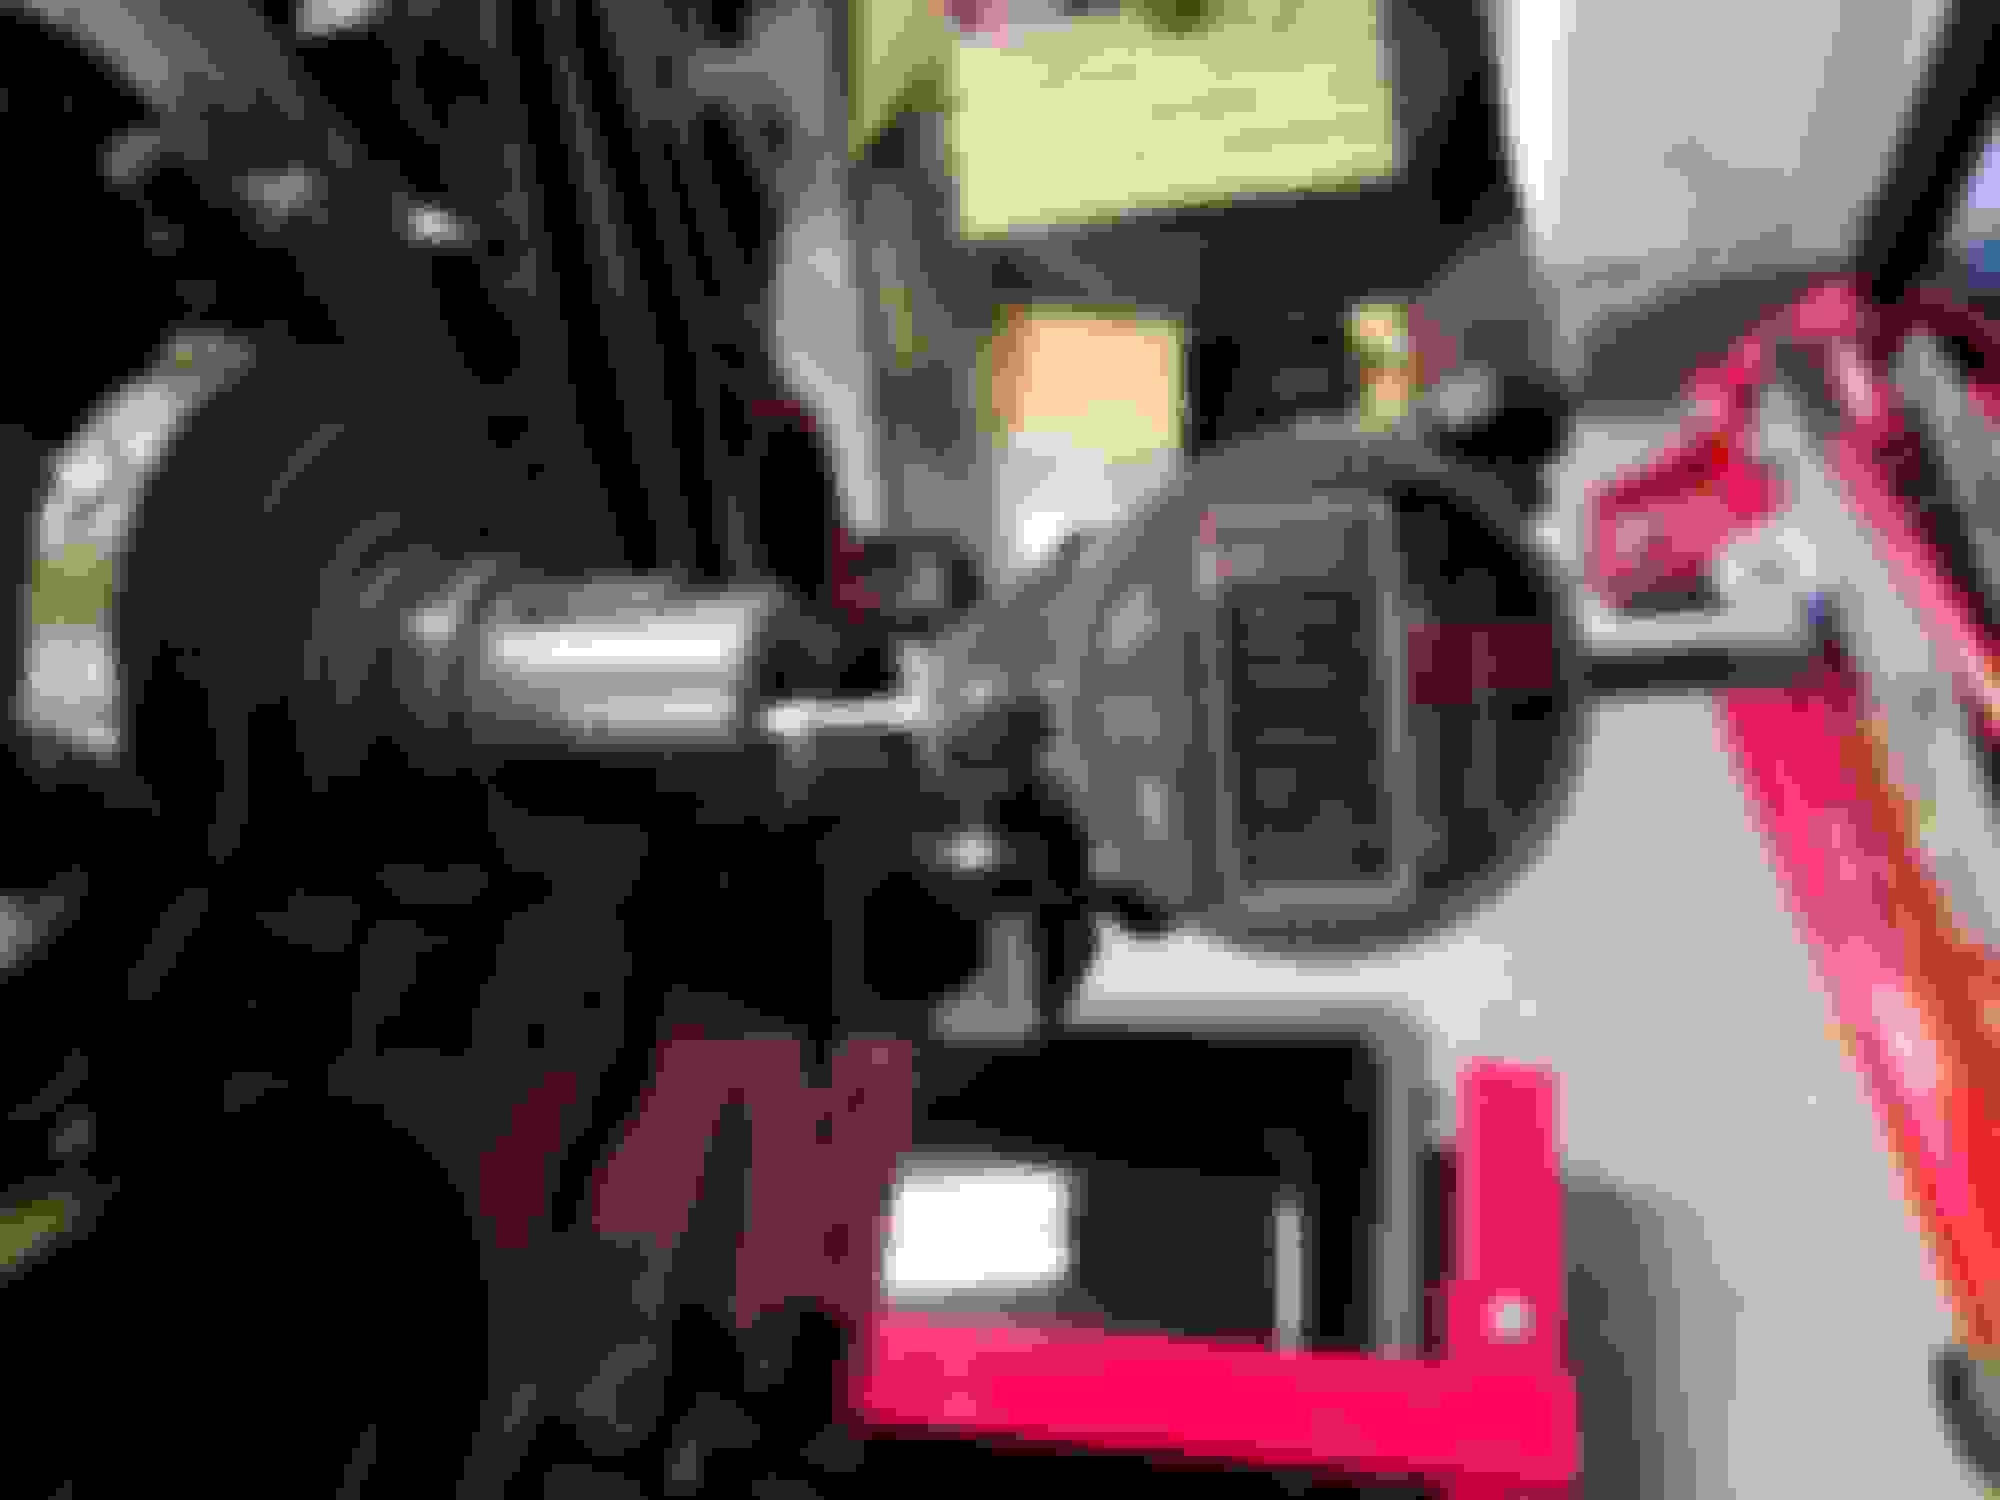
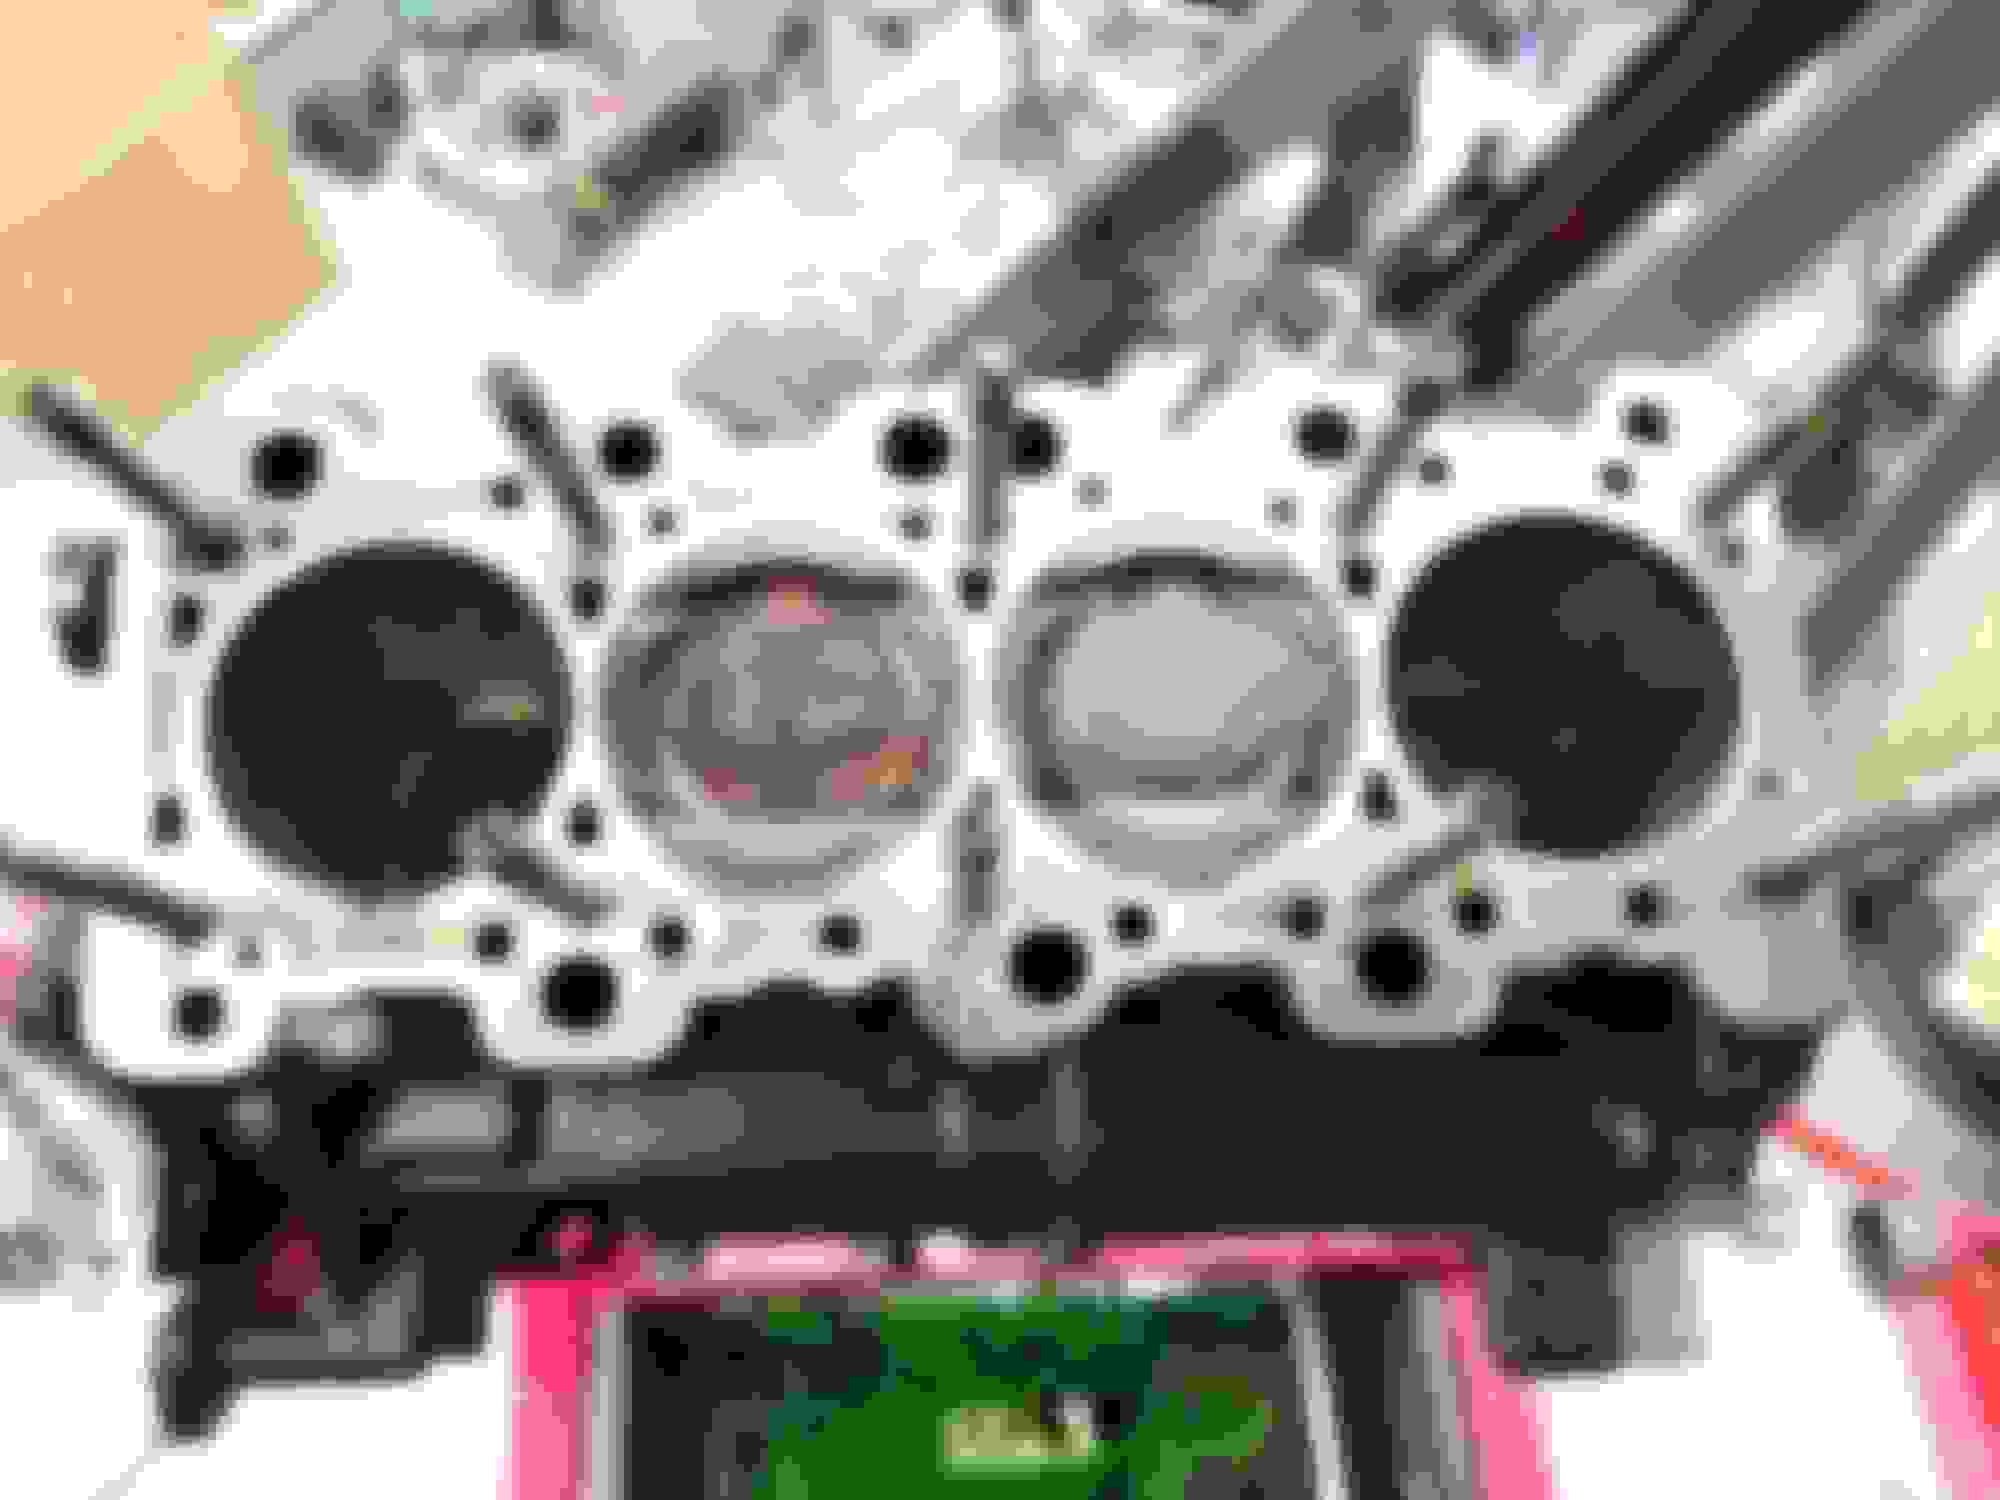
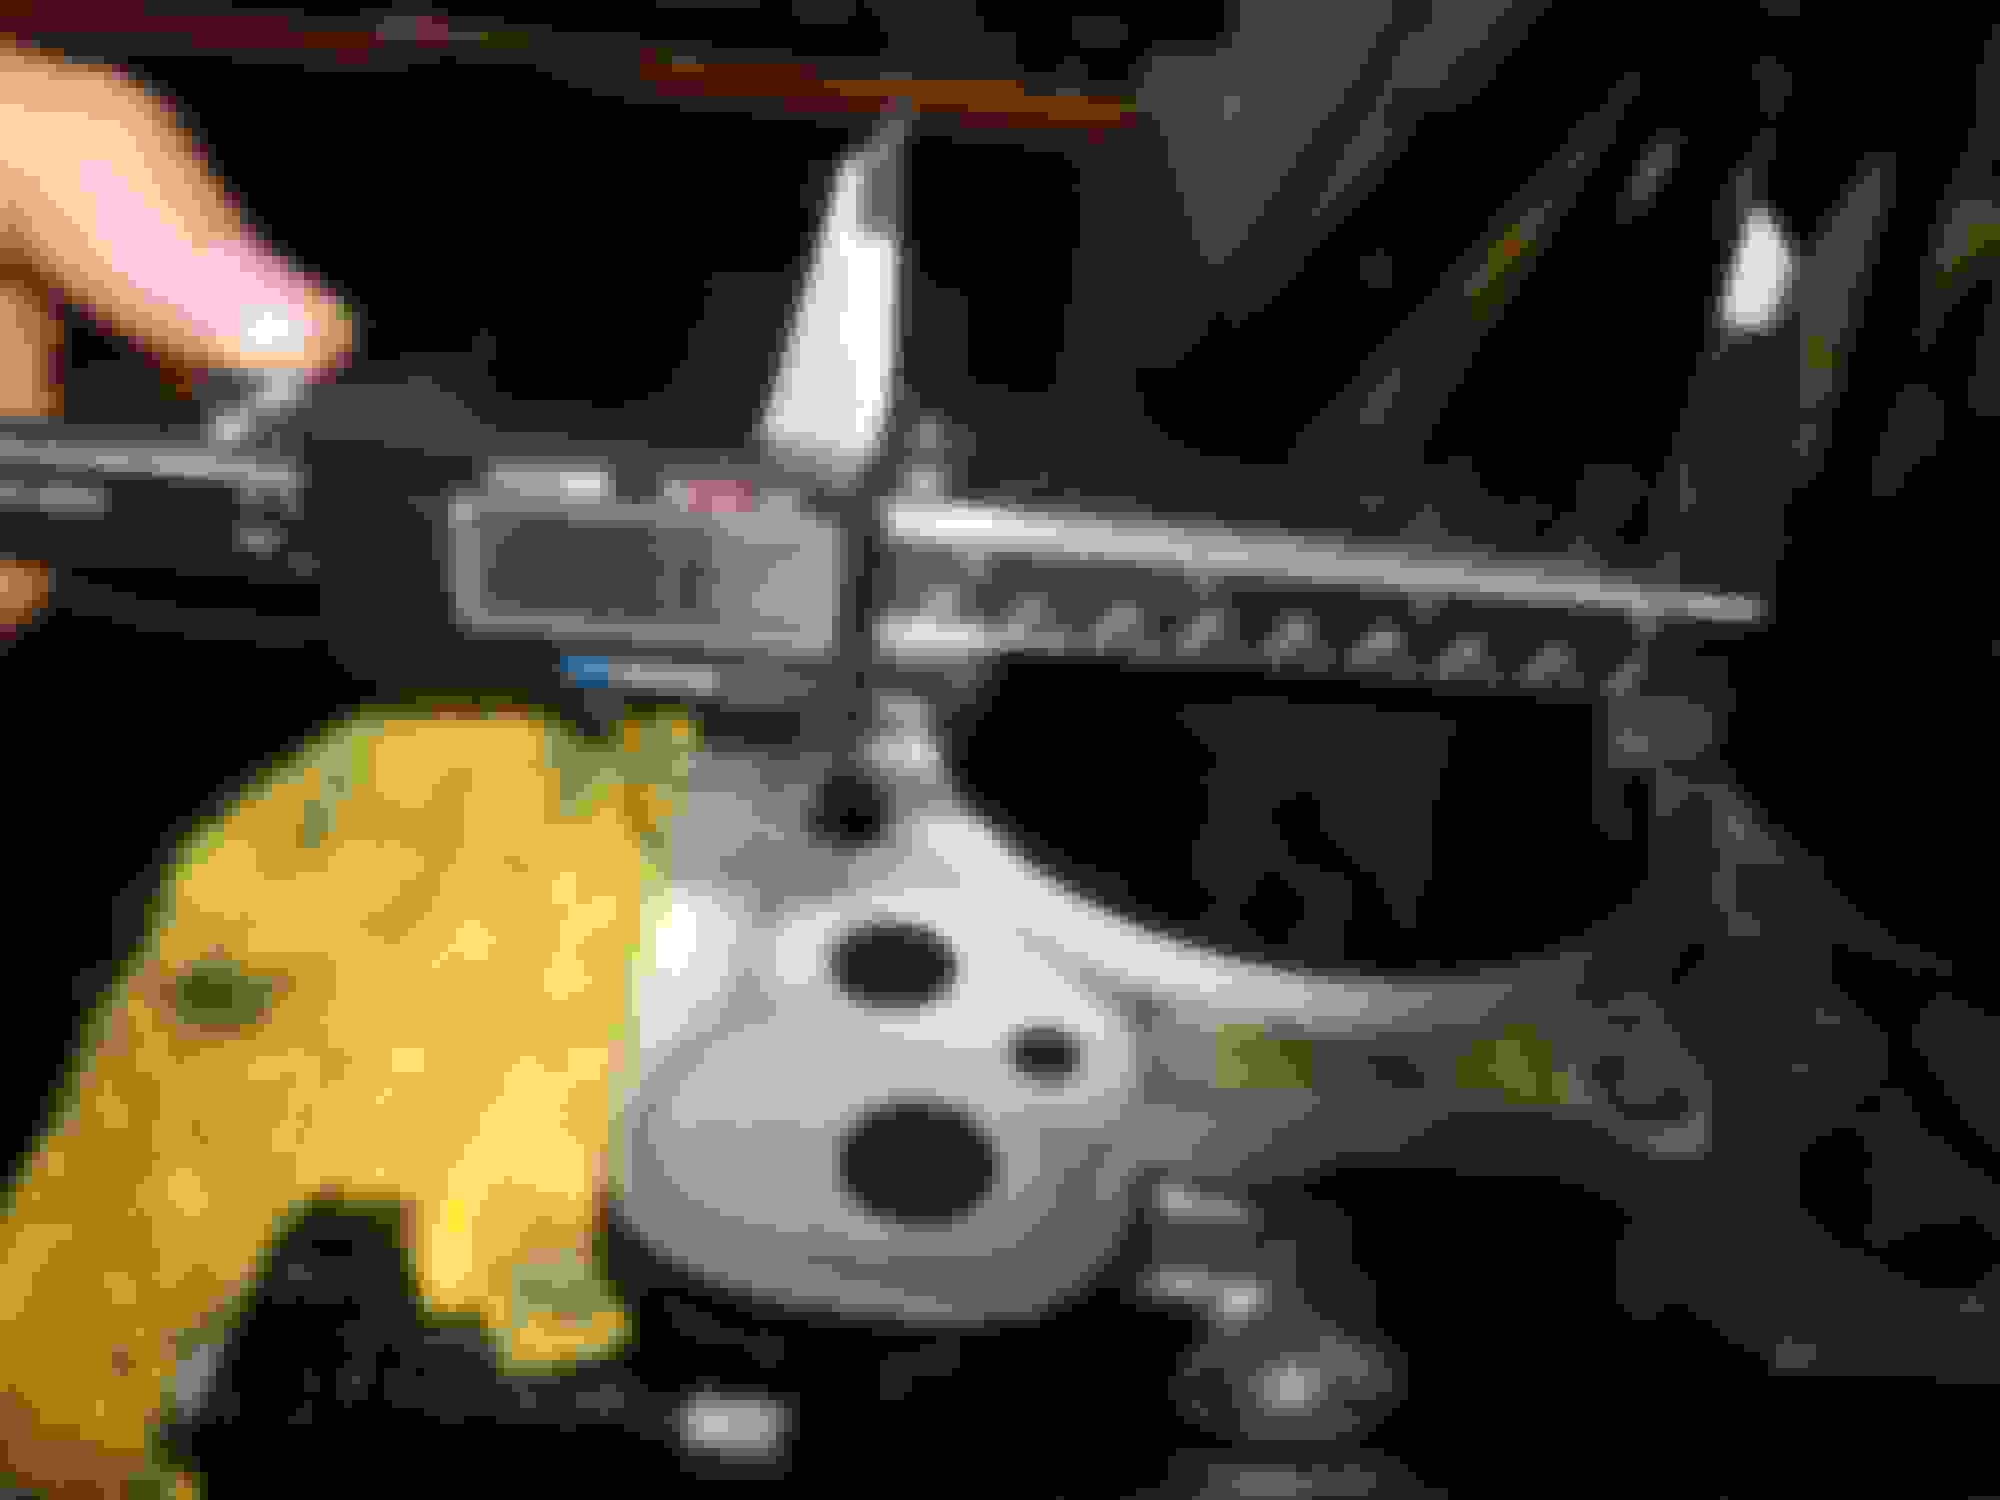
I measured each top cylinder bore with a digital caliper and it read 3.366" more or less for each cylinder. That is exactly where each bore needs to be for a .020" overbore block. To get more precise, I busted out my micrometer, set it to 3.366" and used it to zero my dial bore gauge. The dial bore gauge read within a delta of 0.0003" of each cylinder for top and middle measurements, x and y axis positions. This tells me that the cylinders were at least bored properly. I'll let the pictures and video tell the story below (Hard to record and hold dial bore gauge at the same time).
I feel your pain, been down this road Wow, that is a large amount of oil, never seen that before. GL with re-build, Im sure it will be stronger and better than before!
I don't see much damage in cylinder 4, unless those vertical lines are really deep. Still doesn't explain all the oil..
yup! I got really lucky with cylinder 4. There's only a small score at the mid-top of the cylinder on the opposite side of where the piston was scored. I wonder if I should bother going 0.040" over and buy new pistons or just rehone with the slight score in #4 and install new rings. Maybe just buy 1 piston to replace the one that was scored. Then there's still that damage to the cylinder head. Maybe I can just smooth that out with a dremel. I'm just trying to think of solutions now for the problems that have been found. I'm also really thinking about getting the english racing oil under drive pulley as I had really high oil pressure (95 to 115) when hot and cruising. I'm just worried about how it would effect timing and tuning.
I feel your pain, been down this road Wow, that is a large amount of oil, never seen that before. GL with re-build, Im sure it will be stronger and better than before!
Thanks man, I really hope so. I'm also going to change up my crank case pressure solution just in case that had anything to do with it.
Def don't go .040 over, you can get pistons for .030" over. If there is a gouge you can feel with your fingernail, the cylinders need honed. So, it will depend on how much it takes to clean it up to determine if you can stick with .020" over, or need to go to .030".
The head should be resurfaced, and it that will clean up most of that. A dremel to clean up what the surfacing doesn't touch would be a good idea.
To run the underdrive oil pump pulley, you'll need an adjustable exhaust cam gear, and then your tuner will need to compensate for it in the mivec table. Luckily Aaron is very familiar with what to do. You should also try porting the bypass port in the oil filter housing. That will help lower oil pressure a bit. There are several "how-to's" online.
I see. In that case I will take it to a reliable machine shop and have them hone to .020" over and see if that takes out the light scoring. I can catch it with my thumb nail, but just barely. After that i'll measure to see if the new PTW is acceptable with the current pistons. If not I guess I will have no choice but to bore 0.030" over and get a new set of pistons. I already need to get at least 1 new piston.
As for the cylinder head, I can have it resurfaced, to see how much scoring it takes out, but i'm very concerned about the valve guides now. I'm thinking about stripping the head down to only the valve guides and cam caps and sending it to English Racing for an inspection and maybe new guides. I have a press, but I don't want to risk damaging the cylinder head and making it unusable all together.
I'm really just trying to fix everything right, but for under $2k.
Measure current PTW, and that will tell you if you can even try honing before going up to the next size piston. Most I would go on your motor is .005" PTW. So, hope it's tight currently lol. But, chances are if you can feel it with you nail, the gouge is at least a few thou deep, and you'll need to go up a piston size.
You can measure valve guide play with a dial indicator, not too hard. Any machine shop can do that.
Alright Gents, I've removed everything except the crank and here are my findings.
Rod gap and crank endplay are well within factory specs. The crank endplay is exactly the same whether the rods are installed or not. This is probably because rod gap is usually larger than crank endplay.
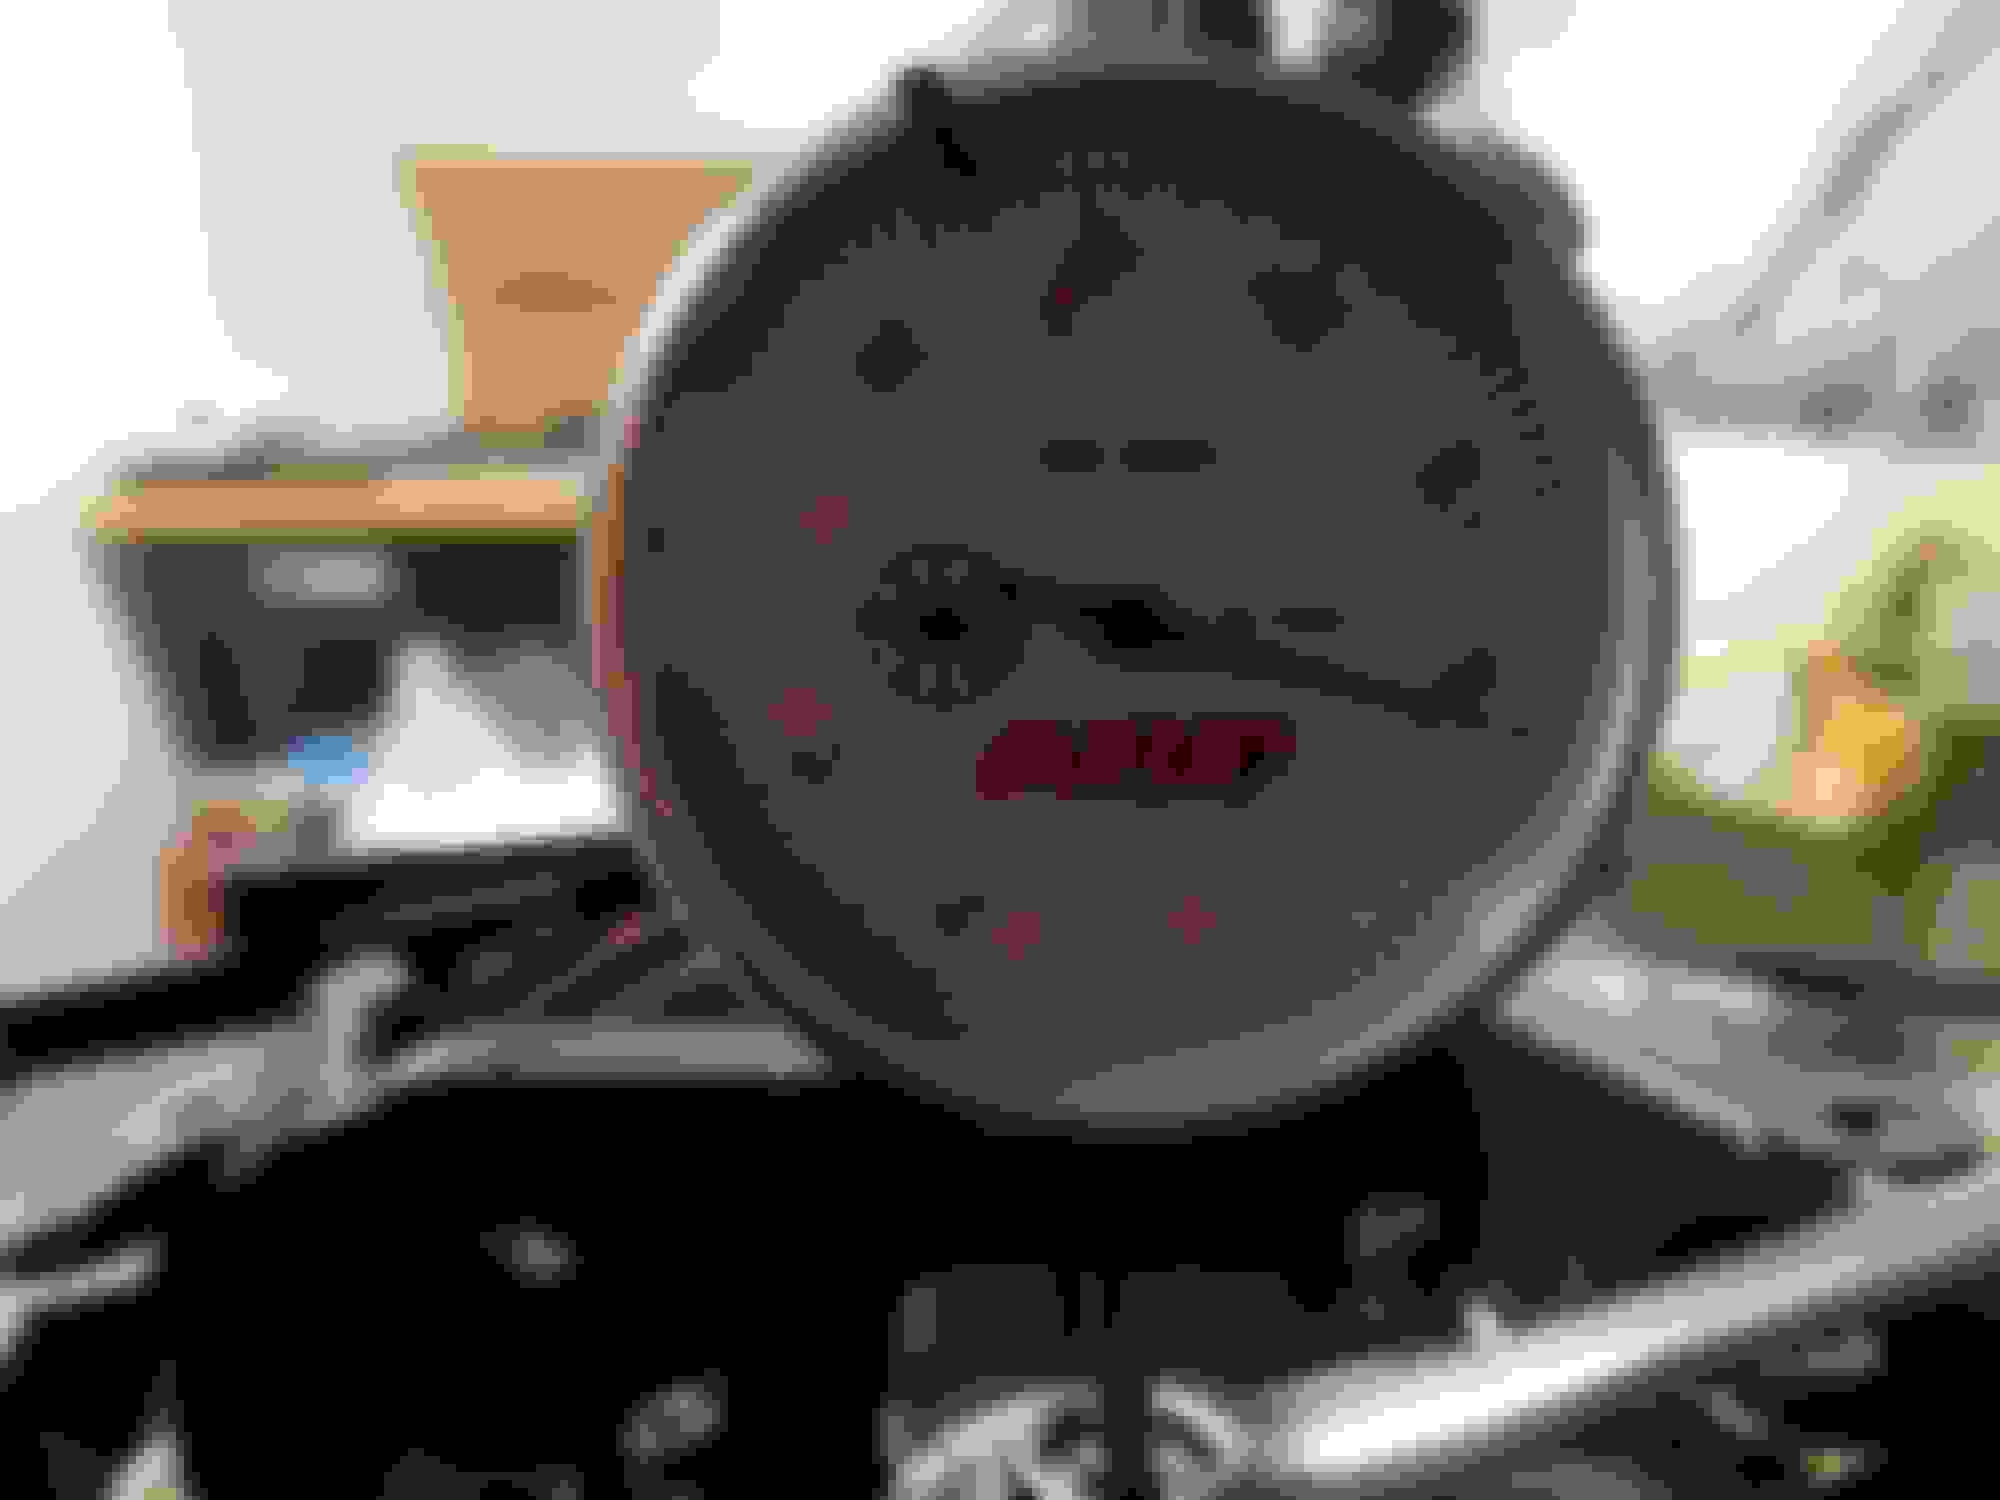
I measured block deck for straightness and the rod "destretch" of each rod bolt just for fun. Starts at 0 and the needle backs up from there (rotates counter clockwise). This measurement won't be too useful unless I can somehow determine the original length of each rod bolt. I'm just checking for consistency here to make sure the rod bolts were equally torqued.
In the end, I may just buy a new set of rod bolts just to be safe, especially since once any bolt is torqued, it gets slightly deformed and is never the same once removed. What are your thoughts on that?
The Good:
- All the cylinders and rod bearings look to be in great visual shape with the exception of the minor scratch at the top of cylinder 4. I still need to take measurements.
-These piston rods are serious. They are completely straight, even after tons of oil burning and the knock associated with it.
-The piston rod crank journals look to be in great shape, but a closer inspection is needed to know for sure.
The Bad:
-Piston # 2 oil rings were clocked incorrectly. This could have moved before or after installation.
-As mentioned before, Piston #4 has sustained slight damage.
The process was very straightforward with no surprises, but for those of you that are taking apart an engine for the first time in the future, here are some tips:
-Keep your area very open so that you can walk around the engine block in all directions while it's on the engine stand, but have a wall next to you because when you loosen the rod bolts (or head studs), the engine stand can move around if you can't lock the wheels.
-Once you loosen the rod bolts, the rod caps will be stuck. Do NOT take a vice grip or set of pliers to the rod cap! This could damage the rod and throw off the balance of the rotating assembly. Instead, screw the rod bolts on half way and hit them lightly side to side with a rubber mallet. Then turn the mallet sideways and hit them both at the same time downwards. This will separate the bond between the rod cap, crank journal, and piston rod.
-Keep track all the bearing halves and make sure they do not fall out of the bores!
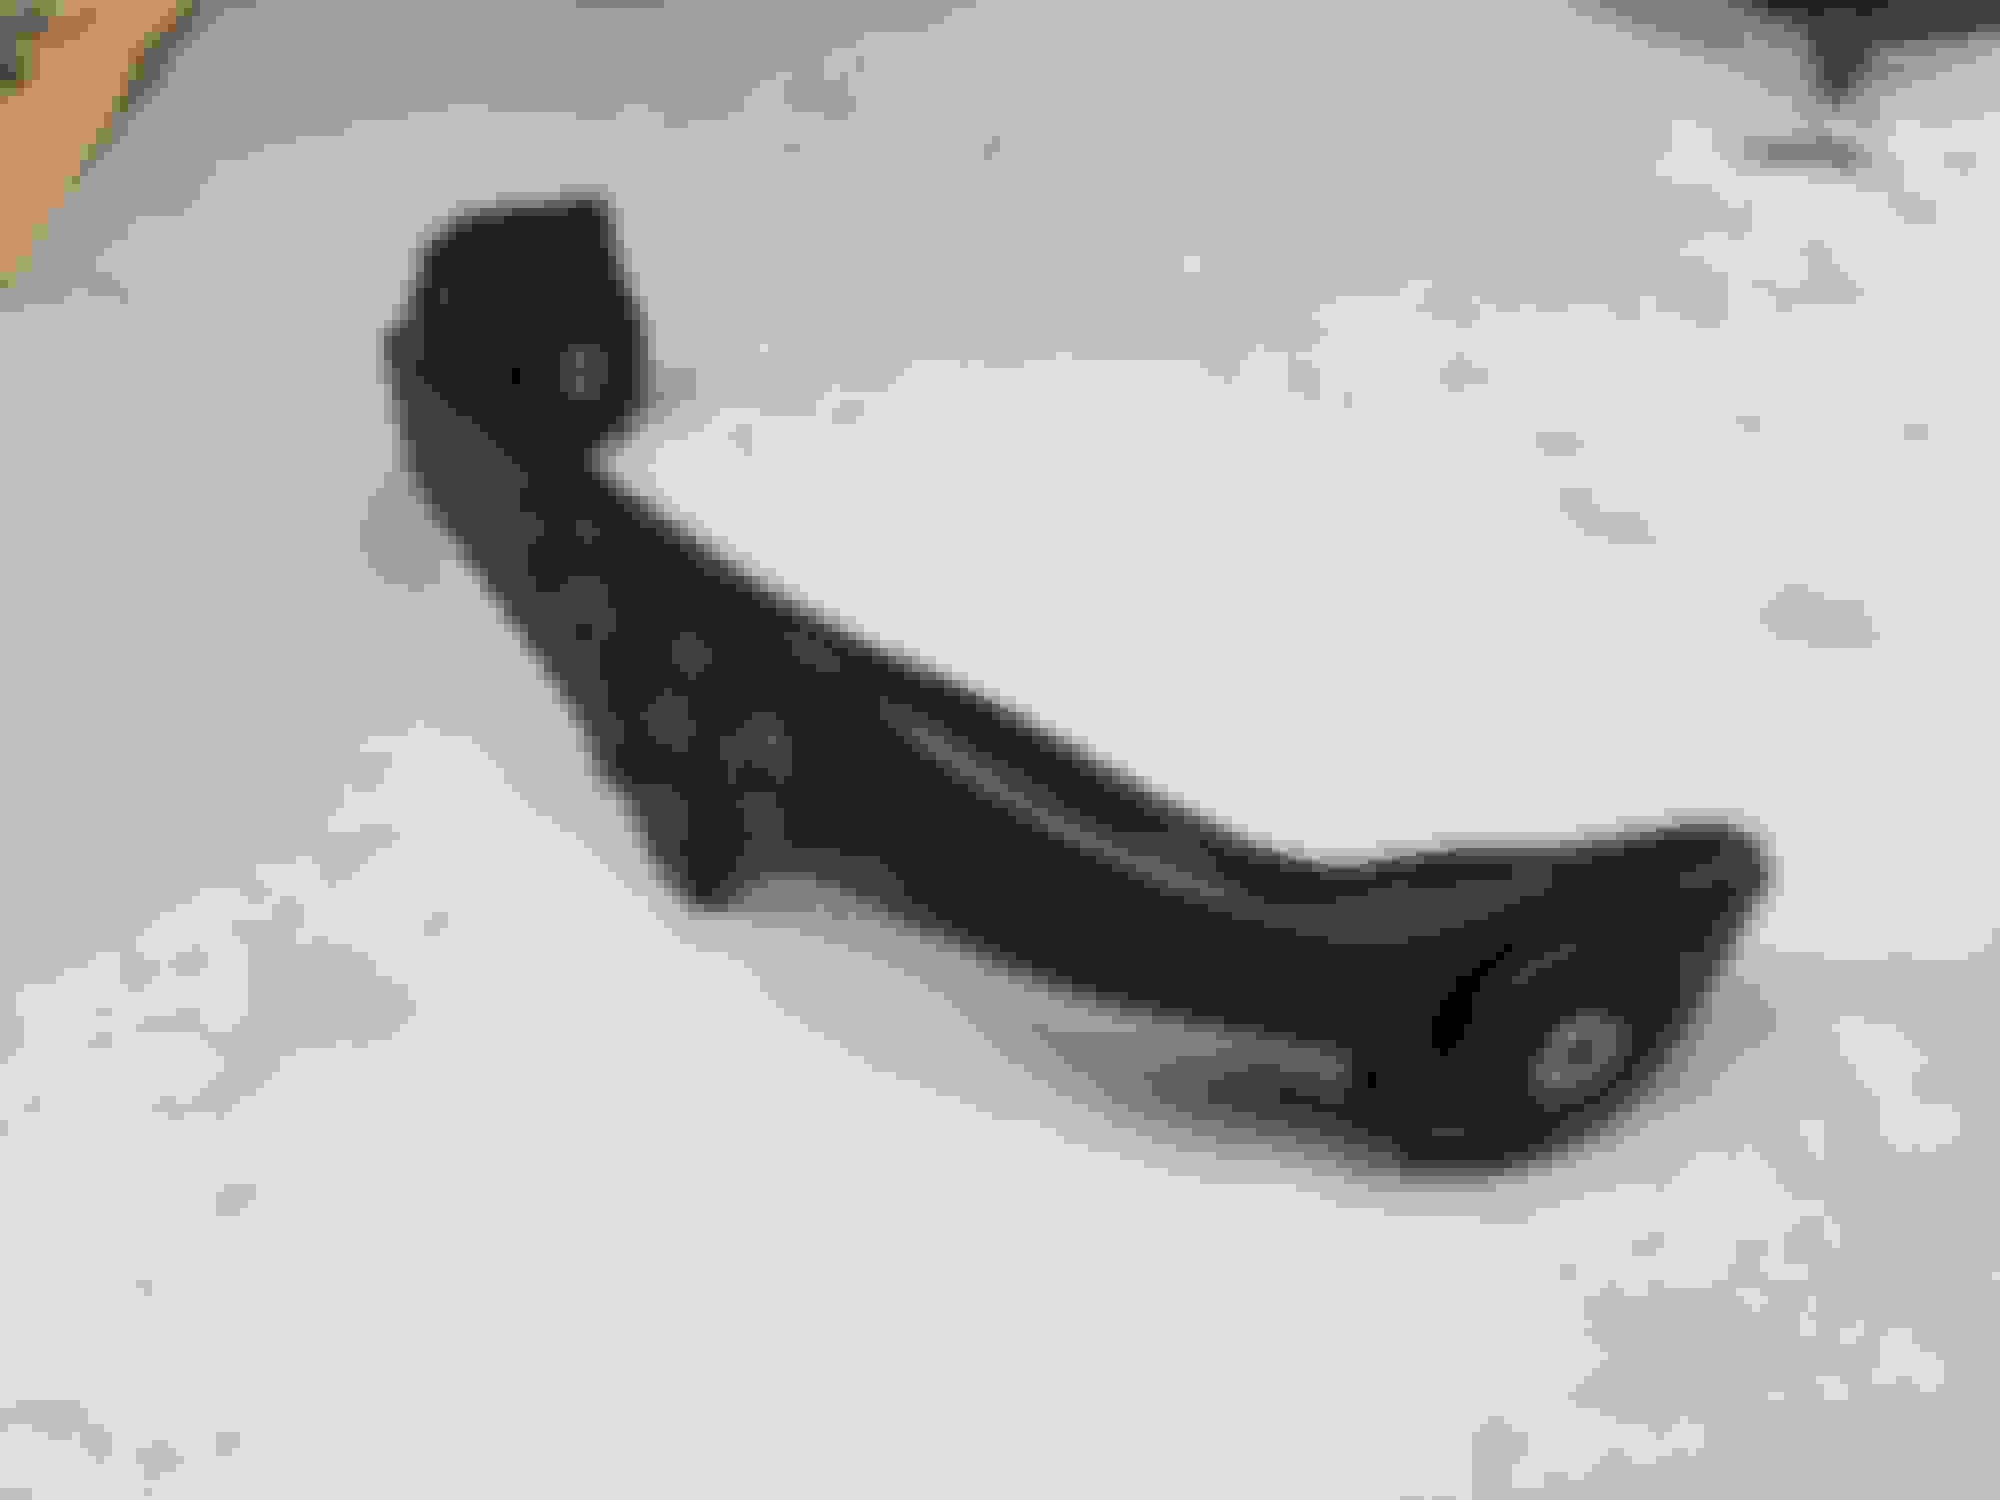
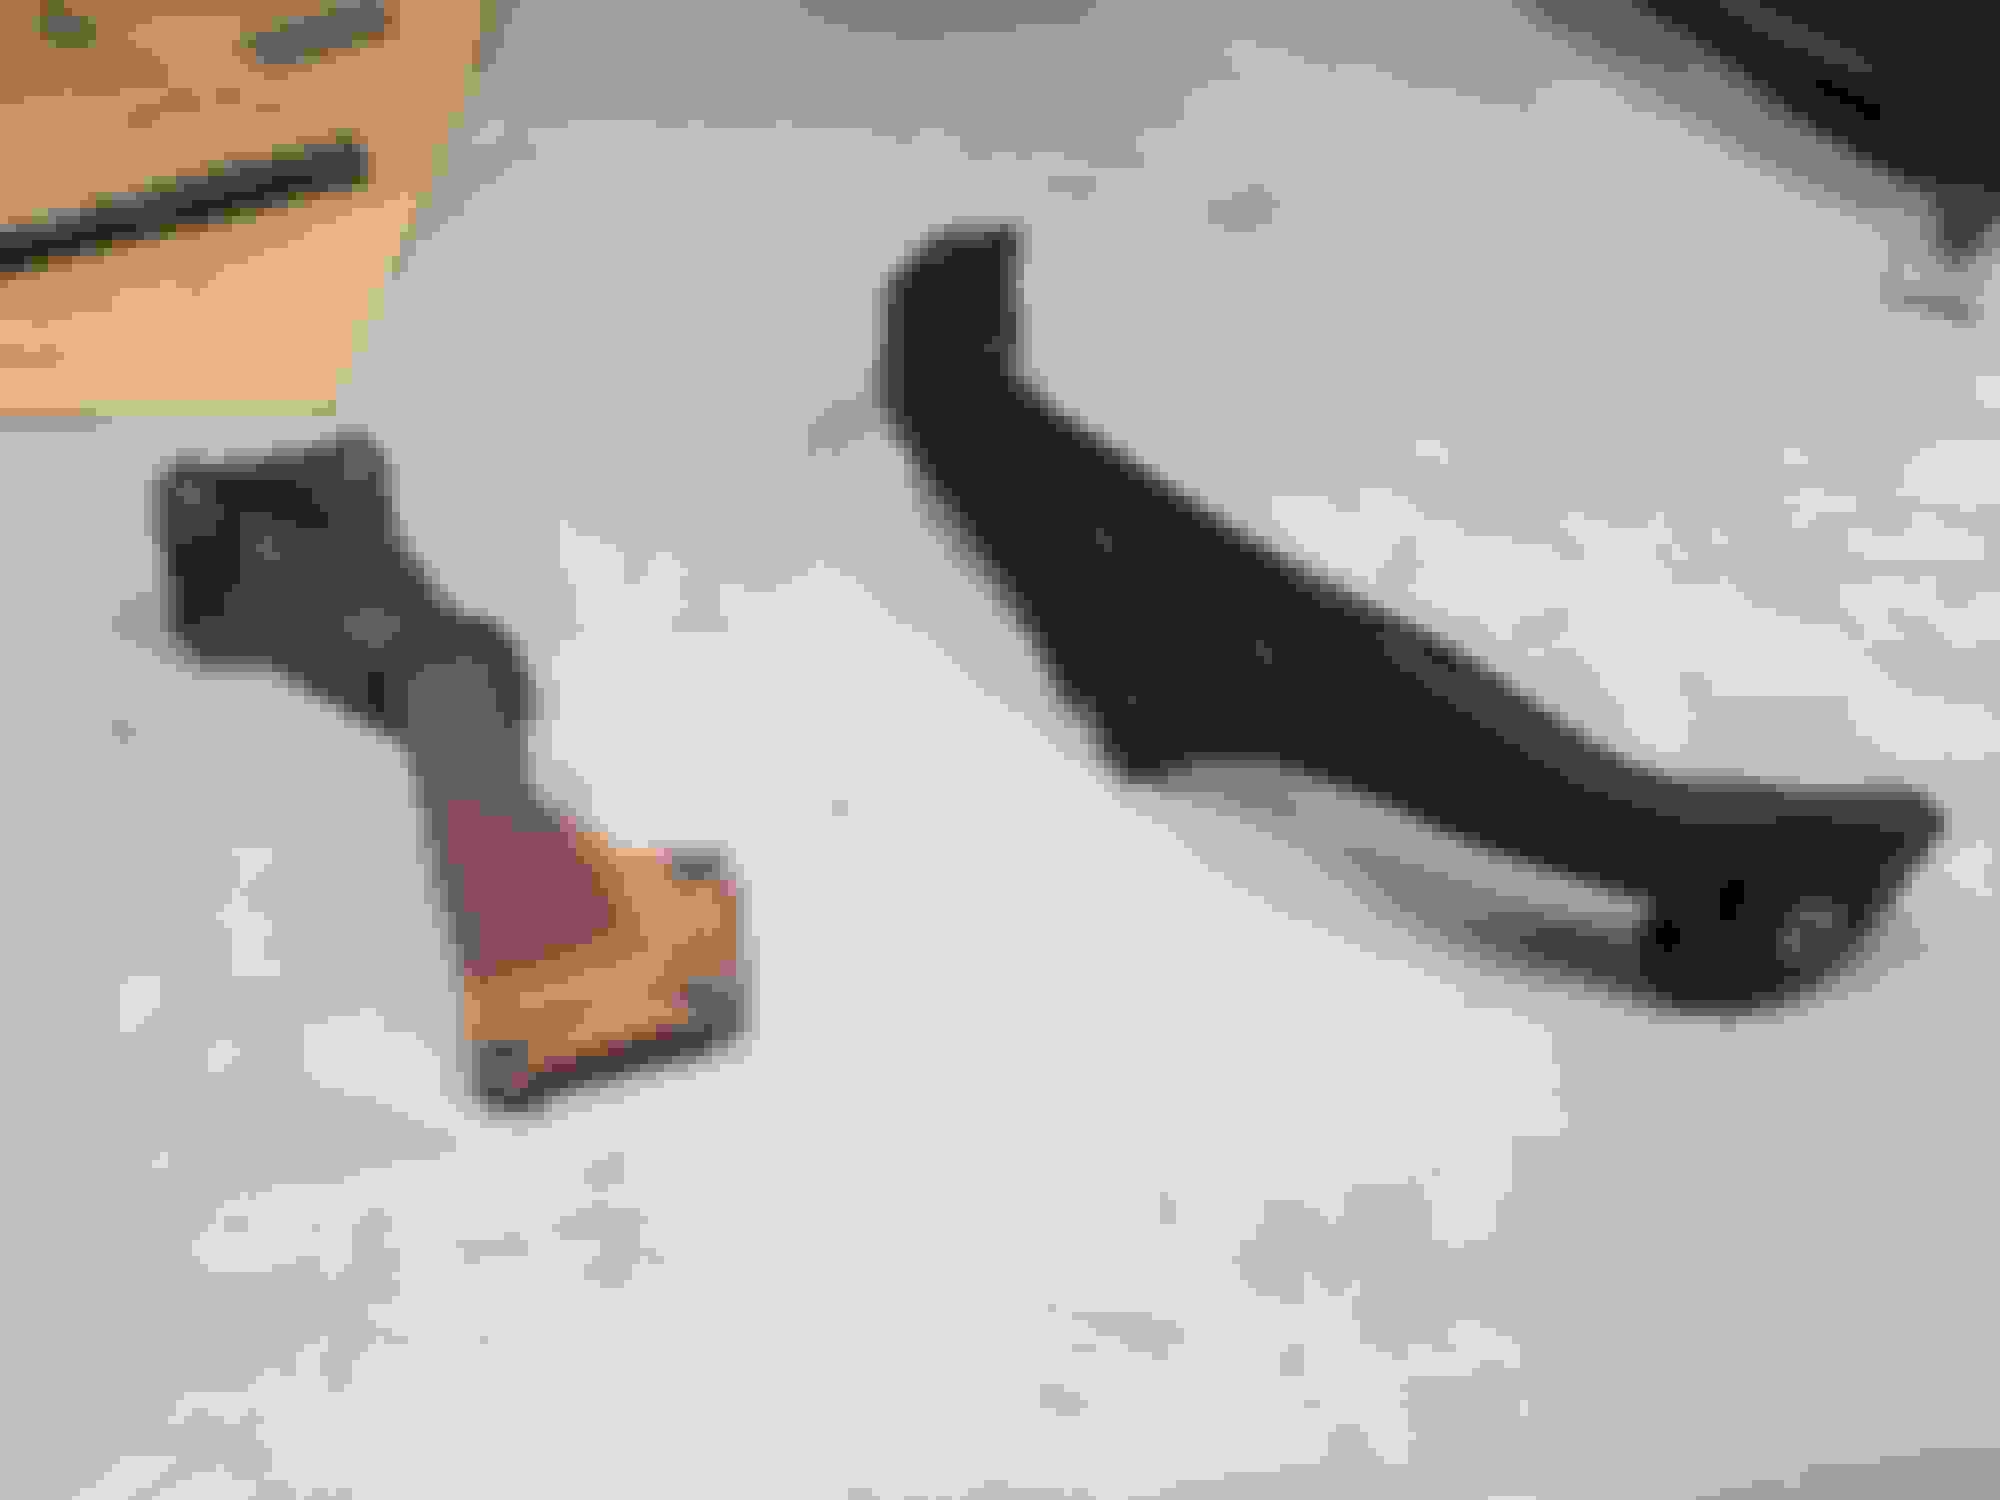
I had time to restore my mustache bar and press in the Energy suspension rear diff bushings. I already have the BR setup, but the solid mustache bar bushings that come with the lightweight bar are too noisy for me. I opted for polyurethane instead. I will be keeping the BR SIDE aluminum diff mounts however. Check out the before and after below. It used to be rusty and dirty just like the oem rear diff mounts next to it. I might press in Energy suspension bushings into those later and sell them. I won't restore them unless i have time as it takes a lot of work. I cleaned the surfaces and pressed in the bushings before I painted everything. I masked the bushings using petroleum jelly to prevent the paint from sticking to the bushings.
While I was at it, I ordered the TScomptuned 4" intake as well as radium sealed catch can. I contacted STM and they told me that you can't just convert an vented catch can to a sealed, they have different plumbing.
Tonight I will finally measure PTW and ring gaps, which is what we have all been waiting for.
On a brighter note, one of the S2k friends recently finished his build. Supercharged with a build motor, it made 400+ hp on 91 octane at only 12psi! Keep in mind s2k's have higher compression and lower torque.

 Oct 11, 2017, 11:09 PM


 Wow, that is a large amount of oil, never seen that before. GL with re-build, Im sure it will be stronger and better than before!