
Review: SRP Racing - Custom aluminum racing pedals
 Aug 25, 2013, 12:38 AM
#1

Picked up a set of these pedals from SRP for my track evo and thought I would do a review for the benefit of the community. Brian was super helpful when I asked him about the different levels of friction for each pedal and getting the brake pedal to the right height adjustment for easier heel + toe. That's not covered in this review for the time being, but all you need to do is add some washers to elevate the brake pedal to get the height right. SRP has a lot of options if you want to get specific about the amount of grip you need or if you want them anodized. I went with the 'Grid' design which had the highest amount of friction and the 'Stain' finish because racecar.
On with the review...

This is a box. There are many like it, but this one is mine. It's also the one that arrived to my door with my SRP pedals.

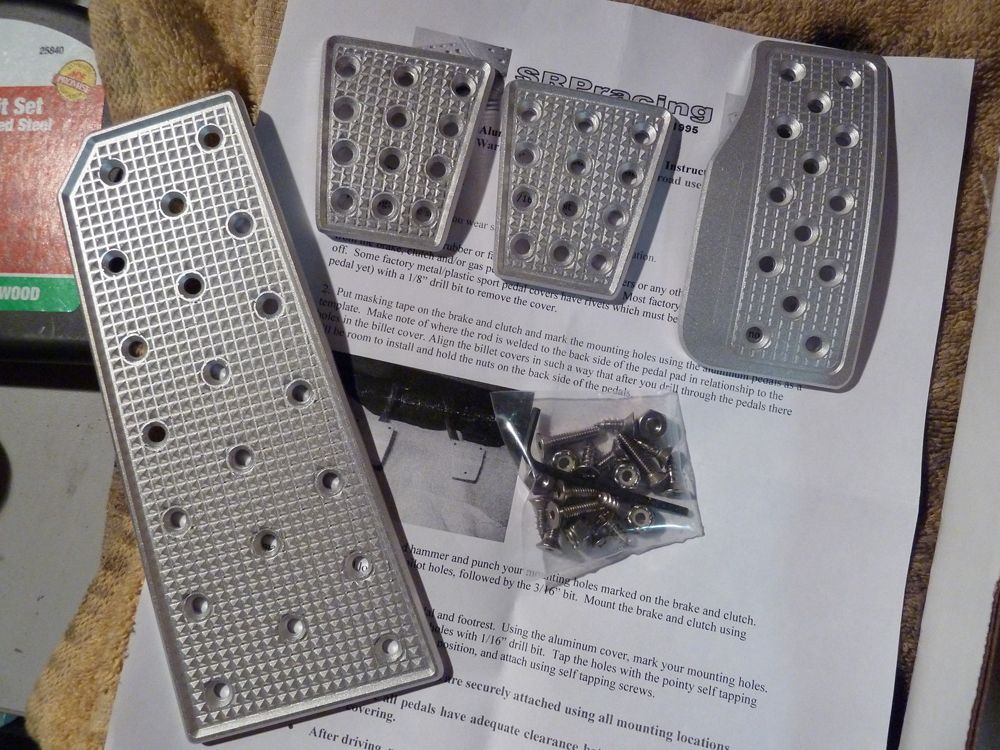
This is what was in it, pretty straight forward. The pedals were wrapped in paper, but had since been removed prior to this review.

Manual.
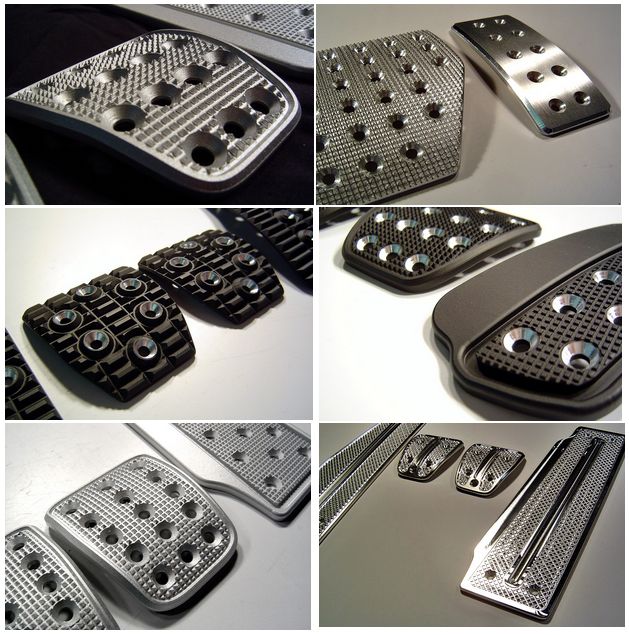
Basic layout of the footrest, clutch, brake and accelerator pedals.
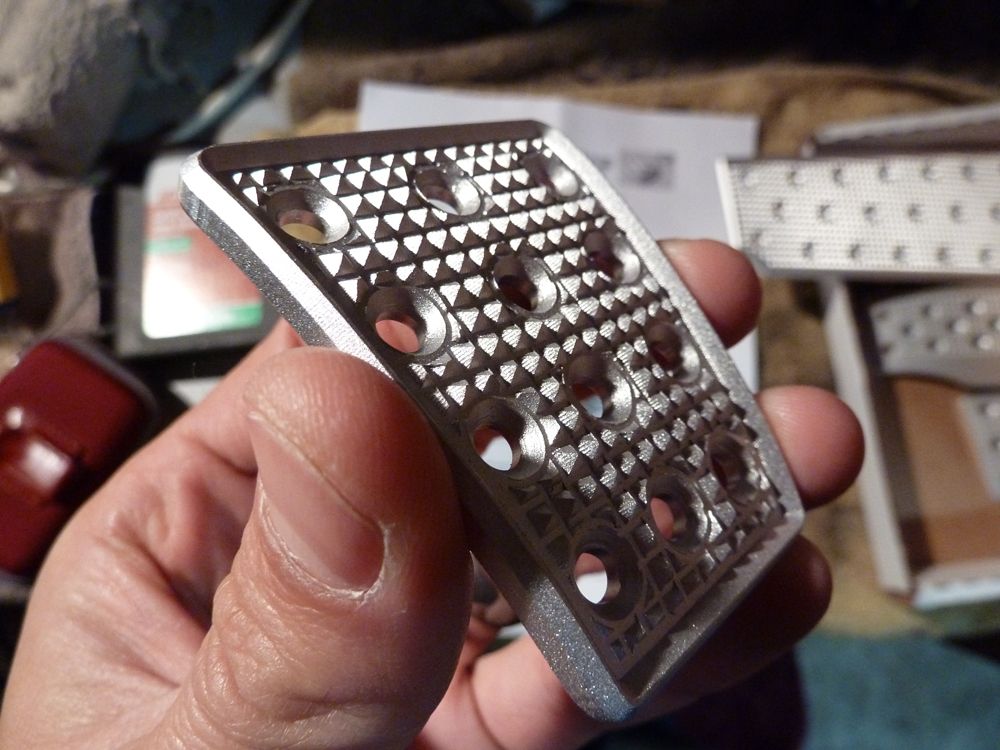
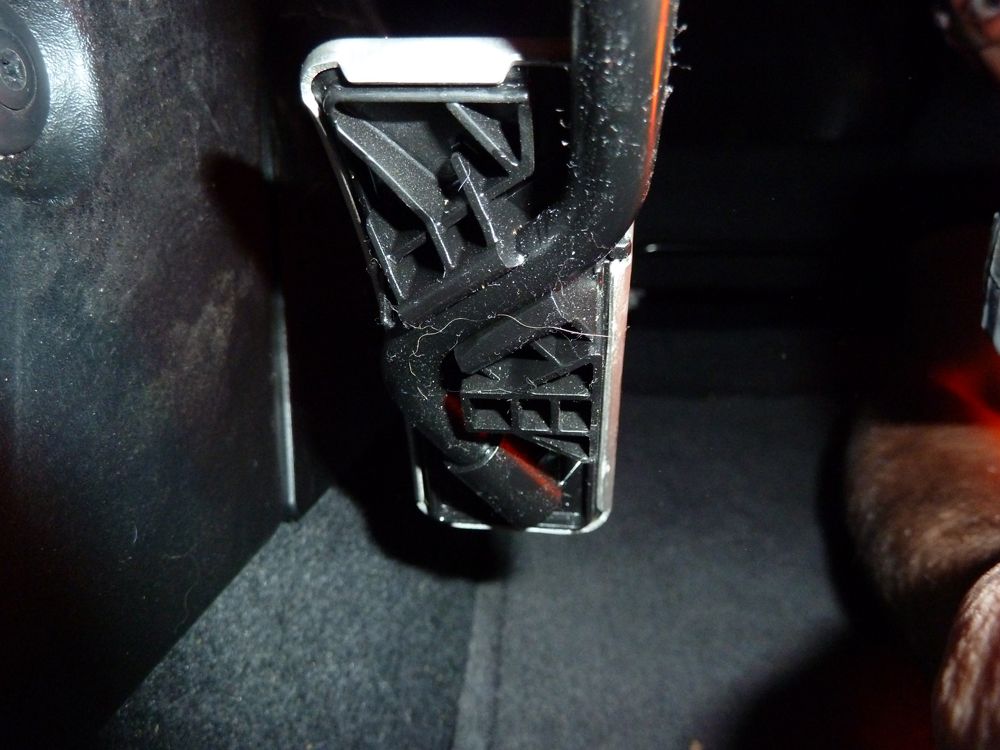
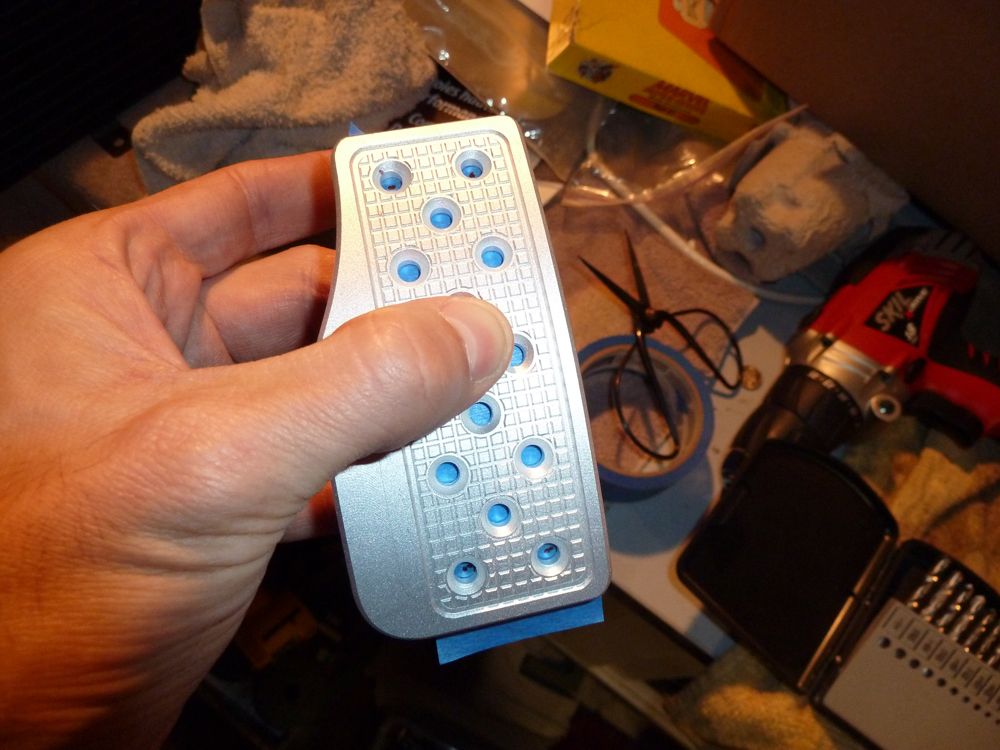
Side view of one of the clutch/brake pedals, showing the pointy grid pattern. Very sticky.
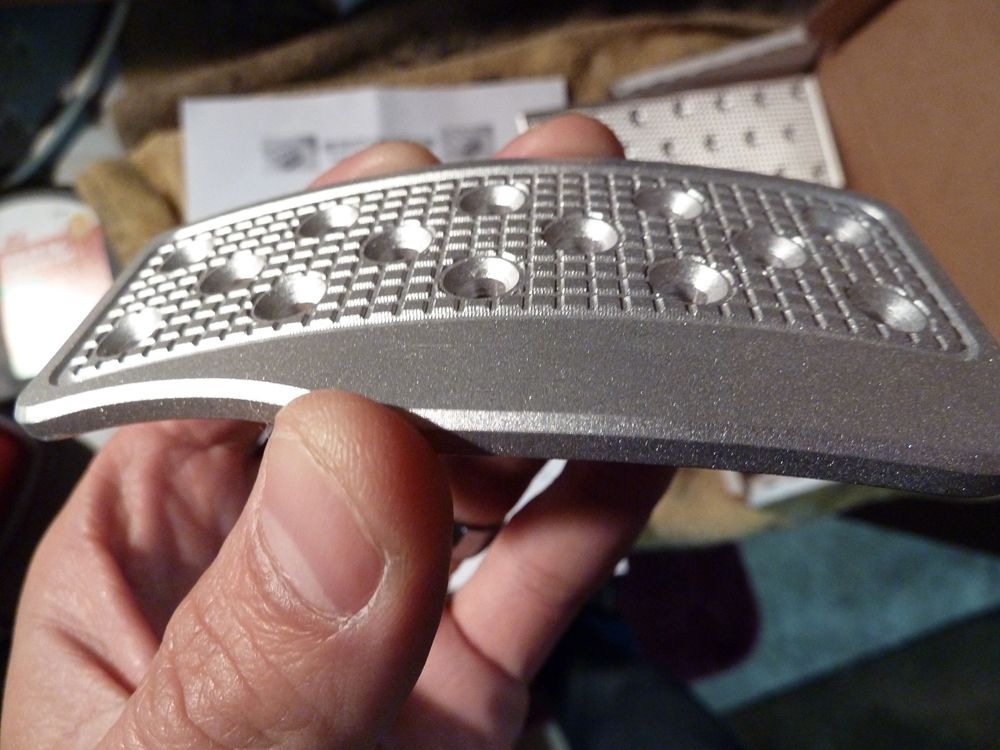
Accelerator pedal comes smooth, which is for safety reasons. Notice the flange for aided heel + toe if you hadn't noticed it before.
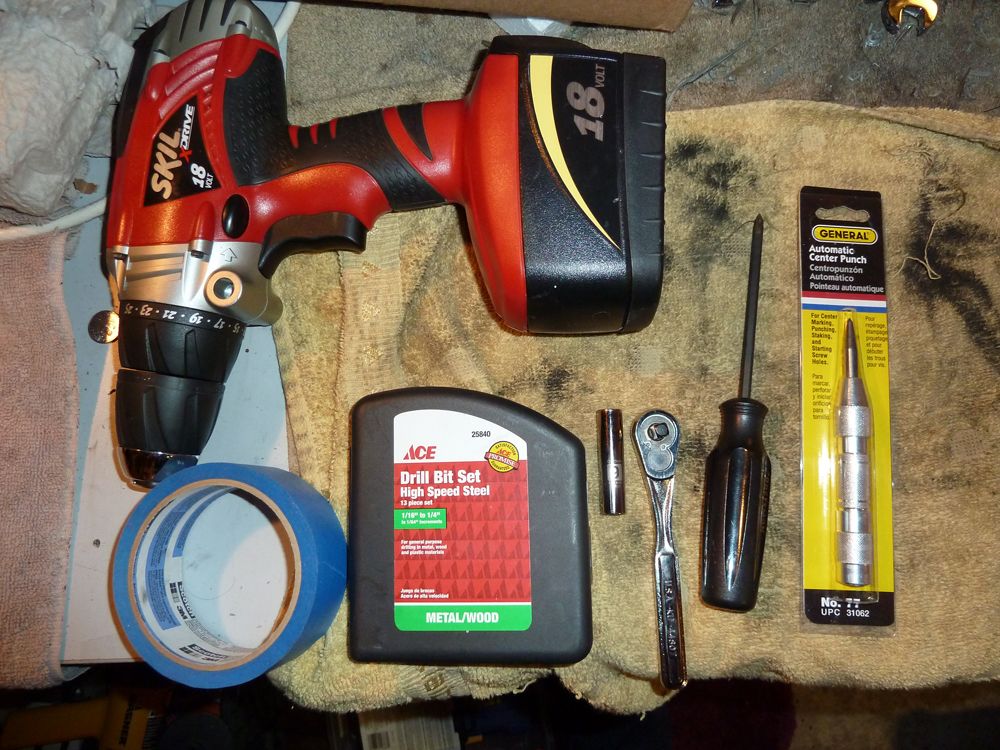
This is everything I used for this install. Okay, there was a sharpie involved too, just missed it in the pic.
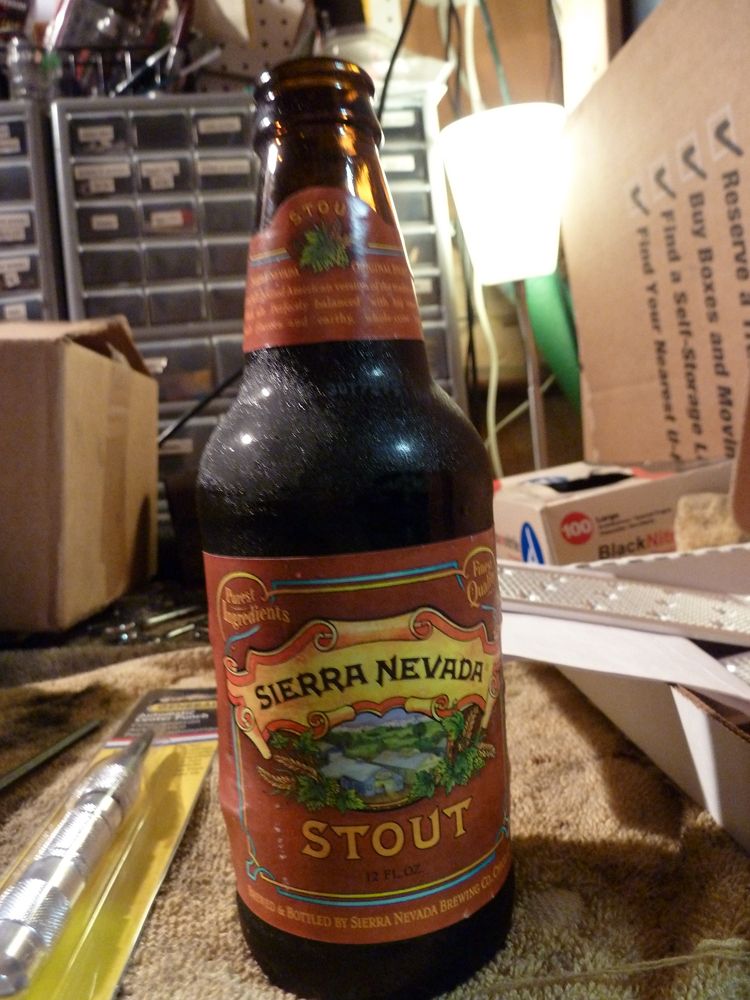
Also an important part of any install.
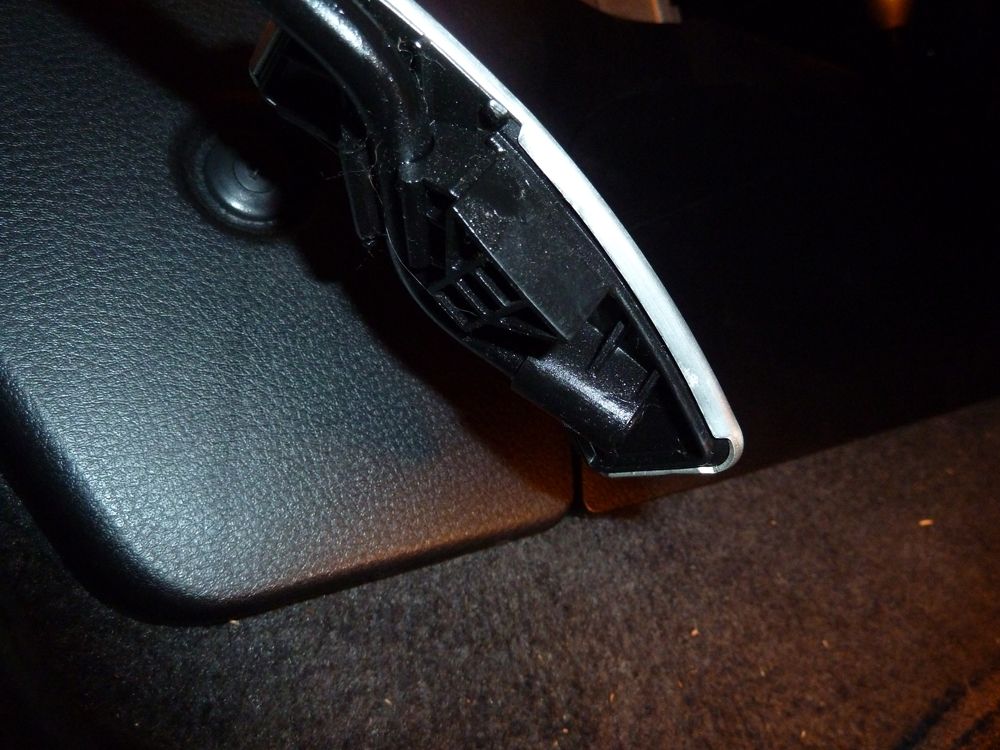
Stock pedal assembly with covers for the clutch/brake pedals. Accelerator is one piece, you'll see below.


Back shot of the clutch/brake pedals.
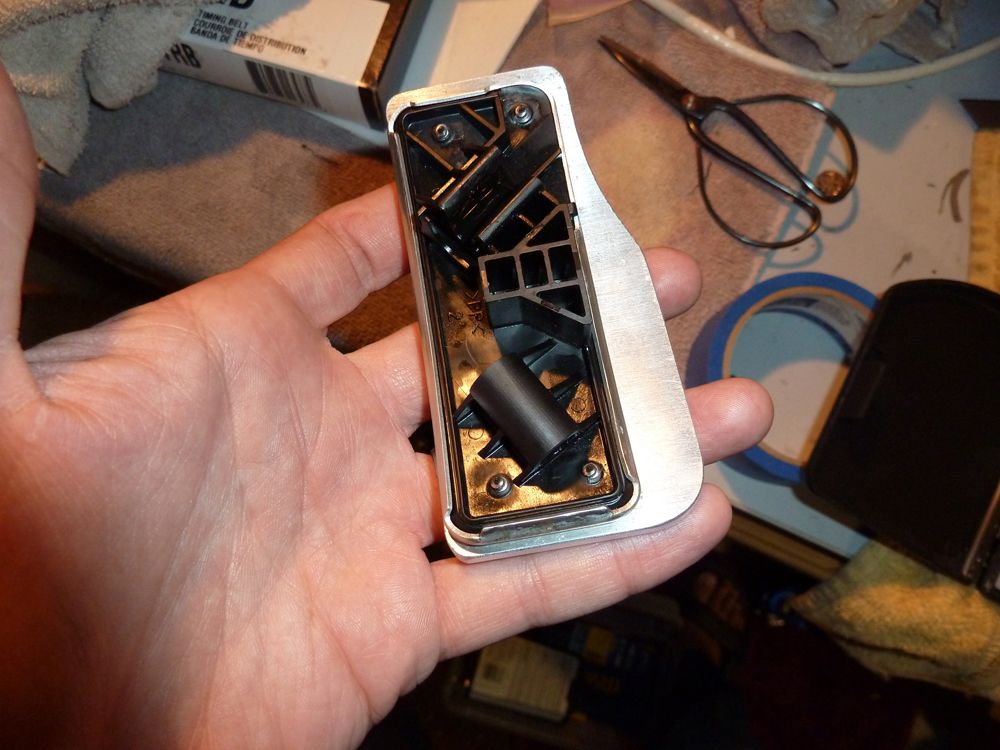
Back and side shot of the accelerator pedal.


Removal is very easy, you simply hold the top of the pedal and pull towards you and down. It snaps right off and on, easy peasy.
I chose to start with the accelerator pedal. Mask off the pedal, lay the new pedal cover over the OEM piece and make your dots with a sharpie.

Following the instructions, drill your guide holes with the 1/16" bit and then sink your self tapping screws and remove. Place the new pedal on top and then sink the screws again. Doing this twice gave me time to get a razor blade and trim off the excess plastic that was forced out by the screw, allowing the pedal to sit flush.
That's how I chose to line up my screws. They're out of the way of the arm that controls the throttle cable.
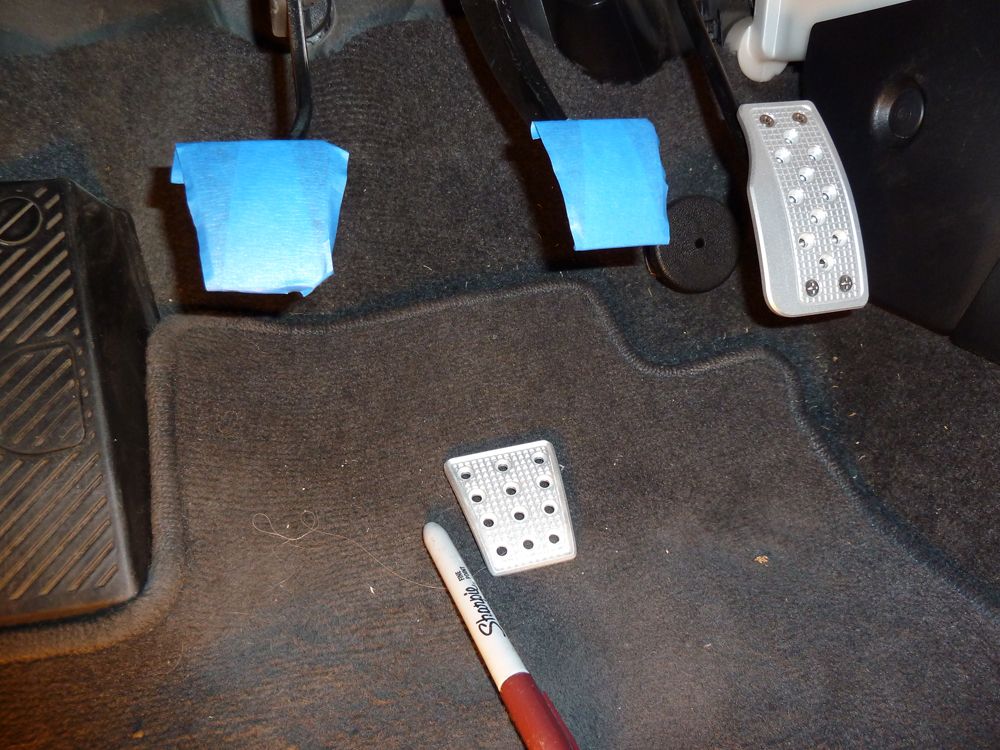
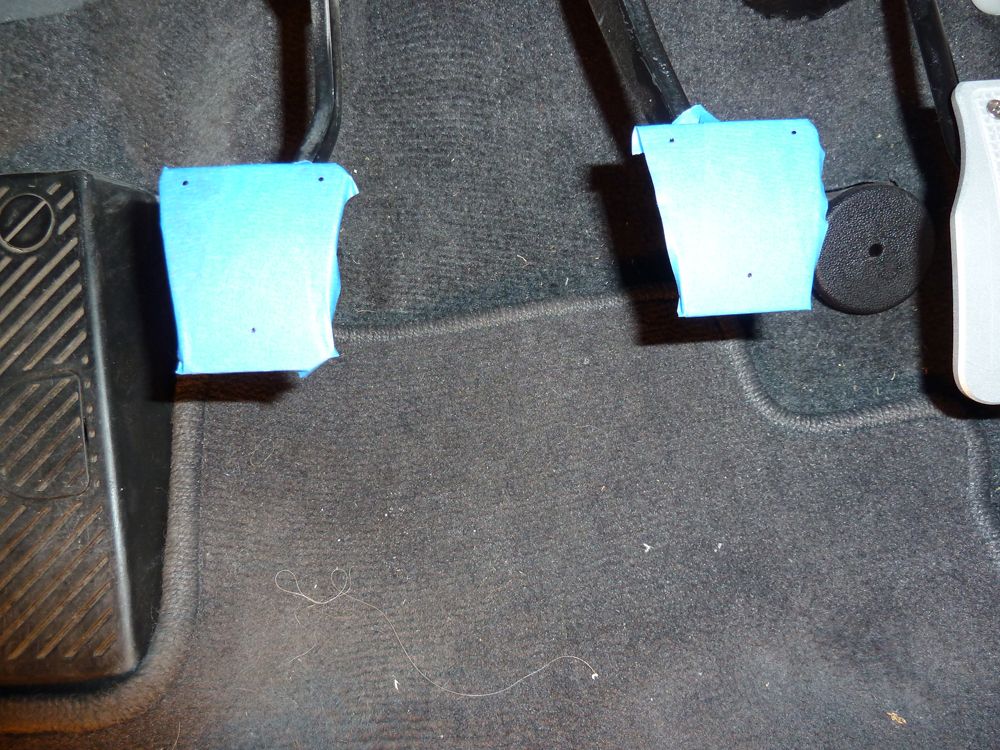
Moving to the clutch/brake I masked them, lined up the pedals and then marked them with the sharpie.

Drilling the brake was very tricky since the dash plastics get in the way. I screwed up the hole slightly, but was able to drill it out enough to make the pedal work without issue. If you can remove the dash piece under the steering wheel, that will help with this step greatly. Also, I put my foot on the clutch and brake pedals to allow me to have enough room to line up the drill as best as I could. YMMV

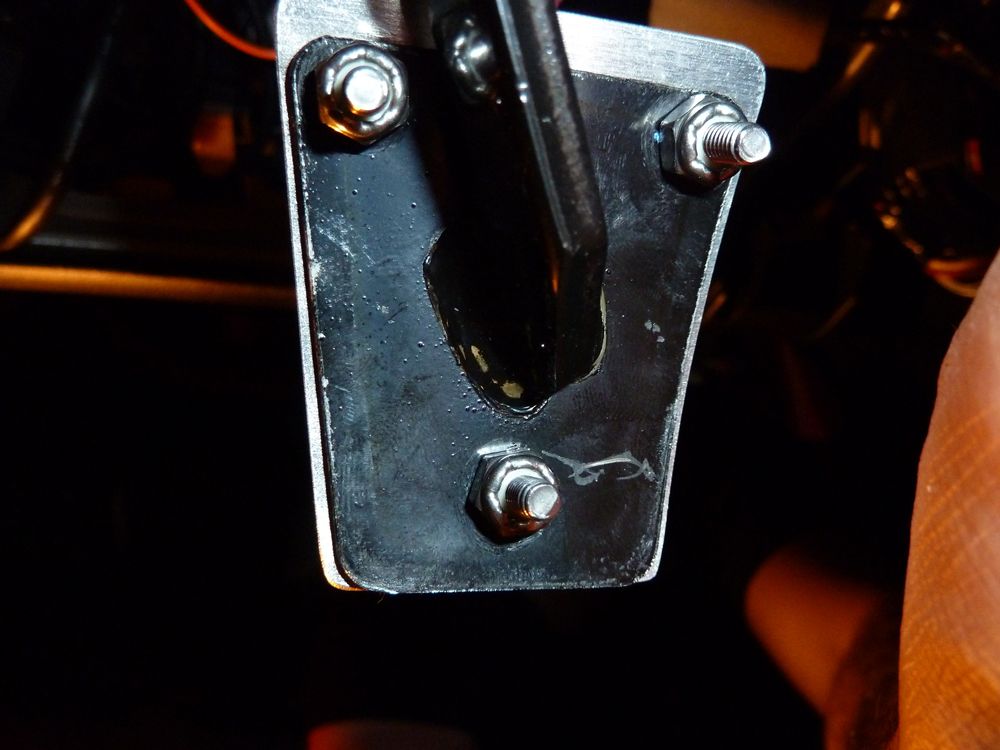
Clutch and brake pedals bolted up.
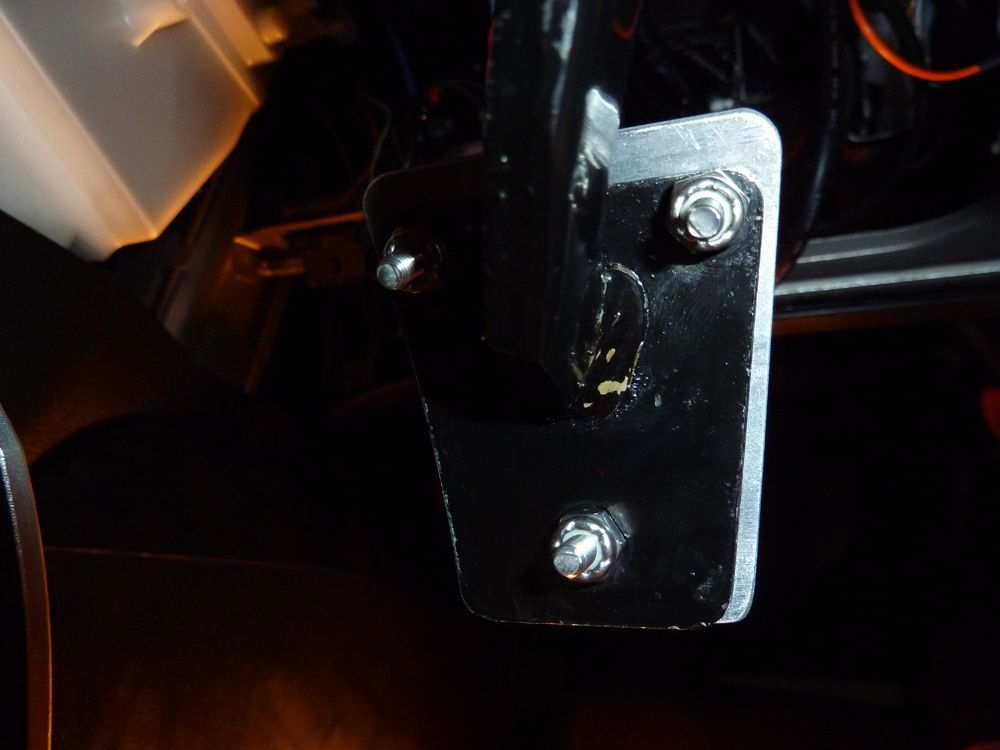
Back shots showing the bolts for the clutch and brake pedals. Note the amount of clearance from the arm that's welded to the OEM pedal. This is key to making sure you don't have a bad time when you can't fit the nut onto the bolt.

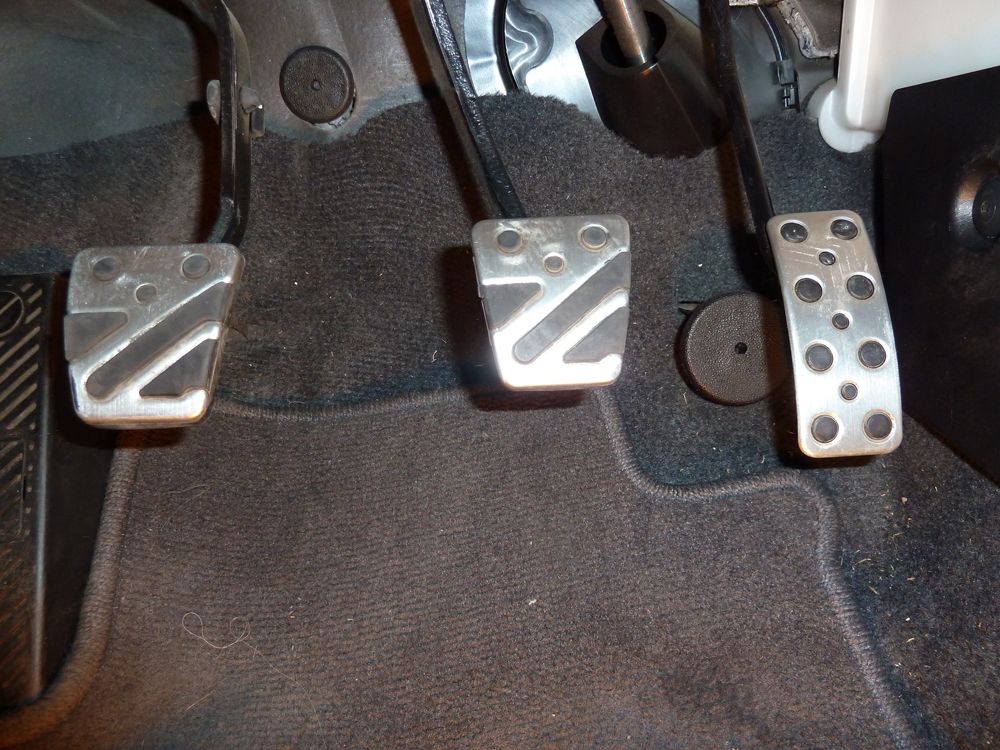
All done!
Nice craftsmanship and high quality parts all round. I'm looking forward to getting the brake pedal dialed in with some washers and then seeing how they work when on track.

On with the review...
This is a box. There are many like it, but this one is mine. It's also the one that arrived to my door with my SRP pedals.
This is what was in it, pretty straight forward. The pedals were wrapped in paper, but had since been removed prior to this review.
Manual.
Basic layout of the footrest, clutch, brake and accelerator pedals.
Side view of one of the clutch/brake pedals, showing the pointy grid pattern. Very sticky.
Accelerator pedal comes smooth, which is for safety reasons. Notice the flange for aided heel + toe if you hadn't noticed it before.
This is everything I used for this install. Okay, there was a sharpie involved too, just missed it in the pic.
Also an important part of any install.
Stock pedal assembly with covers for the clutch/brake pedals. Accelerator is one piece, you'll see below.
Back shot of the clutch/brake pedals.
Back and side shot of the accelerator pedal.
Removal is very easy, you simply hold the top of the pedal and pull towards you and down. It snaps right off and on, easy peasy.
I chose to start with the accelerator pedal. Mask off the pedal, lay the new pedal cover over the OEM piece and make your dots with a sharpie.
Following the instructions, drill your guide holes with the 1/16" bit and then sink your self tapping screws and remove. Place the new pedal on top and then sink the screws again. Doing this twice gave me time to get a razor blade and trim off the excess plastic that was forced out by the screw, allowing the pedal to sit flush.
That's how I chose to line up my screws. They're out of the way of the arm that controls the throttle cable.
Moving to the clutch/brake I masked them, lined up the pedals and then marked them with the sharpie.
Drilling the brake was very tricky since the dash plastics get in the way. I screwed up the hole slightly, but was able to drill it out enough to make the pedal work without issue. If you can remove the dash piece under the steering wheel, that will help with this step greatly. Also, I put my foot on the clutch and brake pedals to allow me to have enough room to line up the drill as best as I could. YMMV
Clutch and brake pedals bolted up.
Back shots showing the bolts for the clutch and brake pedals. Note the amount of clearance from the arm that's welded to the OEM pedal. This is key to making sure you don't have a bad time when you can't fit the nut onto the bolt.
All done!
Nice craftsmanship and high quality parts all round. I'm looking forward to getting the brake pedal dialed in with some washers and then seeing how they work when on track.

 Sep 29, 2013, 09:34 PM
#4
To be completely honest I have yet to drive the car a single mile since I put them in.
I have to replace two bad studs and my wife just had a baby last week.

I also need to put some washers behind the brake pedal to get the height right.
I have to replace two bad studs and my wife just had a baby last week.
I also need to put some washers behind the brake pedal to get the height right.
Oct 20, 2013, 08:31 AM
#5
So I've taken the car out a few times since I get them installed and they feel good. The heel-toe should be a lot better once I get some washers under the brake pedal.
Surprisingly, having a sticky rest pedal is actually kinda nice. The friction on my shoe helps take some of the work off of my knee and leg. Sounds silly, but it's nice for those drives to the track.

Surprisingly, having a sticky rest pedal is actually kinda nice. The friction on my shoe helps take some of the work off of my knee and leg. Sounds silly, but it's nice for those drives to the track.
Trending Topics


Thread
Thread Starter
Forum
Replies
Last Post
golgo13
Evo Tires / Wheels / Brakes / Suspension
37
Apr 4, 2014 04:32 PM